In South Florida, basement moisture rarely starts with a dramatic flood. It usually starts with a smell. You walk downstairs and catch that damp, stale air near the wall. Maybe paint looks a little bubbled. Maybe a cardboard box feels soft on the bottom. Maybe the corner that always seemed “a little cool” now shows a darker patch after a hard rain.
That's when most homeowners start looking for a coating.
Sometimes that's the right move. Sometimes it isn't. If you want to know how to seal basement walls the right way, you have to separate three different problems that get lumped together all the time: liquid water, water vapor, and humid air leakage. In South Florida, high humidity and a high water table make that distinction more important, not less.
A wall coating can help. Crack repair matters. Exterior drainage matters more than many people think. And in a lot of homes, air sealing is the missing piece that keeps moisture from condensing behind finished walls, shelving, and stored contents. If you skip that part, you can seal the wall surface and still end up with a damp basement.
After a week of summer rain in South Florida, a basement can feel wrong before it looks wrong. The air gets heavy. Stored paper picks up that stale smell. A wall that looked fine last month starts showing a faint dark line near the slab or a chalky film on the block.
Those early signs matter because Florida basement moisture is rarely just one problem. High outdoor humidity, warm air leaking into a cooler below-grade space, and a high water table can all show up at the same wall. If you treat every damp spot like a simple waterproofing job, you can miss the root cause and waste time on the wrong fix.
Start with the pattern, not the product aisle.
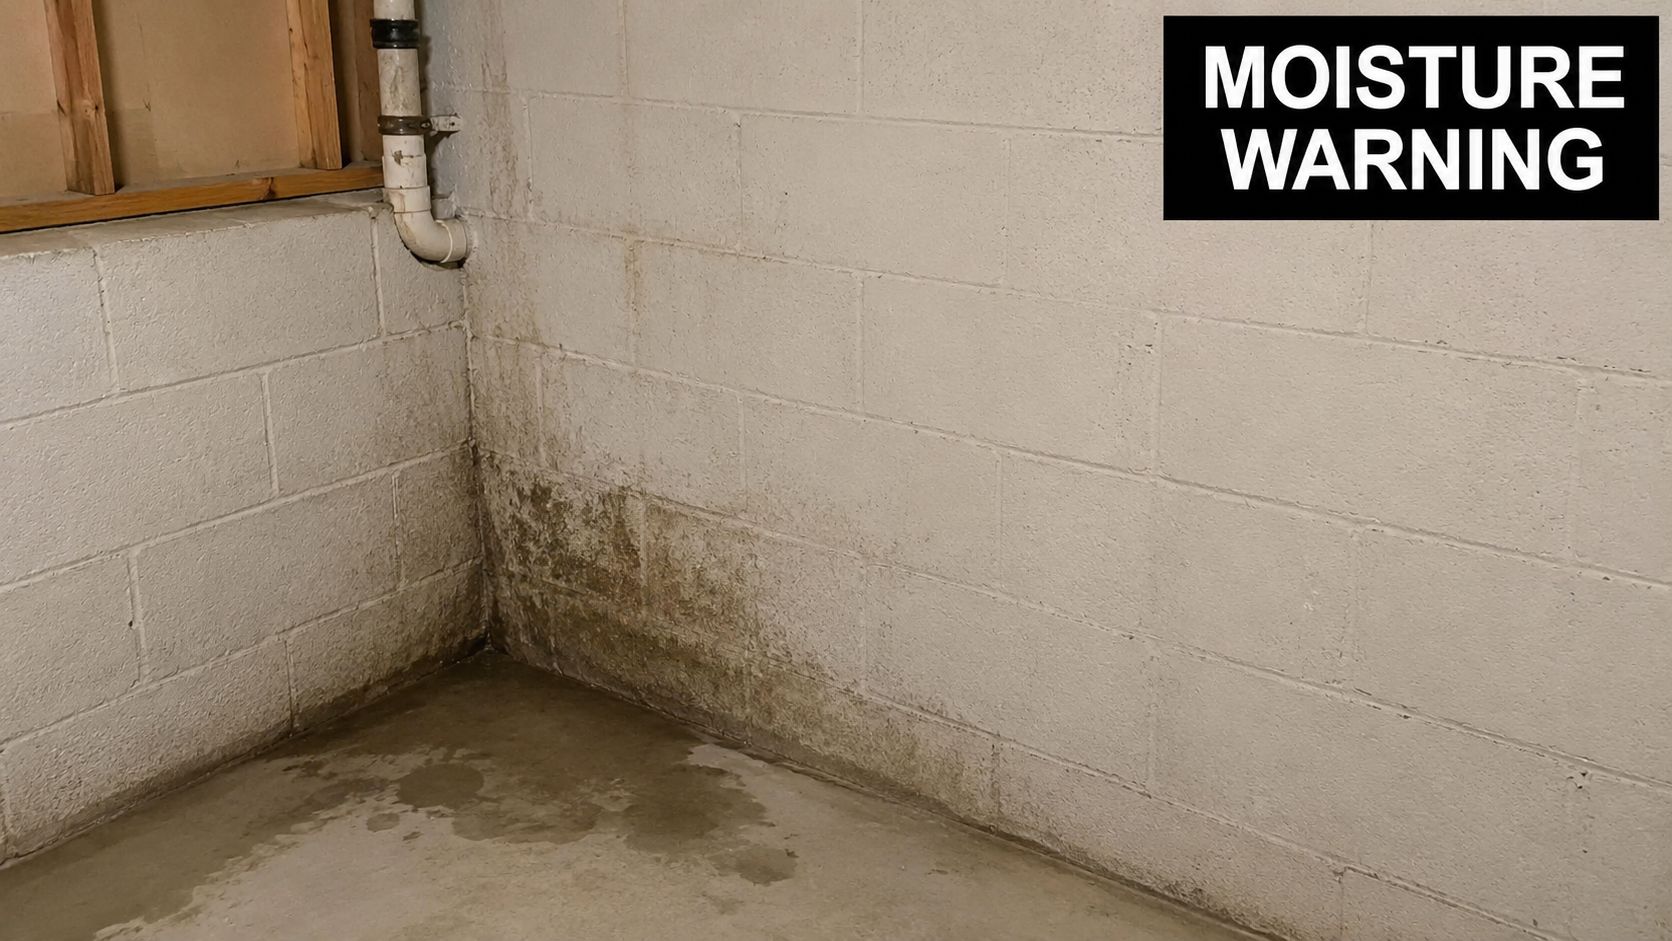
A musty odor usually means moisture has been present long enough to affect air quality or stored materials. White powder on masonry points to moisture moving through the wall and leaving mineral deposits behind. Bubbling paint often means water vapor or liquid moisture is pushing a coating loose from the surface. A damp wall with no visible streaking can point to condensation from humid air, which gets overlooked all the time in South Florida.
If you're sorting through symptoms, this guide on diagnosing basement dampness issues is useful because it helps separate surface humidity problems from actual water intrusion.
In the field, I usually sort basement moisture into three buckets:
That distinction matters. A coating can help with minor seepage on sound masonry. It does nothing for humid air leaking around rim areas, pipe penetrations, or framing transitions. In South Florida, air leakage is often the hidden part of the problem, especially in basements that feel clammy even when you do not see obvious water running down the wall.
A simple foil test can still give you a useful first read. Tape a 1-foot square piece of aluminum foil to a dry section of wall and leave it for 24 hours.
If moisture forms on the wall side of the foil, water is likely moving through the masonry. If moisture forms on the room side, indoor air is condensing on the cooler surface. If the result is mixed or inconsistent, check the room humidity and start looking harder at air leaks, because condensation problems do not always announce themselves with visible dripping.
That is why it helps to understand dew point and moisture behavior before you seal or finish any below-grade wall.
Some signs mean you should stop diagnosing and start planning repairs:
The main mistake I see is sealing the surface before identifying the moisture path. In South Florida, a basement can need waterproofing, drainage correction, and air sealing at the same time. If you only address one of them, the basement may look better for a while, then end up damp again behind the walls.
Not every basement needs the same system. Some need crack repair and a masonry coating. Some need drainage correction outside. Some have a wall that stays “damp” because humid air keeps reaching cool surfaces and condensing. In South Florida, that last one gets overlooked constantly.
Research indicates that without addressing air leakage, sealants fail to control dew points, which can lead to hidden condensation behind walls. A 2025 Department of Energy study cited by Green Building Advisor says 30% of basement moisture issues stem from unsealed air gaps rather than hydrostatic pressure. That's a big reason I don't treat waterproof paint as a complete answer by default.
Here's the clean way to think about it. Some products stop liquid water. Some control air movement. Some do a bit of both. Very few solve every basement problem on their own.
| Method | Best For | Pros | Cons | South Florida Suitability |
|---|---|---|---|---|
| Waterproof masonry paint | Dry to slightly damp masonry with no active leak | DIY-friendly, useful for porous surfaces, good finish coat | Won't fix pressure-driven water or air leakage | Good only after prep and repairs are done |
| Hydraulic cement | Localized cracks, joints, and small active entry points | Sets hard, useful for plugging defects before coating | Not a whole-wall solution, not for every moving crack | Useful as part of a system |
| Mortar patching | Larger wall gaps | Better for wider voids than coating alone | Requires careful prep and full packing | Good when used before topcoat |
| Exterior grading and downspout correction | Surface water problems | Tackles root cause outside the wall | Doesn't address all interior humidity issues | Very important in heavy-rain conditions |
| Interior drainage and sump setup | Ongoing water pressure at the wall base | Relieves water before it reaches the floor area | More invasive than paint or patching | Often the right answer when seepage keeps returning |
| Closed-cell spray foam | Air leakage, vapor control, thermal control | Air seals while adding insulation and moisture control benefits | Not a substitute for structural crack repair or major bulk water management | Strong fit for humid South Florida conditions |
A good side reference on how concrete sealers behave on hard-use surfaces is this Melbourne concrete garage floor sealer guide. It's focused on garage slabs, not basements, but it does a good job showing why surface condition and substrate type matter so much before any sealer goes down.
Waterproof paint has a place. On a properly prepared wall with minor porosity and no major water force behind it, it can help. It's often the most practical DIY option for homeowners who need a cleaner, more sealed masonry surface.
It disappoints when people ask it to do jobs it was never meant to do. It won't correct a bad yard slope. It won't stop water driven through a crack by exterior pressure. And it won't solve a basement that gets wet because humid air is leaking in and reaching a cold surface.
A coating is a finish layer. It is not a substitute for drainage, crack repair, or air control.
South Florida homes fight moisture from both sides. Rain and saturated soil pressure matter, but so does outdoor humidity. If air leaks into a cooler basement environment, moisture can condense where you can't easily see it. That's the kind of problem that shows up later as odor, staining, or damaged finishes.
Understanding open-cell vs. closed-cell foam is helpful. For below-grade or moisture-sensitive areas, the distinction matters. If the goal is stronger air sealing with more resistance to moisture movement, closed-cell foam is usually the conversation worth having.
Choose based on the failure you have:
That's the trade-off most DIY articles miss. They frame every basement problem like a paint problem. In South Florida, that's rarely the whole story.
A lot of basement jobs are lost before the first coat ever goes on. In South Florida, I see the same pattern over and over. Someone paints over a damp wall, ignores a hairline crack, leaves old flaking material in place, and never fixes the wet soil sitting against the foundation outside. The finish looks better for a while, then the musty smell comes back.
Prep is where the most important work happens.
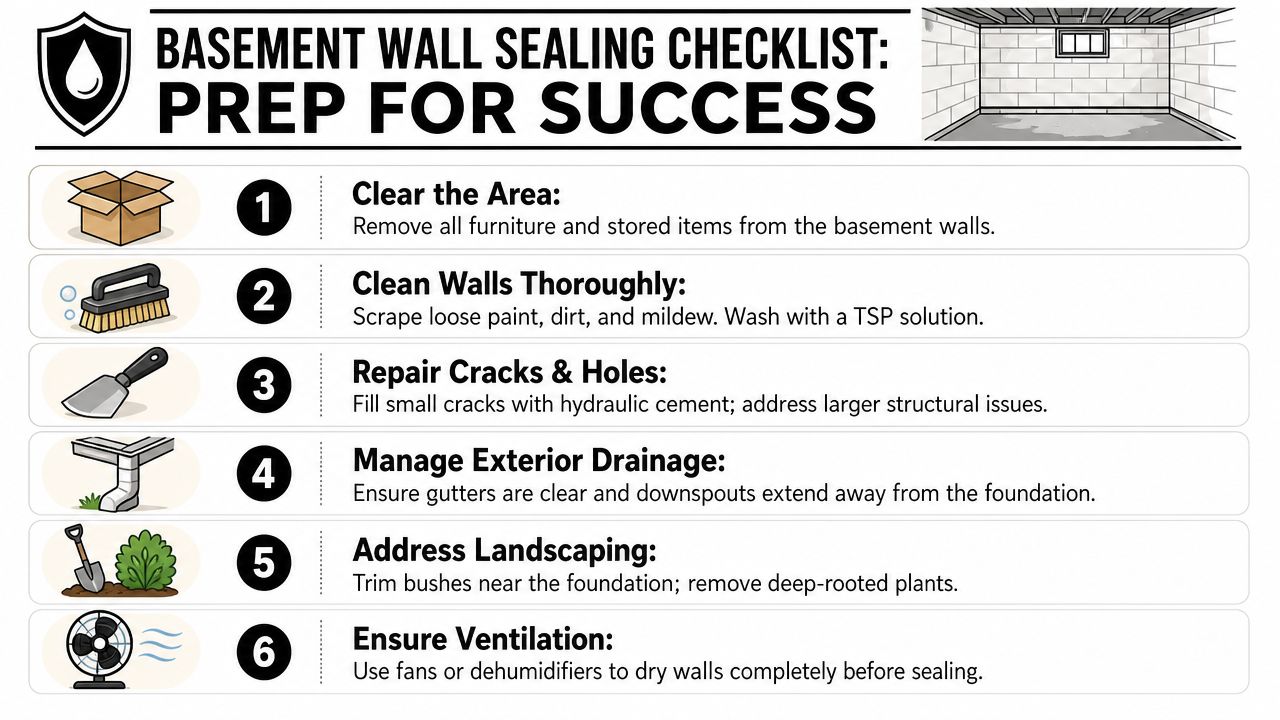
Clear the wall all the way down. Pull shelving, boxes, stored wood, and anything fabric-based away from the foundation so you can inspect the entire surface. Moisture problems hide behind clutter, especially in humid climates where trapped air stays damp.
Then clean hard enough to get back to sound material. Scrape peeling paint. Remove dirt, mildew residue, and chalky mineral deposits. If efflorescence or loose coating stays on the wall, the new sealer bonds to that weak layer instead of the masonry itself.
One more check matters here in Florida. After cleaning, look for places where humid outdoor air can leak in around pipe penetrations, rim areas, utility openings, or framing transitions. A wall coating will not stop that moisture load. If the basement stays damp even without visible seepage, air leakage needs to be part of the prep plan before you spend money on finish materials.
Broad waterproofing products are finish layers. Cracks, cold joints, tie holes, and larger gaps need their own repair first.
Use a simple sequence:
For wider gaps, use a proper mortar repair instead of trying to bridge the opening with paint or a thin skim coat. Gaps larger than 1/8 inch should be filled solid so you do not leave voids behind the surface.
If the wall still feels cool and damp after cleaning, stop there and track down the moisture source. Sealing trapped moisture into a basement wall often leads to blistering, moldy odors, or a coating that lets go early.
Interior prep is only half the job. In South Florida, high water tables, hard summer rain, and heavy roof runoff can keep the soil near the foundation wet for days. If the yard sends water toward the house, the wall stays under pressure no matter what product you apply inside.
Start outside with the simple corrections that change how water moves:
A good target is a 6-inch drop over 10 feet away from the foundation. If the lot is flat, common in parts of South Florida, you may need swales, drains, or other site work to keep runoff from collecting at the wall.
That outside work also supports the inside moisture strategy. Less standing water at the foundation means less inward pressure, and less humidity collecting around penetrations and cracks that should have been air sealed in the first place.
Application is the stage where careful prep either pays off or gets wasted. In South Florida, I see plenty of basement walls that were coated correctly on paper but still failed because the installer treated the job like a simple paint project. High humidity, warm masonry, and damp air sneaking through joints can ruin a decent product if you do not control the wall and the air around it.
Set up everything before you mix or open anything. That keeps the work pace steady, which matters with fast-setting patch materials and coatings that have a tight recoat window.
If the basement has obvious air leakage around rim joists, pipe penetrations, or wall transitions, address that as part of the job. A liquid wall coating helps with bulk moisture at the masonry surface. It does not solve humid air moving through gaps. For that part of the assembly, many homeowners end up talking with spray foam insulation contractors who can seal irregular openings that paint and cement cannot.
Start with defects, not the field of the wall. Hairline cracks, tie holes, honeycombs, and utility penetrations should be filled before any coating goes on. Pack the repair material firmly into the void from more than one angle so it grabs the sides instead of sitting as a thin face patch.
Hydraulic cement works well for small active pathways because it sets fast and resists water. Larger gaps usually need a stiffer cement-based repair mix that can hold shape without slumping out. The goal is simple. Fill the depth of the defect and leave a solid, well-bonded surface for the coating.
Press repair material into the defect, not just across it. Hollow patches fail early.
Around penetrations, pay attention to air movement as much as visible water staining. In South Florida basements, humid air slipping through a small gap can create condensation on cooler surfaces and make the wall look like it is leaking when air infiltration is the actual problem.
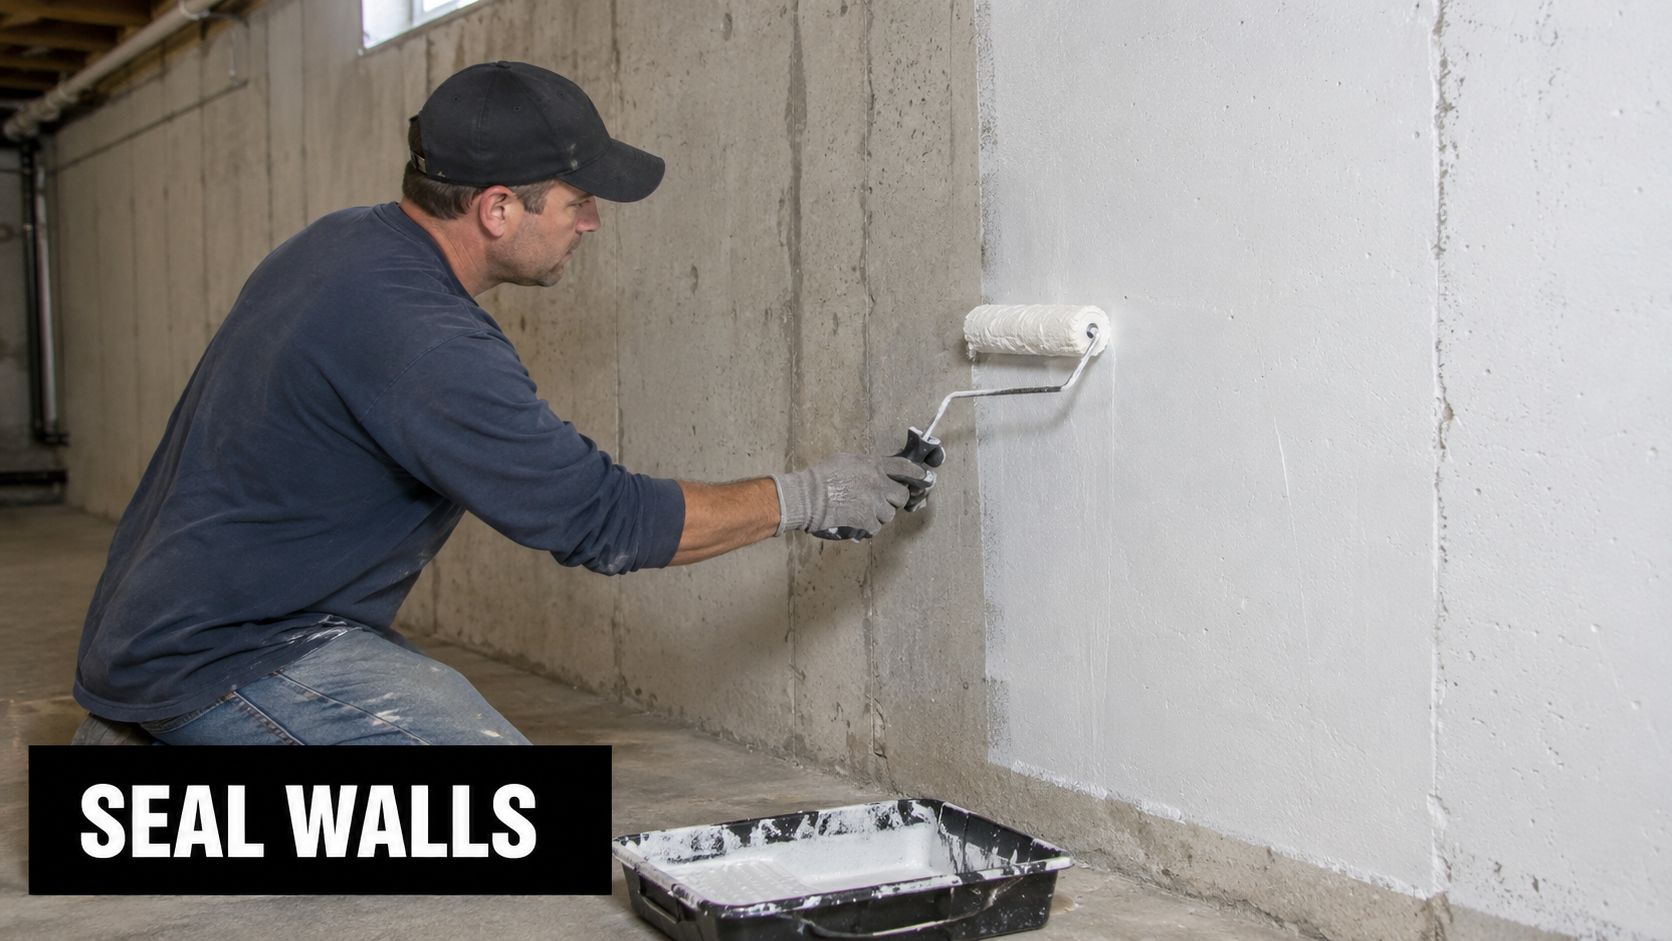
Once repairs are cured, coat the wall in the sequence the product calls for. Most masonry sealers perform better with multiple controlled coats than one thick pass. On rough block, brush the first coat into the pores, mortar joints, and patched spots. Then roll the larger field. On poured concrete, coverage is usually more even, but corners and cold joints still need extra attention.
Do not chase speed here. If you recoat too soon, the finish can soften, blister, or trap moisture. If you wait too long, some products lose their best bond between coats. Follow the label for spread rate and recoat timing, and watch the wall itself. In a humid Florida basement, cure time often stretches beyond what people expect.
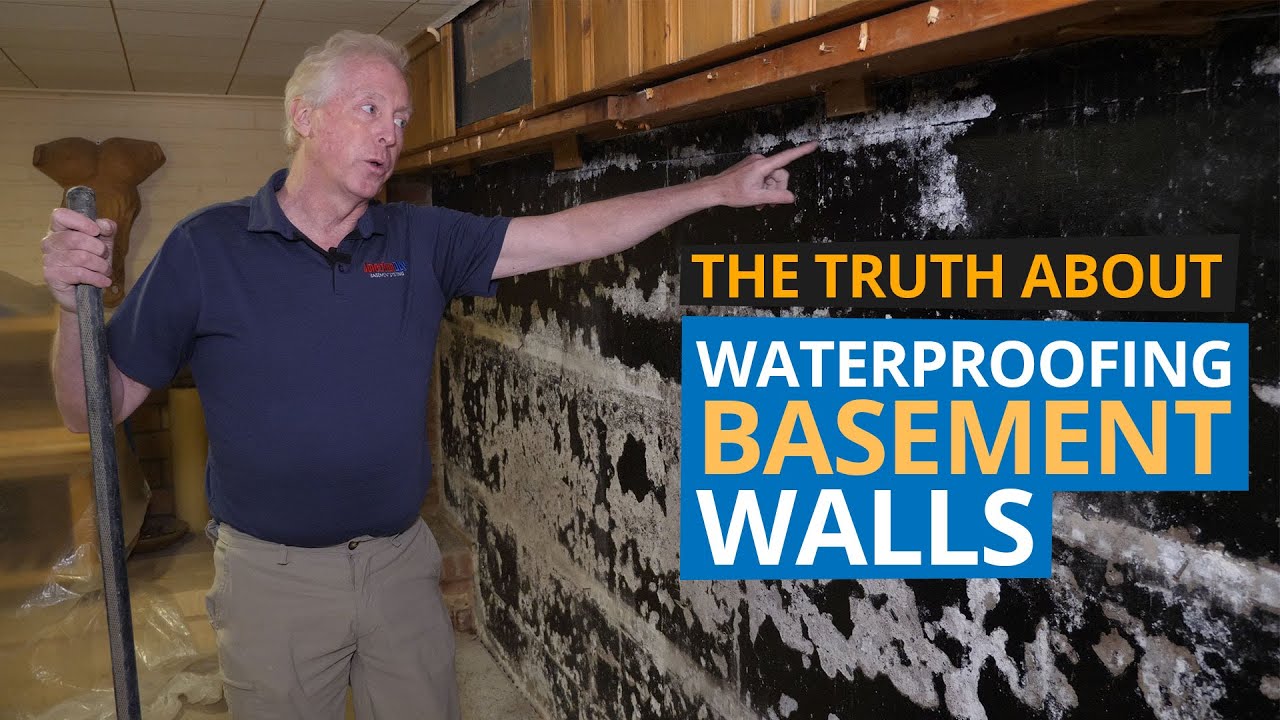
A visual walkthrough helps if you haven't done this kind of work before:
A few errors show up over and over:
Good application looks boring. The repairs are solid, the coats are even, the corners are worked in by hand, and the installer respects cure time. That is how you get a wall that stays dry longer in a South Florida basement, where moisture pressure and humid air often hit at the same time.
Some basement jobs are well within reach for a careful homeowner. Others are not worth the gamble.
If the wall has a large horizontal crack, a stair-step crack in masonry, repeated water entry under pressure, or visible movement, stop treating it like a paint project. That's when you need a foundation or waterproofing specialist who can diagnose the assembly, not just the surface.
The same goes for basements that stay damp even after obvious cracks are patched and drainage has been improved. That usually means the moisture problem is more complex than one visible leak. Air leakage, thermal differences, and hidden condensation can all be involved, especially in a hot-humid climate.
Call a pro when you see any of these:
A smart homeowner doesn't insist on DIY. A smart homeowner knows when the problem has moved beyond patch-and-paint territory.
For moisture problems tied to air leakage and whole-home humidity control, it often makes sense to speak with experienced spray foam insulation contractors who understand how to build a continuous air barrier instead of just treating visible symptoms.
That isn't about overbuilding. It's about avoiding the expensive cycle where a basement looks fixed for a season, then smells damp again when humidity spikes or the next heavy rain hits.
A sealed basement doesn't stay dry on autopilot. South Florida weather keeps testing the weak spots. Rain loads the soil. Humid air finds gaps. Landscaping settles. Gutters clog. If you want the repair to last, maintenance has to become routine.
The good news is that the routine isn't complicated.
Keep an eye on the outside first. Water management at the roofline and around the foundation affects everything below grade.
Use a simple checklist:
Inside the basement, control ambient humidity before it builds into a larger issue. In this climate, a dehumidifier often earns its keep, especially in storage-heavy spaces or rooms that don't get much air movement.
The best basement moisture strategy combines three habits. Keep bulk water away from the house. Keep humid air under control. Fix small defects before they become larger entry points.
If you remember only one thing from this guide, remember this: sealing basement walls works best when it's part of a system. Drainage, wall prep, targeted repair, coating choice, and air control all have to line up. When they do, the basement stays drier, smells better, and gives you fewer surprises during the next wet stretch.
If your South Florida property has persistent moisture, high indoor humidity, or a basement that never seems fully dry, Airtight Spray Foam Insulation can help you address the air leakage side of the problem with a practical, job-specific approach. Their team serves Jupiter, Palm Beach Gardens, West Palm Beach, Wellington, Stuart, and nearby areas with spray foam solutions designed to seal gaps, control humidity, and support longer-lasting comfort.