Blog
Mastering Insulation Concrete Block Walls in Florida
Here's the simple truth I've learned from over 25 years in this business: your standard concrete block walls are no match for the South Florida climate. They might look tough, but they act more like sponges, soaking up our intense heat and humidity and sending your energy bills through the roof.
Properly insulating these walls is non-negotiable. It’s what turns them from a major energy drain into a high-performance shield for your home.
Why Bare Concrete Walls Fail in Our Climate
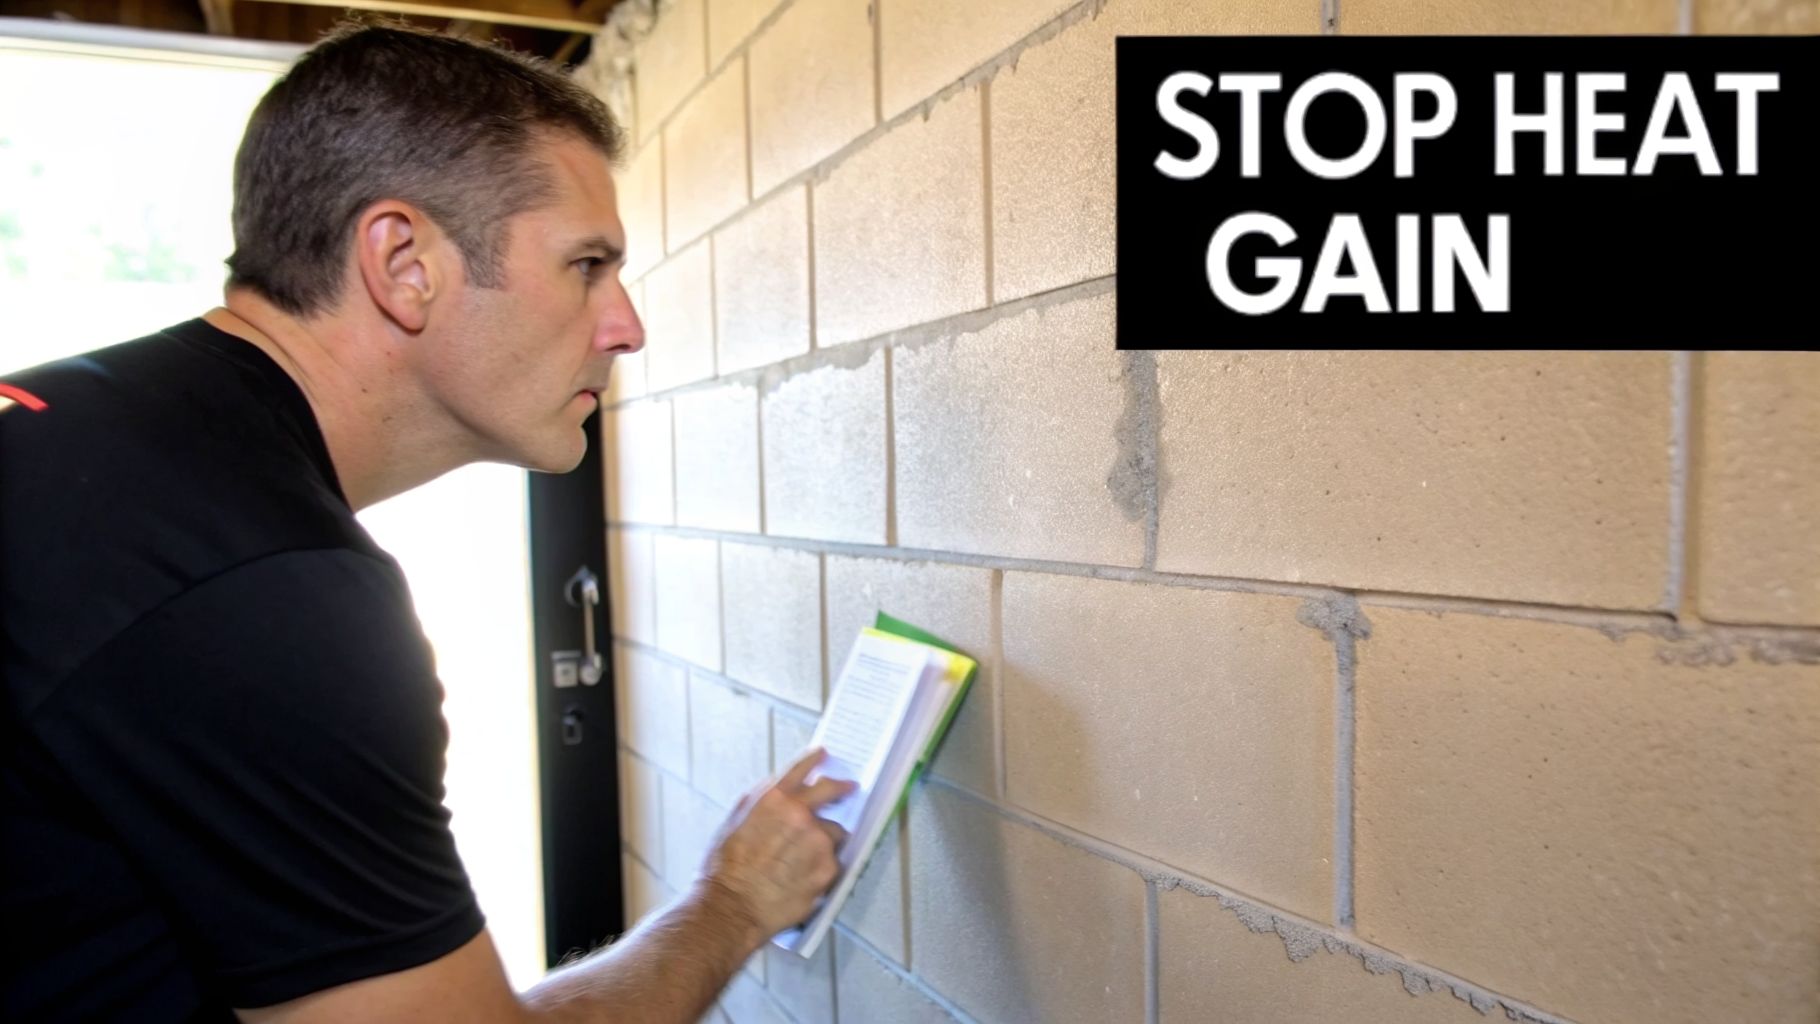
I talk to homeowners in Jupiter and Palm Beach Gardens all the time who think their concrete masonry unit (CMU) walls are indestructible fortresses. The reality is, they're often the biggest source of energy loss and discomfort in the entire house. The problem is baked right into how they’re made.
CMU blocks have hollow cores, designed to make them lighter and easier for masons to handle. But here in the Sunshine State, those empty cavities become superhighways for heat. This is a classic case of thermal bridging, where the brutal Florida sun radiates straight through the concrete, forcing your AC to run nonstop.
The Hidden Costs of Uninsulated Blocks
The financial hit from an uninsulated wall is almost always bigger than people think. I’ve seen it countless times—a homeowner in Jupiter gets a shocking FPL bill in August and immediately blames their AC unit or old windows. More often than not, the real culprit is the CMU walls bleeding energy.
It's a perfect storm of compounding problems:
- Air Leakage: Concrete seems solid, but it's porous. Tiny cracks and imperfections allow hot, humid air to sneak right in, accounting for up to 40% of a home's total energy loss.
- Moisture Intrusion: That humid air doesn't just bring heat; it brings moisture. When it hits the cooler interior side of the wall, it condenses, creating that damp feeling and giving mold a perfect place to grow.
- HVAC Overload: Your air conditioner is forced to work overtime to fight a battle it can't win against constant heat gain. This leads to premature breakdowns and expensive repairs.
It's a vicious cycle of high bills, poor air quality, and an uncomfortable home.
An uninsulated concrete block wall might only give you an R-value of R-4. After we’re done, that same wall can perform at R-24 or even higher. That’s not just an improvement; it’s a total transformation in how your home handles heat.
A Tale of Two Walls
Think about two identical homes side-by-side in a place like Wellington. One has the standard, uninsulated block walls. The other has been professionally insulated. On a typical August afternoon when the exterior wall is baking at over 120°F, the difference is night and day.
In the uninsulated house, the interior walls feel warm, the air is thick and sticky, and the AC is screaming. In the insulated home, the walls are cool to the touch, the air feels crisp, and the AC cycles on and off like it’s supposed to. That’s the real-world impact.
To put it in black and white, here’s a quick comparison of what we’re talking about.
Comparing Uninsulated vs Insulated Concrete Block Walls
| Performance Metric | Standard Uninsulated Block Wall | Professionally Insulated Block Wall |
|---|---|---|
| Typical R-Value | R-4 to R-8 | R-14 to R-24+ |
| Air Sealing | Poor (Porous with air leaks) | Excellent (Airtight barrier) |
| Moisture Control | Susceptible to moisture intrusion | Effectively blocks moisture |
| Energy Efficiency | Low (High utility bills) | High (Significant energy savings) |
| Indoor Comfort | Fluctuating, often humid | Stable, cool, and dry |
The numbers don't lie. Moving from the left column to the right isn't just an upgrade—it's the only way to build a truly comfortable and efficient home in South Florida.
Choosing Your Concrete Block Insulation Method
Picking the right insulation for your concrete block walls is probably the most critical decision you'll make for your home's long-term comfort and energy bills. There isn't a one-size-fits-all answer. The best choice really comes down to your budget, whether you're building new or renovating, and just how serious you are about winning the war against South Florida's humidity.
Let's walk through the main options you'll be considering. We'll look at how each one works in the real world—the good, the bad, and the ugly—so you can see what truly makes sense for your home.
Interior Stud Walls with Batt Insulation
This is the old-school method. For decades, builders have framed a 2×4 wood or metal stud wall just inside the concrete blocks. Then, they stuff the spaces between the studs with fiberglass or mineral wool batts and cover it all up with drywall.
It’s a system everyone recognizes, but for our climate, it has some major flaws. The biggest problem? It doesn't actually create an air seal. Air, and all the moisture it carries, will find its way through tiny gaps around electrical outlets, window frames, and where the wall meets the floor and ceiling. This completely bypasses the insulation.
Worse yet, this approach leaves a small, unconditioned gap between the insulation and the concrete wall. In Florida, that's a recipe for disaster. It’s the perfect, hidden spot for condensation to form and mold to take root right behind your brand-new walls.
Rigid Foam Boards
Another route is to attach big panels of rigid foam insulation directly to the inside of your block walls. These boards, usually made of Expanded Polystyrene (EPS) or Extruded Polystyrene (XPS), offer a decent R-value and come in different thicknesses.
On paper, the installation looks simple enough: glue or fasten the boards to the wall, tape all the seams perfectly to create an air and vapor barrier, and then hang your drywall.
The big catch with rigid foam is that it demands absolute perfection. One tiny, unsealed gap in a seam or around a pipe can let humid air sneak behind the board. Once it's back there, the moisture is trapped against the cool concrete, completely defeating the purpose of the vapor barrier.
Think about trying to perfectly seal every single joint on a wall, navigating around windows and outlet boxes. It's an incredibly tedious job. For a contractor in West Palm Beach on a tight schedule, the sheer amount of labor needed to get that flawless seal often makes it a less practical choice compared to modern methods.
Spray Polyurethane Foam Insulation
This is where we see a real solution that’s built for the challenges of insulating concrete block walls in our region. Spray Polyurethane Foam (SPF) starts as a liquid that’s sprayed right onto the concrete. Within seconds, it expands to fill every single crack, pore, and imperfection, locking itself to the wall and creating a single, solid barrier.
Because it molds itself perfectly to the surface, it acts as a complete air seal, a thermal insulator, and—with closed-cell foam—a powerful moisture barrier, all in one shot. This single application eliminates the air leaks and condensation risks that haunt the other methods. You can dive deeper into the specifics in our guide comparing open-cell and closed-cell foam.
There are two types you’ll hear about:
- Open-Cell Spray Foam: This is a lighter, spongier foam. It's a fantastic air barrier and great for sound dampening, but it does allow water vapor to pass through it. We often use it in attics, but it’s not the right fit for applying directly to block walls in a humid climate like ours.
- Closed-Cell Spray Foam: This is the heavy-duty, high-performance option. It’s dense, rigid, and has a much higher R-value per inch (around R-6 to R-7). Most importantly, it's waterproof and acts as a true vapor barrier, stopping that humid outdoor air dead in its tracks.
This all-in-one performance is why a builder putting up a new custom home in Jupiter will almost always opt for closed-cell spray foam. It guarantees a perfect seal, adds structural rigidity, and provides peace of mind that other methods just can't deliver.
To help you see the options at a glance, here's a quick breakdown of how these methods stack up against each other.
Insulation Methods for Concrete Walls: A Quick Comparison
| Insulation Type | Key Advantage | Key Disadvantage | Best For |
|---|---|---|---|
| Batt Insulation | Low material cost and familiar to most contractors. | Ineffective air seal; high risk of hidden moisture and mold. | Dry, cold climates, but not recommended for South Florida. |
| Rigid Foam Board | Good R-value and acts as a vapor barrier if perfectly installed. | Extremely difficult and labor-intensive to seal perfectly. | DIY projects where meticulous attention to detail is possible. |
| Spray Foam | Creates a perfect, seamless air, vapor, and thermal barrier. | Higher upfront cost and requires professional installation. | New construction and retrofits in humid climates for maximum performance. |
While spray foam has a higher initial investment, the long-term energy savings and protection against moisture damage offer a return that the other methods simply can't match, especially here in Florida.
A Practical Guide to Installing Block Wall Insulation
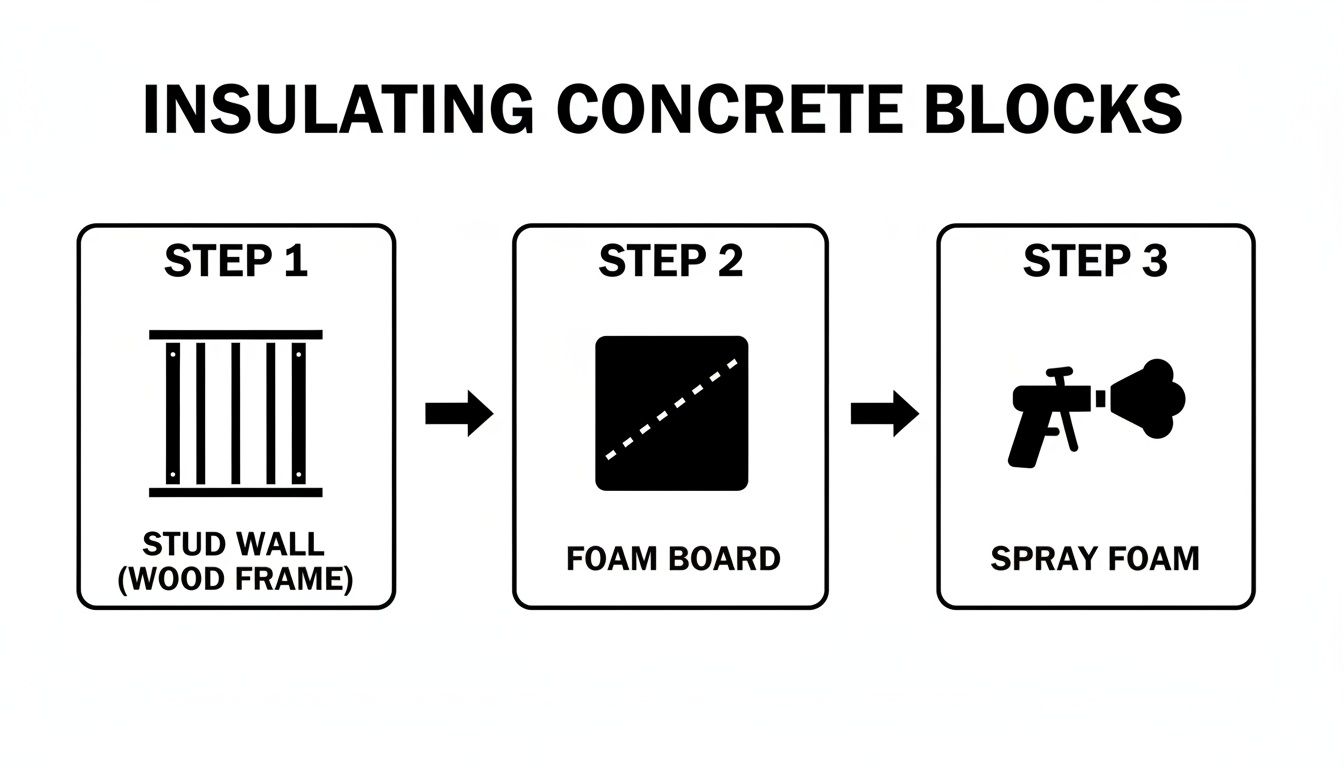
You can look at a diagram like this all day, and it seems simple enough. But after 25 years in this business, I can tell you that the real difference between a high-performance wall and a future moisture nightmare comes down to the quality of the installation.
Choosing the right material is only half the battle. Executing the installation flawlessly is what truly counts. Let's walk through how a professional job gets done, step-by-step.
Prepping the Concrete Surface
Before we even think about insulation, we have to prepare the wall itself. This isn't just a quick sweep-up; it's about creating a perfect, clean slate for the insulation to bond to and ensuring there are zero paths for air or moisture to sneak through.
Any dust, grease, old paint, or efflorescence—that chalky white stuff you see on block—has to go. We use wire brushes and a heavy-duty shop vac to get the surface perfectly clean. If the wall is really grimy, we might use a light pressure wash, but we absolutely have to let it dry completely before taking the next step.
Then, we hunt for cracks. Even tiny hairline fractures can break your air seal and cause problems down the road. We fill every single one with a high-grade masonry caulk or an epoxy injection to make the wall a single, solid surface. This prep work is the foundation of a successful job, and we never cut corners on it.
A South Florida Scenario: Garage Prep in Wellington
Think about a standard block wall garage in Wellington, baking in that intense Florida sun. The homeowner wants to convert it into a usable workshop, but it’s an oven in the summer. When our crew shows up, the first thing we do is prep.
- First, we clear the entire work area, giving us full access to the walls.
- We then go over every inch of block, marking every crack or spot of crumbling mortar.
- Finally, we get to cleaning and repairing every single imperfection we marked.
It might look like a lot of upfront work, but this is the number one thing homeowners and inexperienced crews get wrong. Slapping expensive insulation on a dirty, cracked wall is like building a house on a shaky foundation. It's just not going to last.
Installation Techniques: Rigid Foam vs. Spray Foam
How we install the insulation depends entirely on the material you choose. A skilled DIYer might feel comfortable working with rigid foam boards, but spray foam is a different animal—it's strictly a job for certified pros with specialized gear.
With rigid foam boards, it's all about precision. Each board has to be cut to fit perfectly against its neighbor, leaving no gaps. We apply a foam-board-specific adhesive to the back and press it firmly against the clean concrete.
The most crucial part of a rigid foam install is taping the seams. Every single joint between the boards, every cut around an electrical outlet, and every edge where foam meets the floor and ceiling has to be sealed perfectly with quality construction tape. Miss one inch, and you’ve created an air leak that compromises the whole system.
Closed-cell spray foam, on the other hand, is a completely different process. Our technicians wear full-body protective suits and use a specialized spray gun that mixes two liquid components right at the nozzle. The moment that liquid hits the wall, it expands in seconds to create a solid, seamless layer of insulation.
That expansion is what makes it so effective. The foam pushes its way into every tiny pore and hairline crack in the concrete, creating a truly monolithic bond. There are no seams to tape and no gaps to fill. In one application, you get your insulation, air barrier, and vapor retarder.
Pro Tip: The "Flash and Batt" System
For many projects, we recommend a hybrid approach called the "flash and batt" system. It’s a smart strategy that gives you the unbeatable air-sealing power of spray foam combined with the lower cost of traditional batt insulation.
Here’s how it works:
- We apply a thin, 1- to 2-inch layer of closed-cell spray foam directly to the concrete block. This "flash" coat creates the perfect air and vapor barrier right against the masonry.
- Next, a standard 2×4 stud wall is built in front of the spray foam layer.
- Finally, we fill the stud cavities with cost-effective fiberglass or mineral wool "batt" insulation.
This system delivers the best of both worlds. You get the airtight seal from spray foam exactly where you need it most—against the concrete—while using budget-friendly batt insulation to hit your final R-value target. It's a fantastic solution we often use in new construction in areas like Palm Beach Gardens, where performance and budget are equally important.
Winning the Battle Against Moisture in South Florida
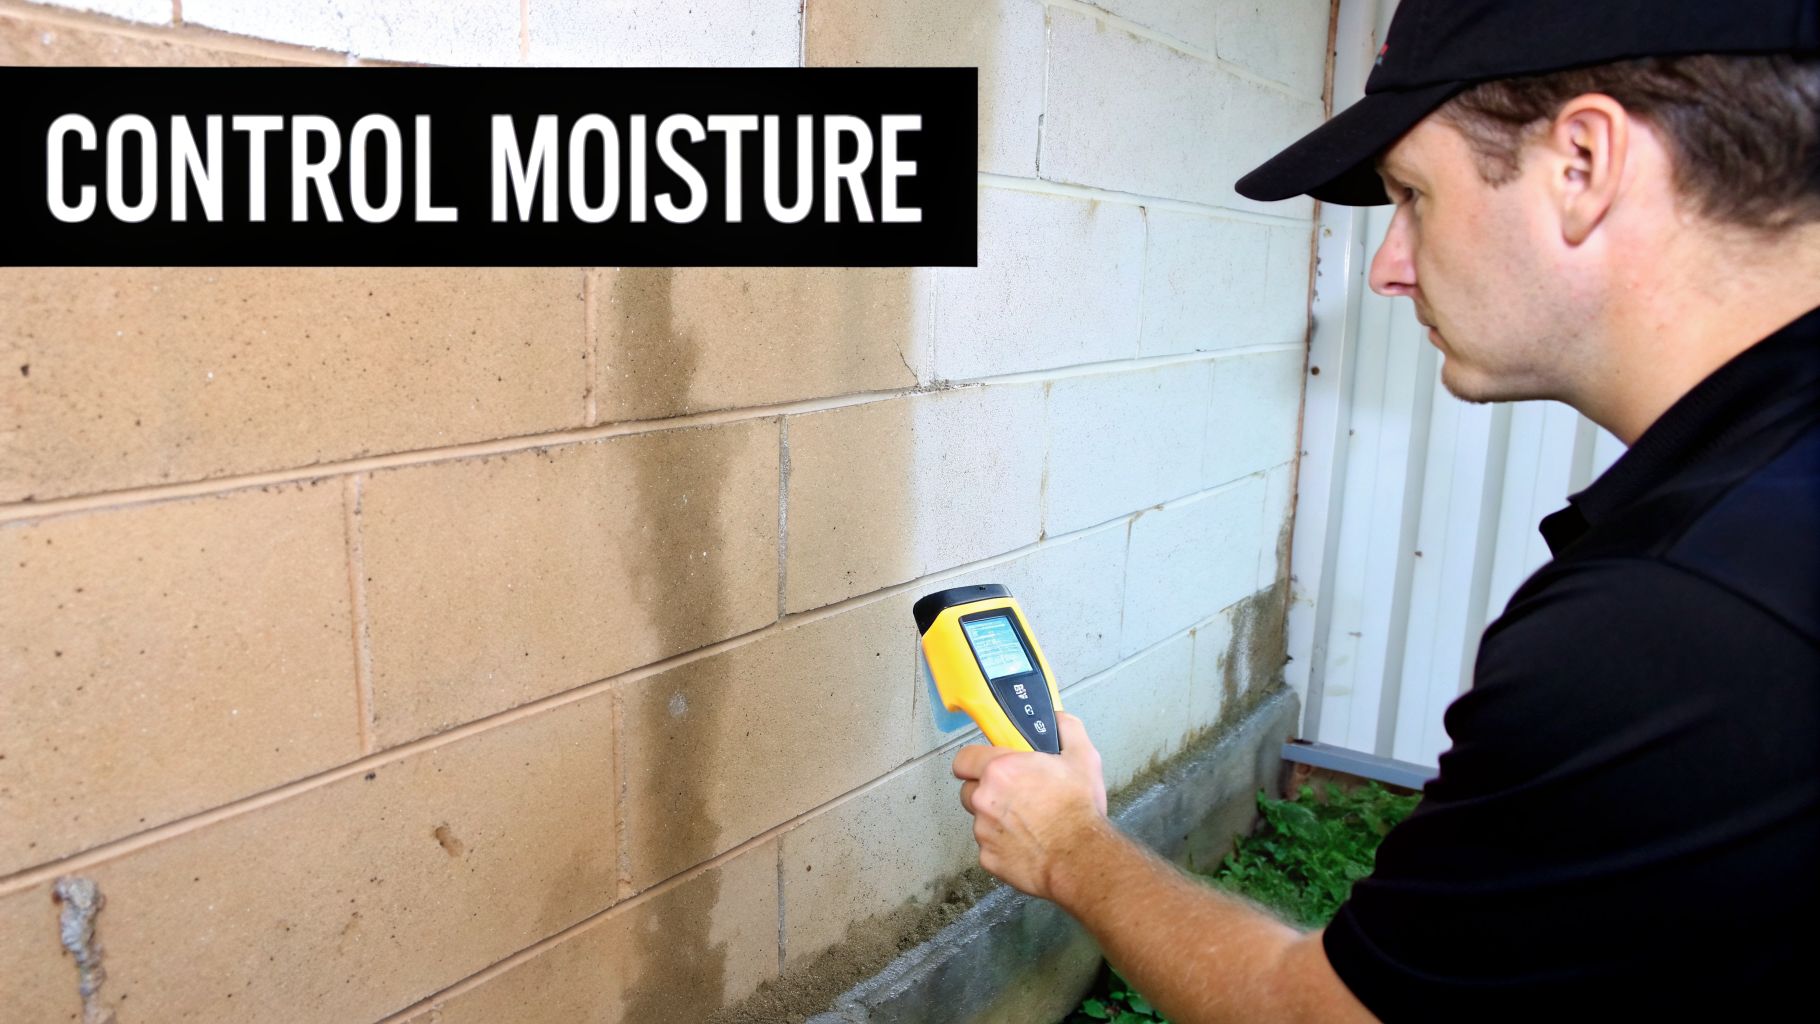
Here in South Florida, the heat is relentless, but it’s only half the story. The real fight, the one we wage day in and day out, is against moisture. Our air is saturated with humidity, and that moisture is constantly trying to push its way into our homes.
If you’re insulating concrete block walls, getting moisture control right isn’t just important—it’s everything.
The physics are simple. In cold climates, warm, moist air inside a house wants to get out. Here, the process is reversed. Hot, humid air from outside forces its way inward through porous concrete in a process called vapor drive. This is the single biggest challenge for any insulation project in our region.
The Vapor Barrier Mistake
For years, the textbook method was to put a plastic vapor barrier on the inside of the insulation, right up against the drywall. In a place like Minnesota, that works perfectly. Here in Florida, it's a recipe for disaster.
Think about it: humid air pushes through the concrete block and insulation, then hits that cool, air-conditioned plastic sheet. What happens next? Condensation. Water beads up and gets trapped right inside your wall. It’s a hidden swamp, creating the perfect breeding ground for mold and rot.
Trapping moisture inside a wall assembly is the fastest way to create a serious mold problem. The correct strategy in South Florida is to stop the moisture on the exterior side of the insulation, right at the concrete, before it ever enters the wall system.
Proper insulation is a critical component of how you prevent mold in your home, especially in South Florida's climate, by controlling condensation and managing indoor temperatures.
A Real-World Case Study in Palm Beach Gardens
I remember getting a call from a property manager in Palm Beach Gardens who was at his wit's end. He had a block-wall apartment complex with a stubborn mold problem. They'd done it all—remediation, new drywall, better ventilation—but that musty, damp smell always came back.
The culprit was their insulation strategy. They had interior stud walls filled with fiberglass batts and a poly vapor barrier behind the drywall. Every summer, without fail, humid air would drive through the block, condense on that plastic sheeting, and start the mold cycle all over again.
Our solution was to tear out the entire failed system. We went in and applied 2 inches of closed-cell spray foam directly onto the interior of the concrete block walls, creating one perfect, monolithic barrier.
The results were immediate and, more importantly, permanent:
- Vapor Control: The closed-cell foam itself acts as a Class II vapor retarder, stopping inward-driven moisture right where it belongs—on the outside.
- Airtight Seal: It completely sealed every tiny crack and pore in the concrete, putting a dead stop to humid air infiltration.
- No Condensation: By keeping the moisture on the warm side of the wall, there was no surface left for condensation to form within the wall cavity.
The mold problem vanished. Not just for a season, but for good. The apartments felt better, and the manager’s maintenance headaches disappeared. It wasn't the easy fix, but it was the right fix. To get a better handle on the science, you can read more about how a proper moisture barrier insulation system is designed for our climate.
R-Value Isn't the Whole Story: Unlocking Real Energy Savings
Everyone in the insulation world talks about R-value. It’s the number you see on the packaging that measures how well a material resists heat flow. A bigger number is better, right?
Well, here in South Florida, that number is only the beginning of the conversation.
The real key to making your concrete block walls energy efficient isn't just the R-value of the insulation you choose. It's the effective R-value of the entire wall assembly—how it all works together once installed. Most importantly, it comes down to how well it stops air from leaking through.
Why Air Leaks Are Your Biggest Enemy
Let’s be honest: concrete block walls leak air like a sieve. You can install foam boards with a high R-value, but if you have tiny gaps at the seams or around pipes, you’re just letting hot, humid air bypass the insulation completely.
Air leakage can gut your insulation’s stated R-value by 20-50%. Suddenly, that expensive upgrade is barely doing its job. Think of it like a cooler with a great lid, but with a few holes drilled in the sides. It doesn't matter how good that lid is if cold air is escaping elsewhere. An airtight seal is what makes the whole system work.
A wall’s performance is only as good as its weakest point. A single unsealed gap can undermine the R-value of an entire section, letting your expensive cool air escape while humid, hot air pours in. This is why a seamless application is so vital.
Pushing Past "Good Enough" to Achieve Great Savings
We've known for a long time that insulated concrete can make a difference. Early tests on insulated concrete forms (ICFs) back in the 60s and 70s showed they could reduce energy costs by about 33% compared to uninsulated walls.
But that was just the start. That 33% was a baseline, and we can do so much better now. The real-world performance we see today depends entirely on getting that perfect airtight seal.
This is where closed-cell spray foam changes the game. It creates a single, solid barrier that molds to every crack and imperfection, completely eliminating air leakage. This doesn’t just meet the old benchmark; it blows past it, often pushing utility bill savings closer to 40-50%. In fact, we regularly see property managers report immediate savings of 25-35% after we complete an installation.
Calculating Your Return on Investment
A professional insulation upgrade is an investment, but it's one with a clear and fast payback.
Think about it: if you save $150 a month on your FPL bill, that’s $1,800 back in your pocket every year. Over ten years, that's $18,000. And that doesn't even factor in the boost to your home's resale value and your family's comfort. You can get a rough idea of your own numbers when you calculate your home's insulation R-value.
The benefits you'll feel go way beyond the numbers on your bill:
- No More Hot Spots: Your home will finally have stable, consistent temperatures from room to room.
- A Quieter Home: The dense foam is a fantastic sound barrier, muffling noise from outside.
- Breathe Easier: A sealed home keeps out the pollen, dust, and crushing humidity that plague South Florida.
As building science evolves, we're always looking at new sustainable masonry trends to maximize a home's performance. But it all starts with the right insulation. When you properly insulate your concrete block walls, you’re not just spending money—you’re making a smart investment that delivers real savings and comfort for decades.
Common Questions We Hear About Insulating Block Walls
Even after you've done some research, a few specific questions always seem to pop up. We get calls about this stuff all the time, so I want to tackle the most common ones head-on. My goal is to give you the clear, practical answers you need to feel confident about insulating your concrete block walls.
Should I Insulate the Inside or Outside of My Block Walls?
For our hot, humid South Florida climate, the answer is almost always the same: insulate the interior surface of your concrete block walls. This is, by far, the best practice here.
When we insulate from the inside—especially with closed-cell spray foam—the insulation acts as a continuous barrier against air, heat, and moisture, all on the warm side of the wall. This is exactly where you want that control.
While you can insulate the exterior, it creates a whole new set of problems. You have to add a durable, weather-resistant finish over the insulation, which is a major added cost and a complex job. More importantly, insulating the interior is simply the most direct and effective way to protect your cool, conditioned space from our relentless heat and humidity.
Can You Insulate Concrete Block Walls That Are Already Finished?
Yes, you can, but your options get a bit more limited. If you’ve got drywall up already with no insulation behind it, the most practical and least disruptive route is injected block foam insulation.
Here’s how that works: we drill small, carefully placed holes into the exterior mortar joints of your block walls. From there, a specialized foam is injected into the hollow cores of the concrete blocks. The foam then expands, filling those empty voids completely.
This method gives you a serious boost in R-value and cuts down on air leaks without forcing you to tear out your interior walls. It's an excellent retrofit solution we often use for older block homes.
What Is the Best Insulation for a Concrete Block Garage?
Garages with uninsulated CMU walls are notorious heat traps. If you're looking to turn that space into a comfortable workshop, gym, or living area, closed-cell spray foam is the undisputed champion.
For a garage wall, we often recommend a hybrid "flash and batt" system. It's a fantastic combination of performance and value.
- First, we apply a 1- to 2-inch layer of closed-cell spray foam directly onto the block. This creates that perfect air and moisture seal.
- Next, a simple stud wall is framed in front of the foam.
- Finally, we fill the stud cavities with budget-friendly batt insulation to bump up the total R-value.
This approach gives you the critical air and moisture control of spray foam right where it counts, plus the added thermal performance of batts. It's how you transform an unbearably hot garage into a comfortable, conditioned part of your home.
In our experience, insulating a block garage with closed-cell spray foam not only makes the space usable year-round but also significantly reduces the heat load on the adjoining house, leading to lower overall energy bills.
Will Insulation Prevent My Concrete Walls From “Breathing”?
This idea that walls need to "breathe" is a persistent myth, and in a humid climate like ours, it's a dangerous one. A porous, unsealed concrete block wall doesn't just breathe—it actively sucks in hot, moisture-heavy air. This is a recipe for high energy bills and potential mold growth.
The goal isn't to let your walls breathe; it's to control air and moisture movement. A properly installed insulation system, especially closed-cell spray foam, makes the wall assembly airtight. This stops uncontrolled air leakage completely. Your HVAC system can then do its job properly, managing indoor air quality and humidity levels. Trust me, controlled mechanical ventilation is vastly superior to letting your walls leak air whenever they want.
Making the right choice for your home starts with having the right information from people who do this work every day. If you're ready to transform your uncomfortable, inefficient block walls into a high-performance asset, Airtight Spray Foam Insulation is here to help. We provide professional guidance and flawless installation tailored to the unique demands of the South Florida climate.
Request your free, no-obligation quote today and let's get it done right.