Blog
Insulating Around Electrical Boxes: A How-To Guide
If you're in Jupiter, West Palm Beach, Wellington, or anywhere else in South Florida, you may have noticed the same pattern a lot of homeowners mention on service calls. The AC runs hard, some rooms still feel sticky, and exterior walls near outlets never seem as tight as they should. You might not feel a dramatic winter draft the way people do up north, but that doesn't mean those outlet and switch boxes are harmless.
In this climate, small wall leaks pull in humid air, give pests a pathway, and make your cooling system work harder. Electrical boxes are one of those details that look minor until you add them up across the whole house. One box isn't the problem. A house full of unsealed boxes, wire penetrations, and drywall gaps is.
Why Tiny Gaps Around Outlets Are a Big Deal
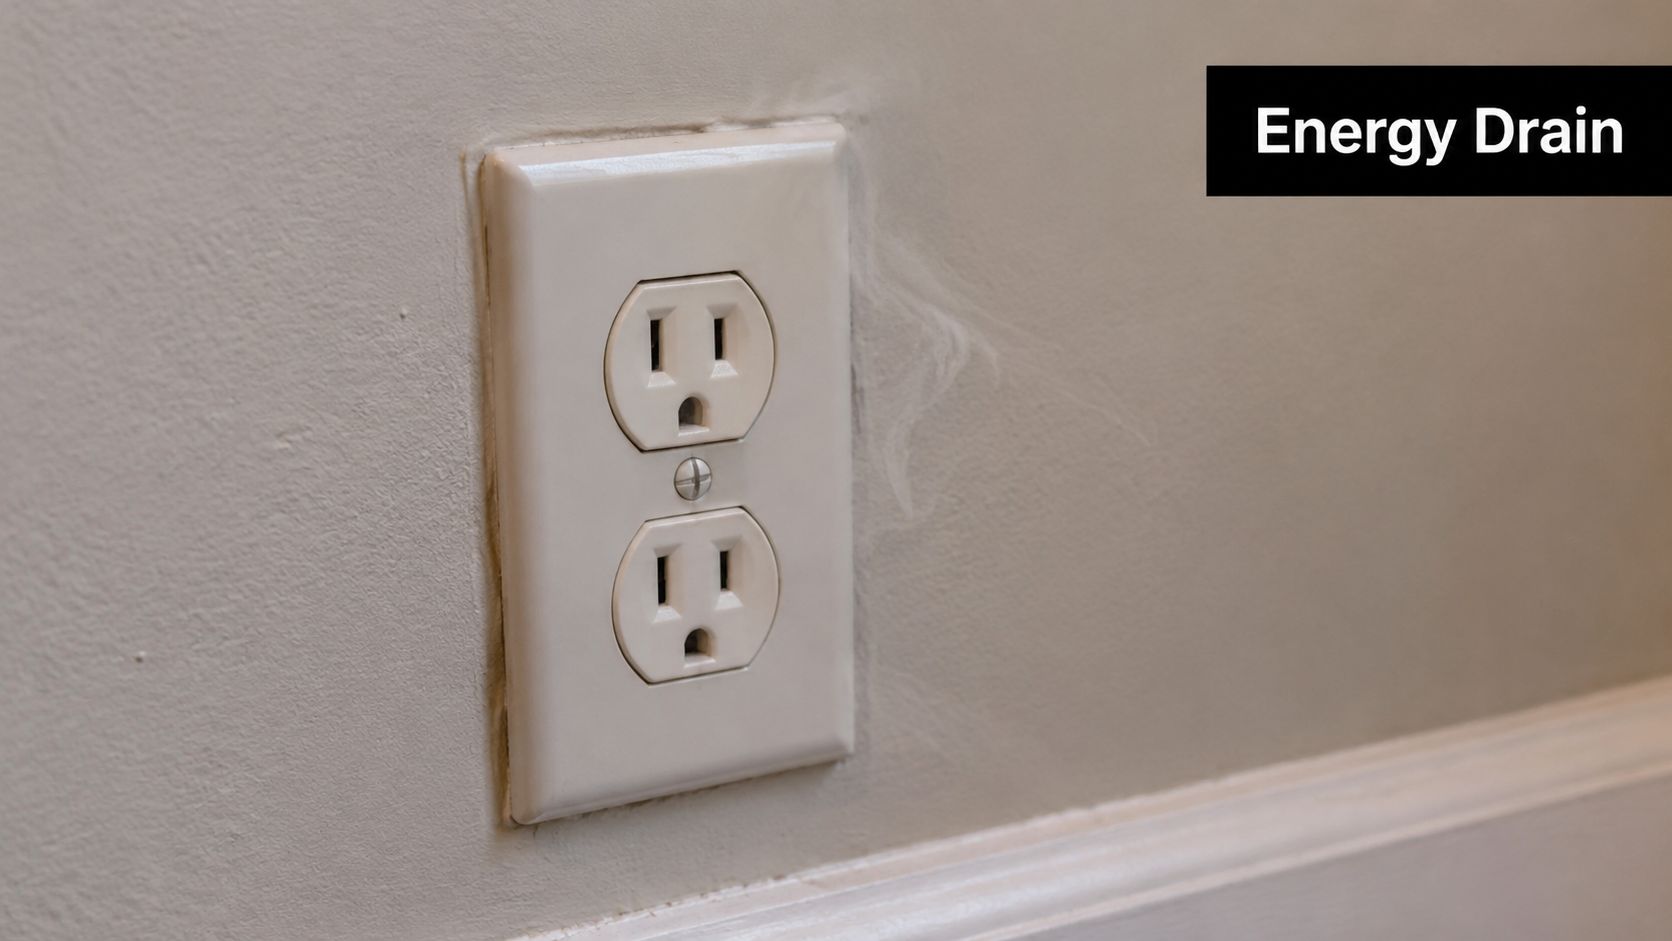
In South Florida, the issue usually isn't a cold breeze on your ankle. It's conditioned air slipping out while humid outside air finds a way in through the wall assembly. That extra moisture doesn't just affect comfort. It can contribute to musty smells, condensation around cooler surfaces, and more insect activity at exterior walls and penetrations.
Modern insulation guidance treats electrical boxes as a recurring weak point because insulation has to be cut, split, or fitted carefully around them instead of packed in place. The U.S. Department of Energy advises checking for a tight fit around components that penetrate insulation, including electrical boxes, and industry guidance warns against stuffing fiberglass behind a box because compressed insulation loses effective value. You can review that installation principle in the DOE insulation guidance.
Why this matters more in humid coastal homes
A lot of online advice treats outlets as isolated draft leaks. That's too narrow. Homeowner guidance notes that outlets are only one part of whole-house air leakage, and simple gaskets or caulk are usually a small, targeted fix rather than a primary energy retrofit, which is why this work makes the most sense as part of a broader air-sealing plan, as discussed in this overview of outlet insulation and whole-house leakage.
That broader view matters in our region. In South Florida, outside air carries moisture nearly all year. When it leaks through wall cavities around boxes, it doesn't just challenge efficiency. It can leave wall assemblies feeling damp, attract roaches and ants to tiny openings, and make some rooms harder to keep consistently comfortable.
A leaky outlet on an exterior wall is rarely just an outlet problem. It's a sign that the wall assembly needs better air control.
If you want to see how contractors confirm whether these little leaks are adding up, a blower door test for whole-home air leakage gives much better answers than guessing from a single cover plate. And if you're comparing ideas from different regions, this piece on solutions for Carson City energy costs is useful because it shows the same principle from another angle. Small leakage points matter most when they fit into a bigger efficiency strategy.
Your Pre-Task Safety and Materials Checklist
Before you touch a cover plate, treat this like electrical work, not a craft project. The air-sealing part is simple. The safety part is paramount.
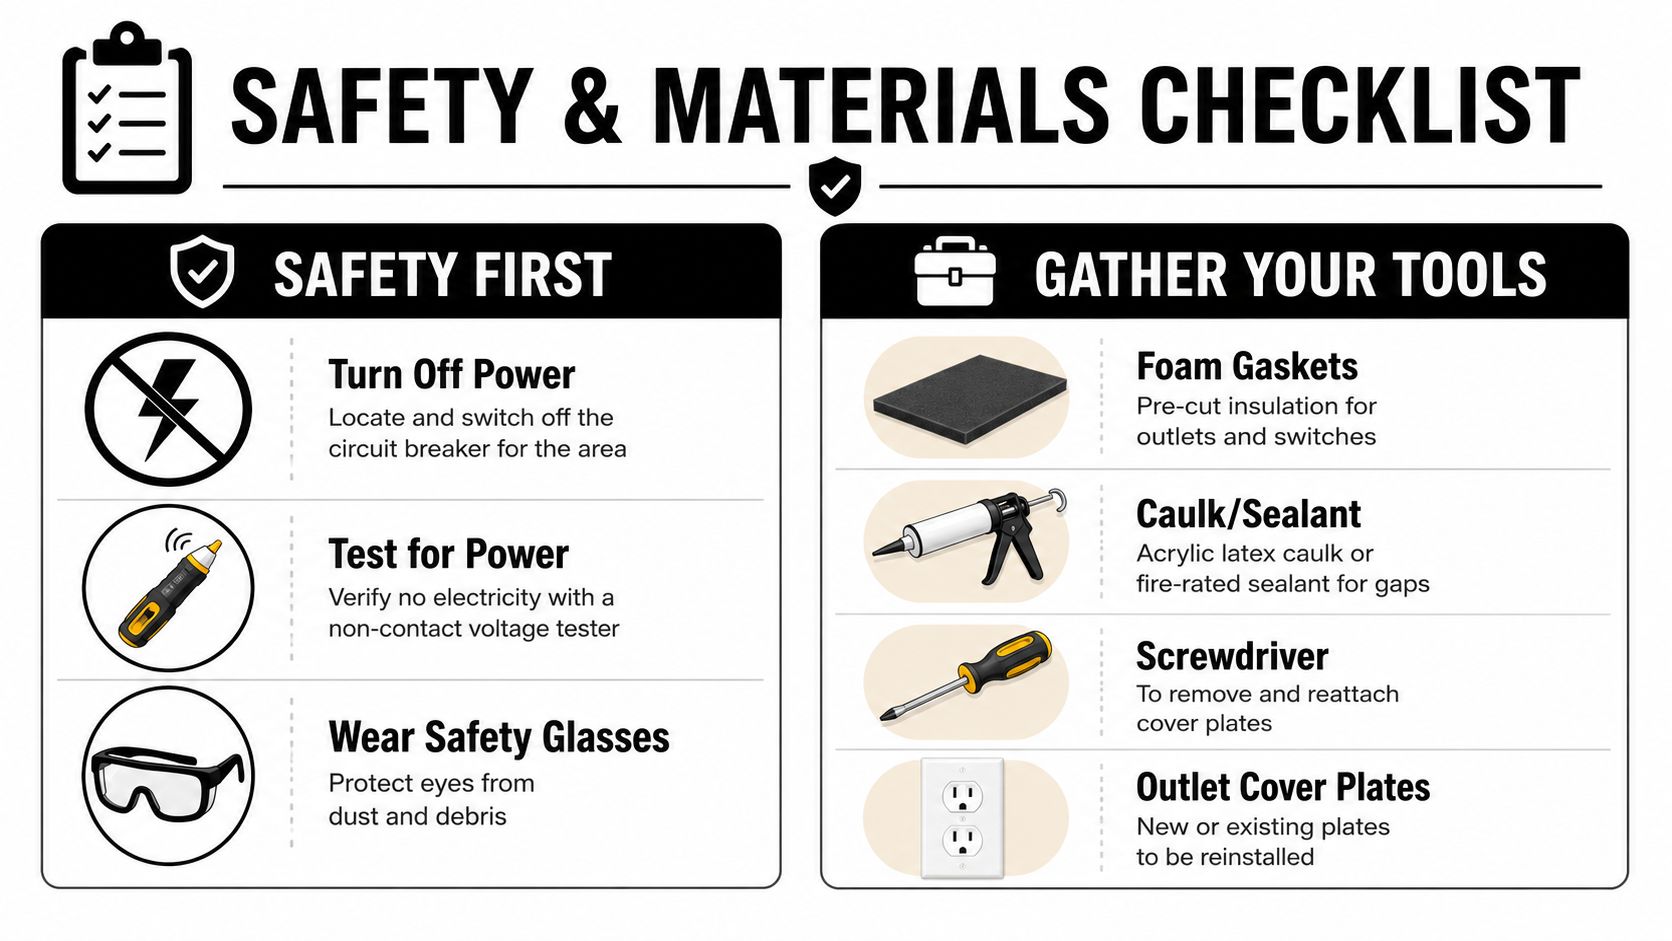
Shut off power and verify it
Turn off the correct breaker first. Then verify the device is dead with a non-contact voltage tester before removing the plate, and check again before your hands get close to screws or conductors. If the tester gives you any uncertain reading, stop until you know exactly what circuit you're on.
Safety glasses are worth wearing here. Old drywall crumbs, insulation fibers, and brittle paint chips fall fast once the plate comes off.
Practical rule: If you wouldn't feel comfortable changing the receptacle itself, don't go beyond gasket and perimeter sealing.
What to gather before you start
A clean setup makes this job better and safer. For most interior outlet and switch boxes, the basic kit is short and practical:
- Screwdriver: Remove and reinstall cover plates without stripping screws.
- Non-contact voltage tester: Confirm the circuit is off before and during the work.
- Foam outlet gaskets: Good behind the wall plate for a quick draft reduction at finished surfaces.
- Paintable acrylic latex caulk: Best for narrow box-to-drywall gaps on the room side.
- Low-expansion spray foam: Useful in controlled amounts where you need to seal a small gap or penetration without excessive pressure.
- Utility knife: Trim gasket material or clean loose drywall paper.
- Vacuum or brush: Clear dust so sealant can adhere.
- Replacement cover plate if needed: Warped or cracked plates don't seal well.
If you need a basic refresher on outlet parts before opening things up, this contractor's guide to electrical outlets is handy because it helps you identify what you're looking at without turning a simple job into guesswork.
Match the material to the task
Not every sealant belongs at every box. That's where DIY jobs often go sideways.
| Material | Best use | What to watch for |
|---|---|---|
| Foam gasket | Behind cover plate | Helps with minor air movement, but doesn't seal larger wall gaps |
| Acrylic latex caulk | Box-to-drywall perimeter on the interior side | Keep it neat and out of device openings |
| Low-expansion spray foam | Small accessible gaps and some penetrations | Use very little so you don't push on the box or wiring |
| Fire-rated sealant | Assemblies where fire resistance matters | Must match the assembly and local code requirements |
For anyone using canned foam, it helps to understand how different products behave before you start. This overview of closed-cell canned spray foam basics explains why controlled expansion matters when you're working near wiring and device boxes.
Air Sealing Electrical Boxes from Inside Your Home
For finished rooms, this is the most practical version of insulating around electrical boxes. You're not rebuilding the wall. You're tightening the room side of the assembly without interfering with the device.
Step one, remove the plate and inspect the opening
After shutting off power and testing the device, remove the cover plate. Look at the gap between the drywall and the electrical box. On a good install, that gap is small and consistent. On a sloppy one, you'll see oversized cutouts, broken drywall edges, or an old box that's loose in the wall.
Use a brush or vacuum to remove dust. Caulk won't stick well to powdery drywall crumbs.
Then inspect the device itself. If the receptacle or switch is wobbling, if the box sits too far back from the finished wall, or if the mounting ears are distorted, fix that first. Sealing a bad box doesn't make it a good box.
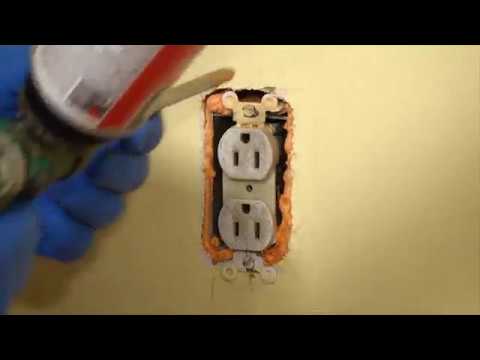
Step two, seal the perimeter, not the working parts
A practical, code-aligned method is to seal the box-to-drywall perimeter with caulk first, then address penetrations, and only then return insulation or finish surfaces. ENERGY STAR specifically recommends caulking around electrical junction boxes and filling wiring holes with expanding foam before pushing insulation back into place in its DIY guidance on air sealing around junction boxes.
For a finished interior wall, that usually means running a small bead of paintable caulk around the box perimeter where it meets drywall. Use less than you think you need. You want a seal, not a mess squeezed into the device opening.
Do not caulk over:
- Device screws
- The receptacle slots
- Switch toggles
- GFCI test and reset buttons
- Any moving or serviceable part
The cleanest jobs are usually the ones with the least material.
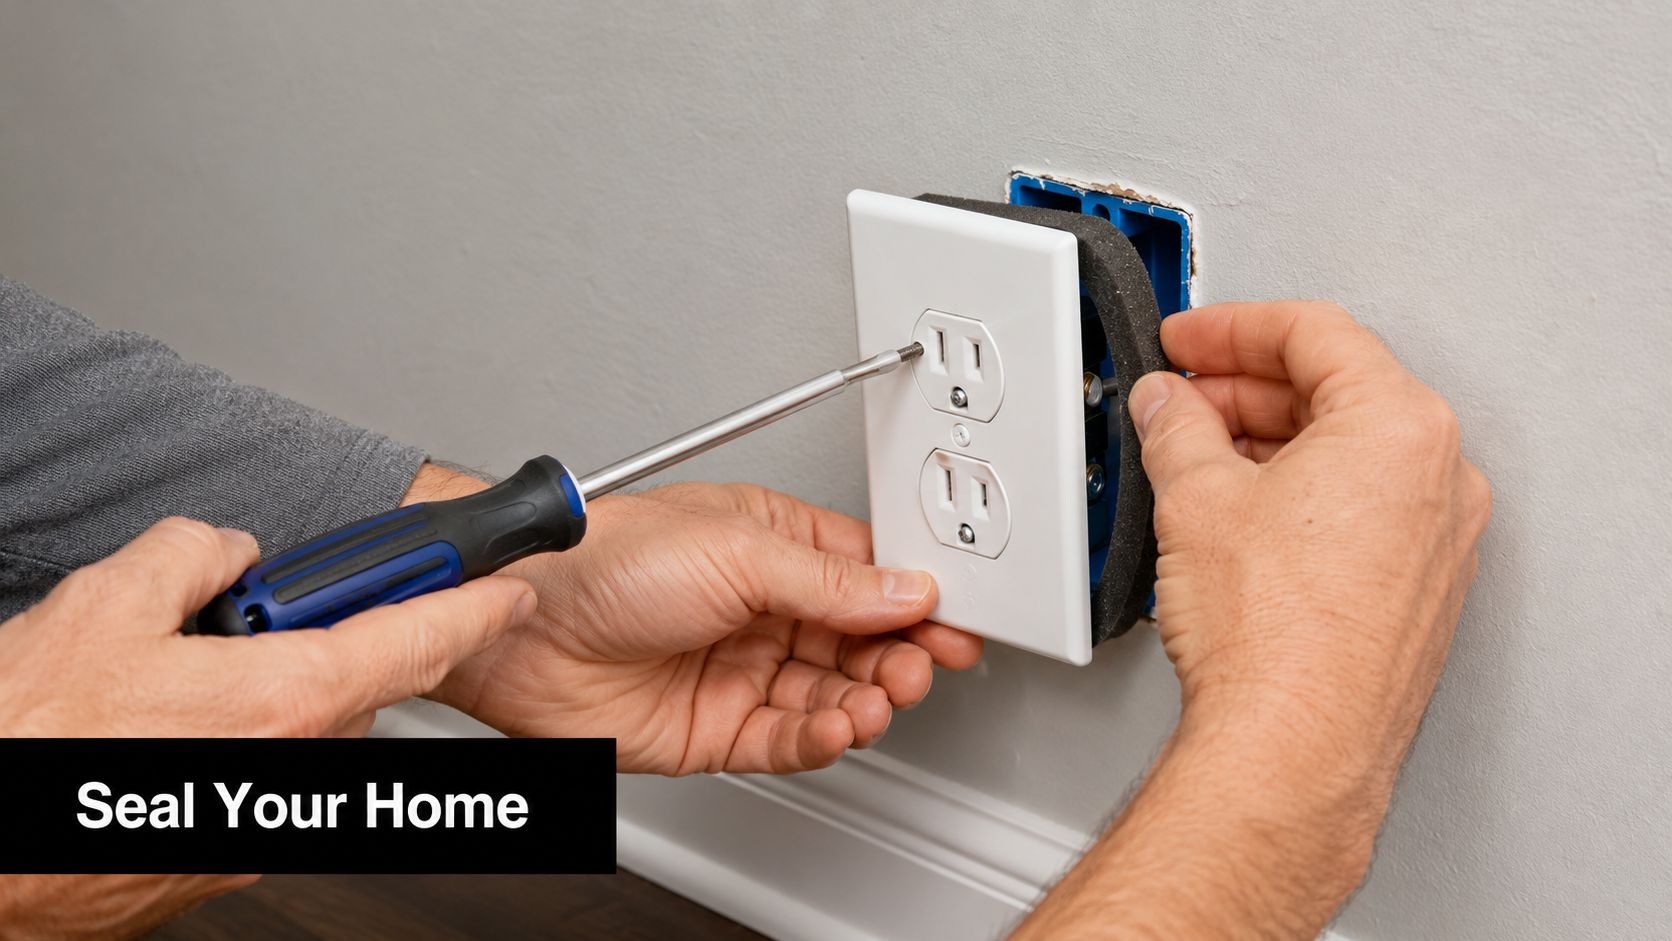
Step three, add the gasket and reassemble carefully
Once the perimeter seal is in place, fit a foam gasket over the receptacle or switch. These gaskets don't solve larger leakage issues in the wall cavity, but they're useful at the cover plate level and easy for homeowners to install correctly.
Reinstall the cover plate snugly, not aggressively. Overtightening can crack the plate or bow it, which creates uneven contact and makes the gasket less effective.
A quick visual walkthrough helps if you've never done one before:
What to do with bigger gaps
If the drywall opening is oversized, don't try to bury the problem under a giant blob of caulk. That rarely looks good, and it usually doesn't last. A better approach is:
- Stabilize the box first if it's loose.
- Use a controlled sealant application around the accessible perimeter.
- Install a proper cover plate that fully covers the cutout.
- Consider a box extender if the device sits recessed behind the finished surface.
If the gap appears to connect to a deeper wall cavity, especially on an exterior wall that feels humid or dusty, a room-side gasket alone won't give you a durable result. That's when it makes sense to move beyond cosmetic draft control and seal the assembly more thoroughly.
Advanced Sealing for New Construction and Renovations
Open walls change the job completely. Once the cavity is exposed, you can deal with the actual leakage paths instead of only the trim side.
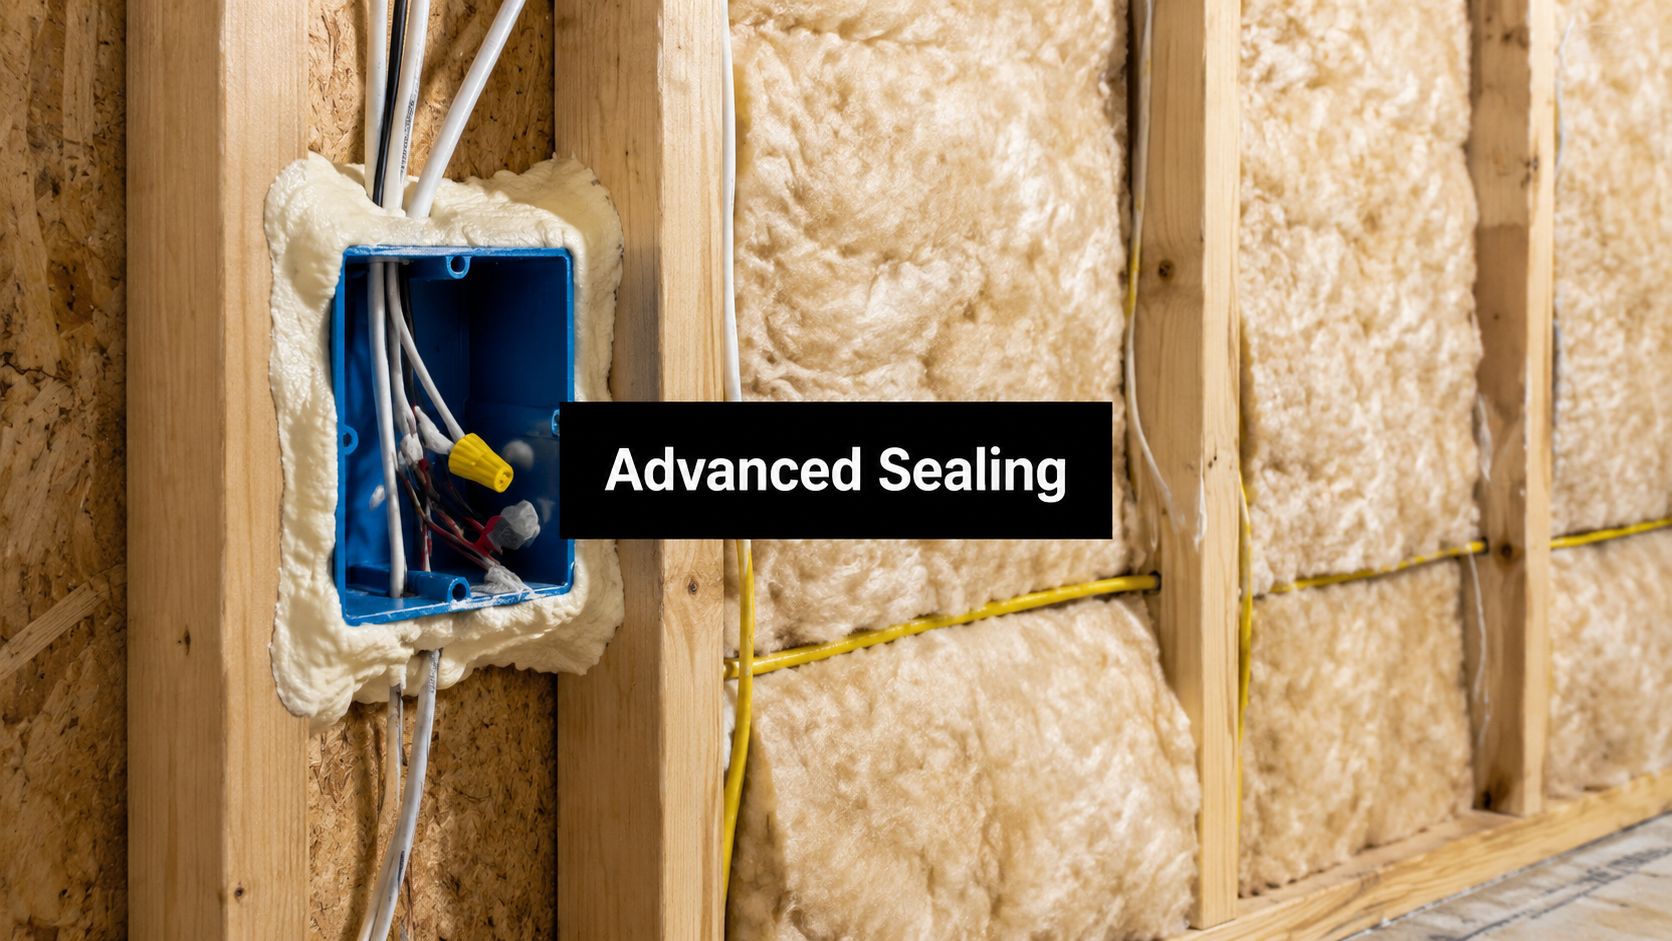
Seal the box as part of the wall assembly
In remodels and new construction, the stronger approach is to treat each box as a penetration through the air barrier. That means looking at three separate interfaces:
- Box to drywall or interior finish
- Wire penetrations into the box
- Insulation fit around and behind the box
One contractor guide notes that a single can of spray foam can often air-seal an entire home's junction boxes, which tells you how small these openings usually are when the work is precise. That same guide recommends caulking the box-to-drywall joint and using a small shot of foam around wire penetrations, with attention to the fact that boxes may have one, two, or even three wire sets entering them. You can review that field method in this guide on air sealing electrical boxes in three steps.
The takeaway is simple. This is a precision task, not a volume task.
Use batts correctly around the obstruction
If the wall is getting fiberglass batts, don't jam the batt behind the box and don't let the box create a hollow pocket. Batt installation guidance from the insulation industry says to cut or split insulation around wiring and boxes, and in some cases place a piece behind the box rather than compressing the batt.
That means:
- Cut the batt so it nests around the box.
- Keep full thickness wherever possible.
- Avoid bunching insulation at the sides.
- Don't leave a void above or below the box.
A batt should fit around the box like a tailored piece, not like a pillow stuffed into a cavity.
Where foam helps and where restraint matters
Low-expansion foam has a place in open-wall work because it can seal irregular gaps around penetrations that batts can't handle well. In South Florida, that added air control also helps with moisture management because humid outdoor air is always looking for small bypasses into wall cavities.
But more foam isn't automatically better. Use small, directed applications around the perimeter and penetrations. Let it expand. Come back and trim only if necessary. If you flood the area, you can distort the box position, make device installation harder, and create a cleanup problem for the electrician.
In exterior walls, also pay attention to assembly details that generic advice skips over. Wet-location boxes, metal boxes, weather-resistant covers, and coastal exposure all affect which materials make sense. That's especially true for exterior receptacles where moisture management and serviceability matter just as much as stopping air movement.
Avoid These Common Mistakes and Code Violations
Most bad outlet sealing jobs come from the same assumption. If a little sealing is good, a lot must be better. That's not how electrical boxes work.
Don't stuff, bury, or block the device
Public guidance warns that insulating around boxes has to be done without creating a fire or code problem. It specifically cautions against blocking switches, GFCI buttons, drainage paths, or ventilation, and it advises checking code and manufacturer instructions for clearance near hot surfaces. It also points out that many how-to guides skip the important question of when not to use a certain material, such as shallow boxes or wet locations, as explained in this homeowner guide on insulating outlets safely.
That matches what goes wrong in the field. People push foam where the device needs room. They cover parts that need to move. They treat every box like it can be sealed the same way.
Use the right fix for the problem
Here are the mistakes I see most often, and the better alternative.
- Packing insulation into or against the device area: Split or trim insulation around the box instead of forcing it into the space.
- Using too much spray foam: Apply a small amount and let it expand. If you're trying to fill a large void, the detail probably needs a different repair.
- Ignoring recessed boxes after a wall finish change: Use a box extender when the device sits too far back from the finished surface.
- Sealing exterior outlets like interior ones: Keep weather-rated covers, gaskets, and drainage details functional.
- Treating fire-rated assemblies casually: Use listed materials and details that match the wall assembly and local requirements.
If you're unsure whether a foam or sealant belongs in a particular wall type, review the basics of insulation fire ratings and code considerations before you apply anything permanent.
Some of the worst-looking repairs are also the least serviceable. An electrician should still be able to access and maintain the device after you're done.
South Florida adds one more layer
Humidity changes the stakes. A box that's sealed poorly on an exterior wall can allow moist air to cycle through the cavity for long periods. On paper, that may look like a tiny leak. In practice, it can mean a damp wall smell, recurring insect traffic, or a room that never feels quite dry. Good sealing has to respect both the electrical device and the wall's moisture behavior.
When to DIY and When to Call a Professional
For many homeowners, simple interior outlet work is a realistic DIY task. If the box is accessible, the wiring is in good shape, the opening is small, and you're only adding a gasket or sealing a narrow perimeter gap, that's manageable with basic tools and careful prep.
A professional is the better choice when the job moves beyond that. Call for help if the box is loose, recessed, shallow, in a wet location, part of a larger wall retrofit, or tied to old or questionable wiring. The same goes for new construction, major renovations, or any project where you're trying to improve the entire wall or attic air barrier instead of just one outlet.
The biggest mistake is expecting insulating around electrical boxes to solve a house-wide comfort problem by itself. It won't. What it can do is tighten up one of the most common small leakage details in the envelope. In South Florida, that means a tighter wall, less humid air sneaking in, fewer pest pathways, and a home that holds conditioned air better.
If you're unsure, start small and stay safe. A neat gasket-and-caulk job is far better than an over-foamed, code-questionable mess that has to be cut back out later.
If you want a professional solution for hard-to-seal wall, attic, and renovation details, Airtight Spray Foam Insulation helps South Florida homeowners and builders create tighter, more moisture-resistant buildings with careful, code-conscious installation.