Blog
7 Crucial Spray foam Insulation Pictures Explained
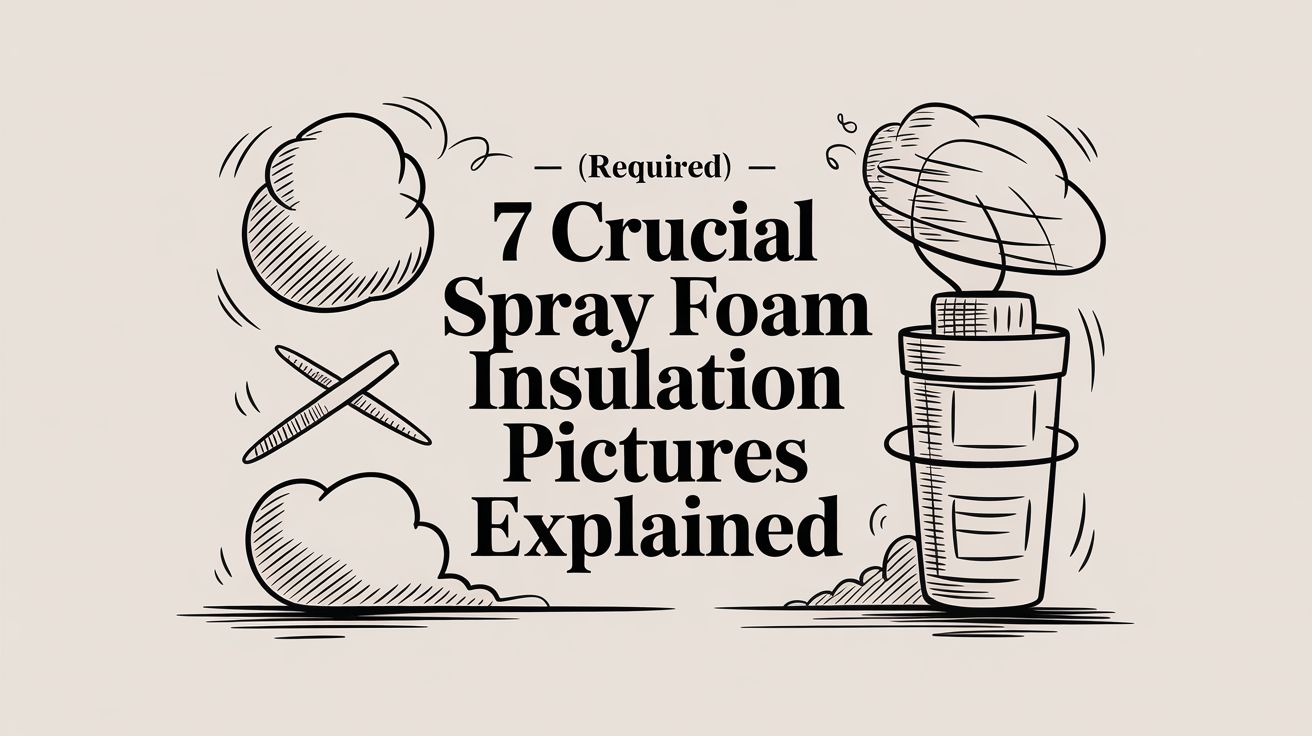
You're probably looking at a gallery right now and thinking the same thing most homeowners think: it all kind of looks the same. Fresh foam. Bright color. Big “before and after” difference. But spray foam insulation pictures only help if you know how to read them.
A strong install isn't just a wall covered in foam. It's an air seal, a moisture control layer, and in some cases a structural upgrade. That matters in South Florida, where heat, humidity, and wind exposure punish sloppy work fast. In photos, good spray foam has clear visual tells. Bad work does too, if you know where to focus.
This guide treats spray foam insulation pictures as a diagnostic tool, not just a gallery. You'll see what quality application looks like in attics, walls, garages, and metal buildings, and what mistakes tend to hide behind nice-looking finished shots. If you also care about how images shape perception in property marketing, this piece on mastering real estate exposure and color is worth a look.
1. Spray Foam Insulation Applications For South Florida
A homeowner opens a gallery after a hot, damp summer and sees the same thing in every photo. Fresh foam, clean framing, bright lighting. In South Florida, those pictures only matter if they show whether the installer sealed the places where humid air usually gets in.
That is why Airtight Spray Foam Insulation applications in South Florida is the featured example here. The value is not just the variety of jobs. It is the chance to study rooflines, garages, wall cavities, metal buildings, and framing transitions the way an estimator or installer would study them on site.
What quality looks like in Florida photos
Good South Florida spray foam photos answer hard questions. Did the crew carry foam tight to the top plates? Did they seal around wiring, duct boots, and pipe penetrations? Did they maintain depth where rafters meet the exterior wall line, which is a common weak spot in attics and roof decks?
Those details matter more than a smooth center fill.
In this climate, continuity is the main visual test. A clean-looking cavity can still perform poorly if the foam pulls back at corners, thins out at eaves, or leaves gaps around mechanical penetrations. Homeowners who want the building science behind those details can review how spray foam insulation works in real assemblies.
Closed-cell foam shows up often in Florida assemblies because it packs more R-value into limited space and cures into a denser layer. Industry data from Global Market Insights places closed-cell spray foam at roughly R-6.5 to R-7 per inch with a density around 2 to 3 lb/ft³, and the same market report projects continued growth in spray foam use. In photos, that usually reads as a tighter, more rigid application with sharper edges and less pillowy expansion than open-cell.
Practical rule: Judge spray foam pictures by continuity, edge control, and detail work. A thick field application does not fix missed joints or skipped penetrations.
Open-cell versus closed-cell in pictures
Foam type changes what a good install should look like, so the photo review has to change with it.
- Open-cell foam usually looks softer and more expanded in wall and ceiling cavities. Photos should still show full contact at studs, plates, and penetrations, even if the surface looks less dense.
- Closed-cell foam should look tighter and more deliberate. Uneven lifts, voids, or obvious shadowing at the substrate stand out faster because the material is less forgiving visually.
- Roofline and attic applications should show consistent coverage from bay to bay. Heavy buildup beside thin patches is a warning sign, especially near eaves and transition points.
Open-cell also appears frequently in residential interior applications. One published overview on spray foam R-value and residential use notes its common use in new-home walls and ceilings, which helps explain why so many gallery photos focus on interior framing rather than roof deck details.
The best South Florida spray foam pictures do more than show foam on a surface. They show whether the installer understood humid air, tricky geometry, and the spots where failures start.
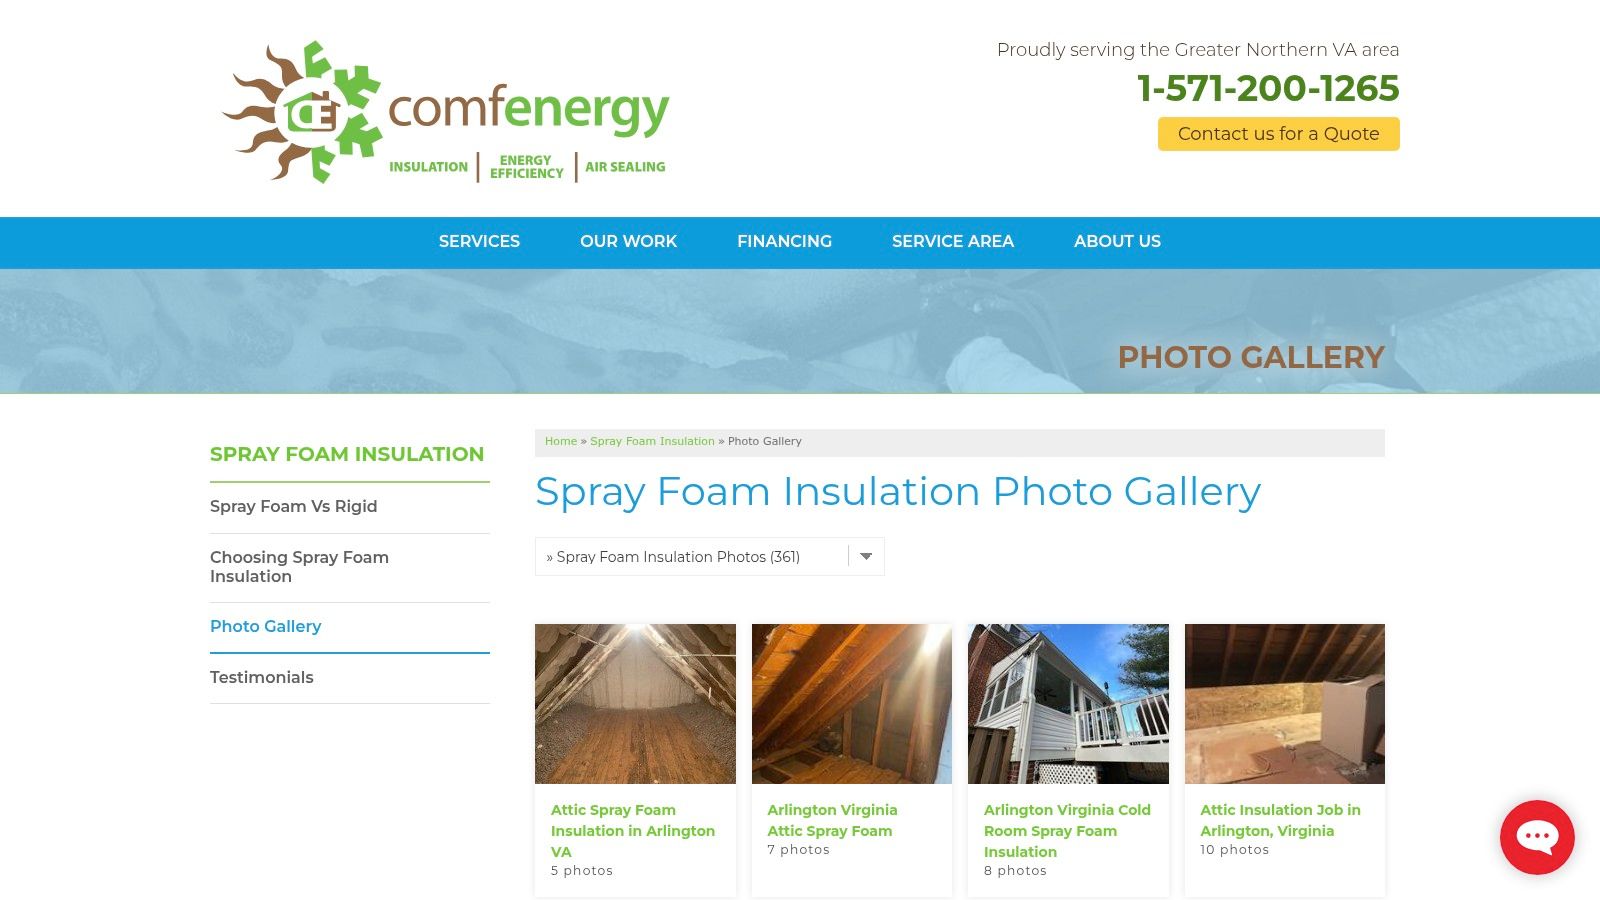
2. Coastal Insulation – Spray Foam Insulation Photo Gallery
Coastal Insulation's spray foam photo gallery is useful because it shows normal jobsite conditions instead of polished marketing close-ups only. You see attics, walls, rim joists, crawl spaces, and new construction details that look like actual field work. That matters when you're trying to compare quality, because staged photos can hide the problem areas.
The gallery works best for homeowners who want a realistic baseline. Not every picture is dramatic. That's a good thing. Good spray foam work often looks controlled and uneventful, not flashy.
What to study in these photos
Watch the framing edges and transition points first. If the foam looks even in the center of the cavity but thin near studs, plates, or penetrations, that's where performance gets lost.
A second thing to watch is trim quality. Foam that's cut back flush with framing tells you someone expected drywall or interior finish to go on cleanly. Ragged trimming doesn't always mean the install failed, but it can signal rushed cleanup or inconsistent application depth.
A helpful companion if you want the mechanics behind what you're seeing is this explanation of how spray foam insulation works. It helps connect the visual result to the actual air-sealing function.
When a gallery shows prep, application, and post-trim photos, you get a better read on craftsmanship than from finished “after” shots alone.
One limitation is climate relevance. These are useful photos, but they don't always mirror South Florida roof and humidity conditions. So use them to judge installer discipline, not necessarily to copy every assembly detail.
3. Comfenergy – Spray Foam Insulation Photo Gallery
Comfenergy's spray foam gallery is one of the better examples of organized albums. That makes it easier to compare similar assemblies instead of jumping randomly from one type of project to another. If you're learning to read spray foam insulation pictures, organization helps more than people think.
This gallery is especially strong when you want before-and-after context. You can see the difference between open cavities, in-progress application, and finished foam, which makes it easier to notice whether the installer followed the shape of the assembly or just blasted material into open space.
Why the close-ups matter
Close-up photos tell you more than wide room shots. You can inspect adhesion around framing interfaces, check whether penetrations were sealed, and see whether the installer left shadows or voids at the backside of the cavity.
That's useful because region-specific visual guidance is still thin. One underserved angle in existing spray foam imagery is humid-climate moisture control, especially for homeowners in places like Jupiter, Palm Beach Gardens, West Palm Beach, Wellington, and Stuart. A background source discussing before-and-after imagery points out that region-specific photo guidance is limited, even though closed-cell foam is often highlighted there at R-6.3 per inch with 2 lbs per cubic foot density.
If you're trying to understand the visual difference between foam types before calling contractors, Airtight's page on types of spray foam insulation fits well with this gallery.
What doesn't work as well
The photos are deep, but the per-image technical notes are light. You won't always know thickness, pass sequence, or the exact reason one assembly got open-cell instead of closed-cell. That means the gallery is strong for visual learning, but weaker if you're trying to verify specification choices from the images alone.
4. KC Spray Foam & Coatings – Photo Gallery
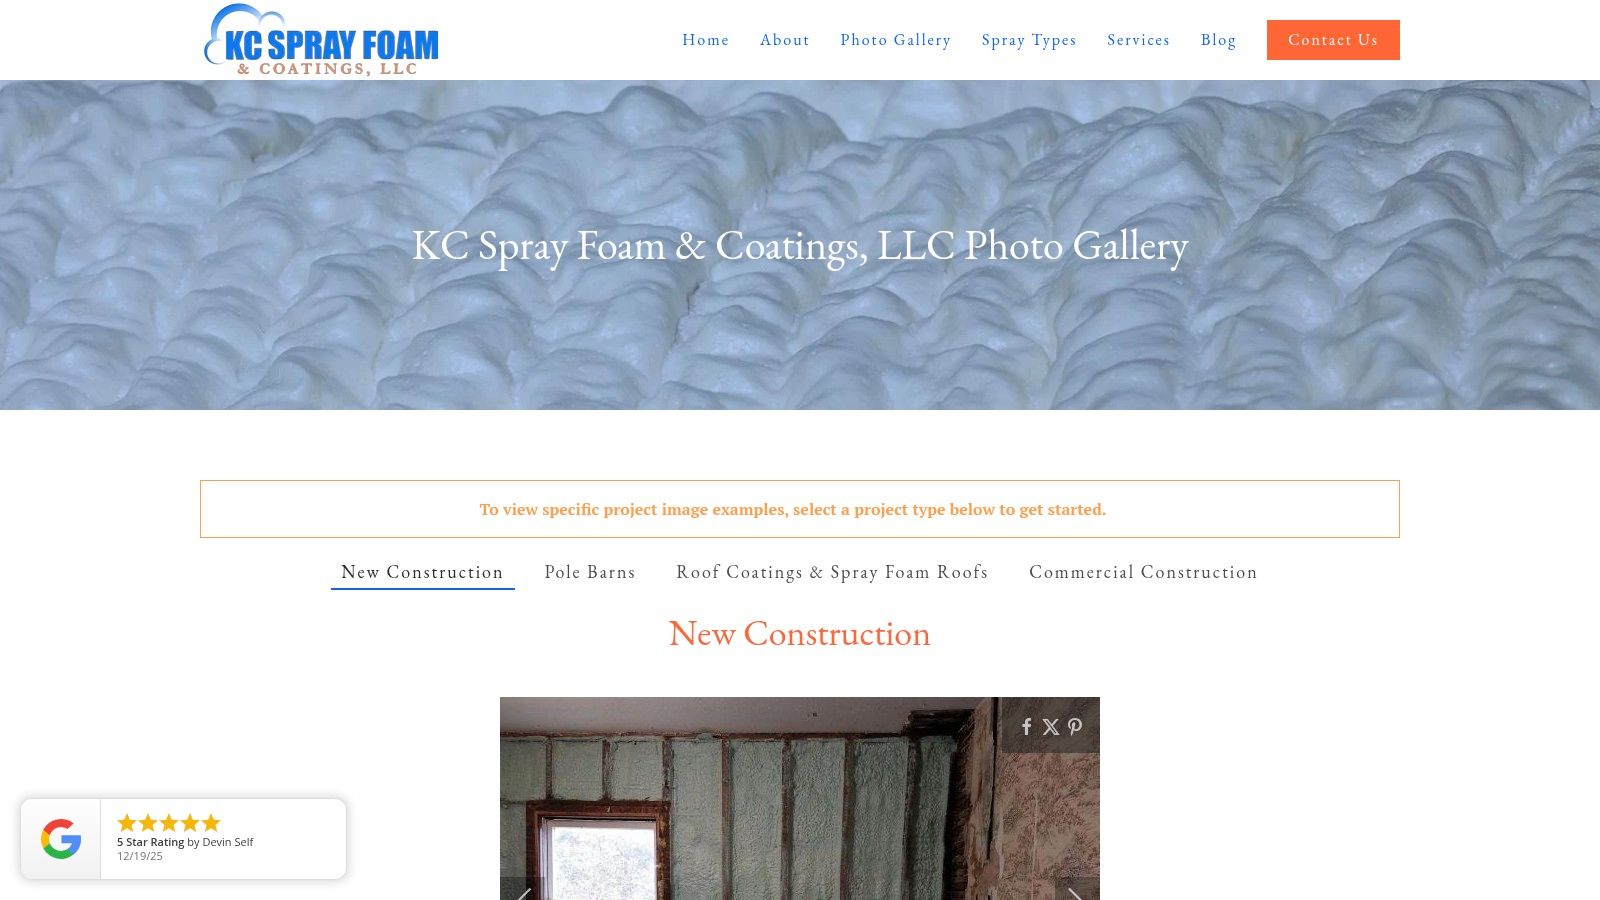
KC Spray Foam & Coatings photo gallery is where I'd send someone who wants clearer visual examples of metal buildings, commercial work, and SPF roofing. Residential attic galleries are easy to find. Good roofing and metal-building galleries are less common.
That's important in South Florida because shops, warehouses, garages, and post-frame buildings often have brutal heat gain and moisture-related comfort problems. The right photos should show more than “foam on steel.” They should show edge conditions, overlaps, penetrations, and how the installer treated the roof-to-wall connection.
Best use for this gallery
This is the strongest pick on the list for studying application technique in action shots. You can see PPE, setup, spraying posture, and layer progression. That helps separate careful application from careless production spraying.
A Michigan commercial case study is useful context here. In that project, installers used Lapolla FOAM-LOK 2800-4G closed-cell SPF for roofing and insulation, creating a continuous membrane, and the product was cited at about 6.8 R-value per inch with wind resistance over 150 mph in ASTM E1592 testing. You won't get all of that from a photo, but a good roof gallery should visually support the same ideas: continuity, monolithic coverage, and control at seams.
If metal building performance is your focus, Airtight's page on spray foam insulation for metal buildings is the right companion resource.
Good metal-building photos show the installer respected the building's weak points. Bad ones show a lot of foam and no attention to joints, fasteners, and transitions.
The trade-off is that project notes are sparse. You'll infer a lot from the visuals. Still, for roofing and commercial conditions, this gallery earns its spot.
5. Elite Insulation & PolyPro – Spray Foam Photo Gallery
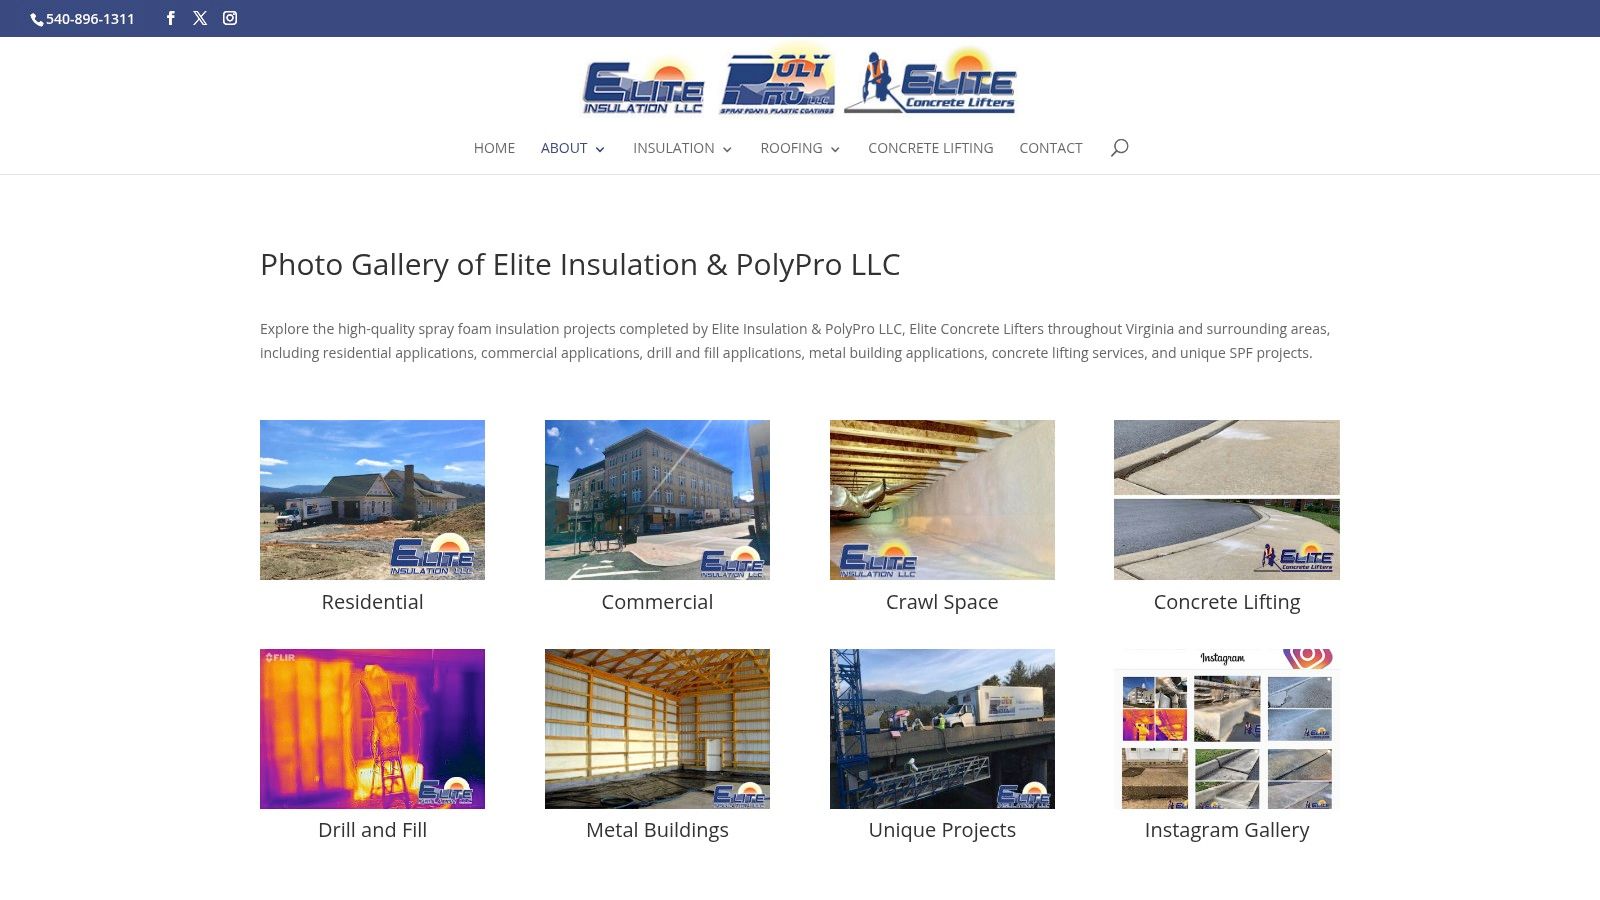
Elite Insulation & PolyPro's spray foam gallery is broader than most. It doesn't stop at wall cavities and attic slopes. You also get crawl spaces, metal buildings, retrofit work, drill-and-fill situations, and even polyurethane applications outside traditional insulation.
That range is useful because homeowners often assume all spray foam jobs should look the same. They shouldn't. A crawl space, a garage wall, a block assembly, and a retrofit cavity all demand different visual expectations.
What the gallery does well
The prep and masking details are a strength. Good pictures in this category show whether the crew protected adjacent surfaces, controlled overspray, and planned for finishing work after cure. Those details matter because neat prep usually travels with neat execution.
The gallery also helps with trimming expectations. Flush trimming should look deliberate, not hacked apart. If the cavity face is gouged or uneven, that can complicate finishing and may hint at inconsistent fill depth behind the face.
A useful caution comes from a Vermont case study on closed-cell foam installation. That report notes that even when photos appear to show good gap filling, actual airtightness can disappoint if the foam isn't monolithic, and it also discusses closed-cell's intended vapor retarder performance at less than 1 perm at 2 inches and about 100 times less permeable than cellulose. That's a reminder that attractive photos don't automatically prove a complete air seal.
Where it falls short
The main weakness is technical specificity. You won't always know foam brand, thickness per pass, or why one detail was handled a certain way. Social feeds often show fresher field photos, but they're usually less organized, so the website gallery remains the better training ground for visual comparison.
6. Harbour Spray Foam – Photo Gallery
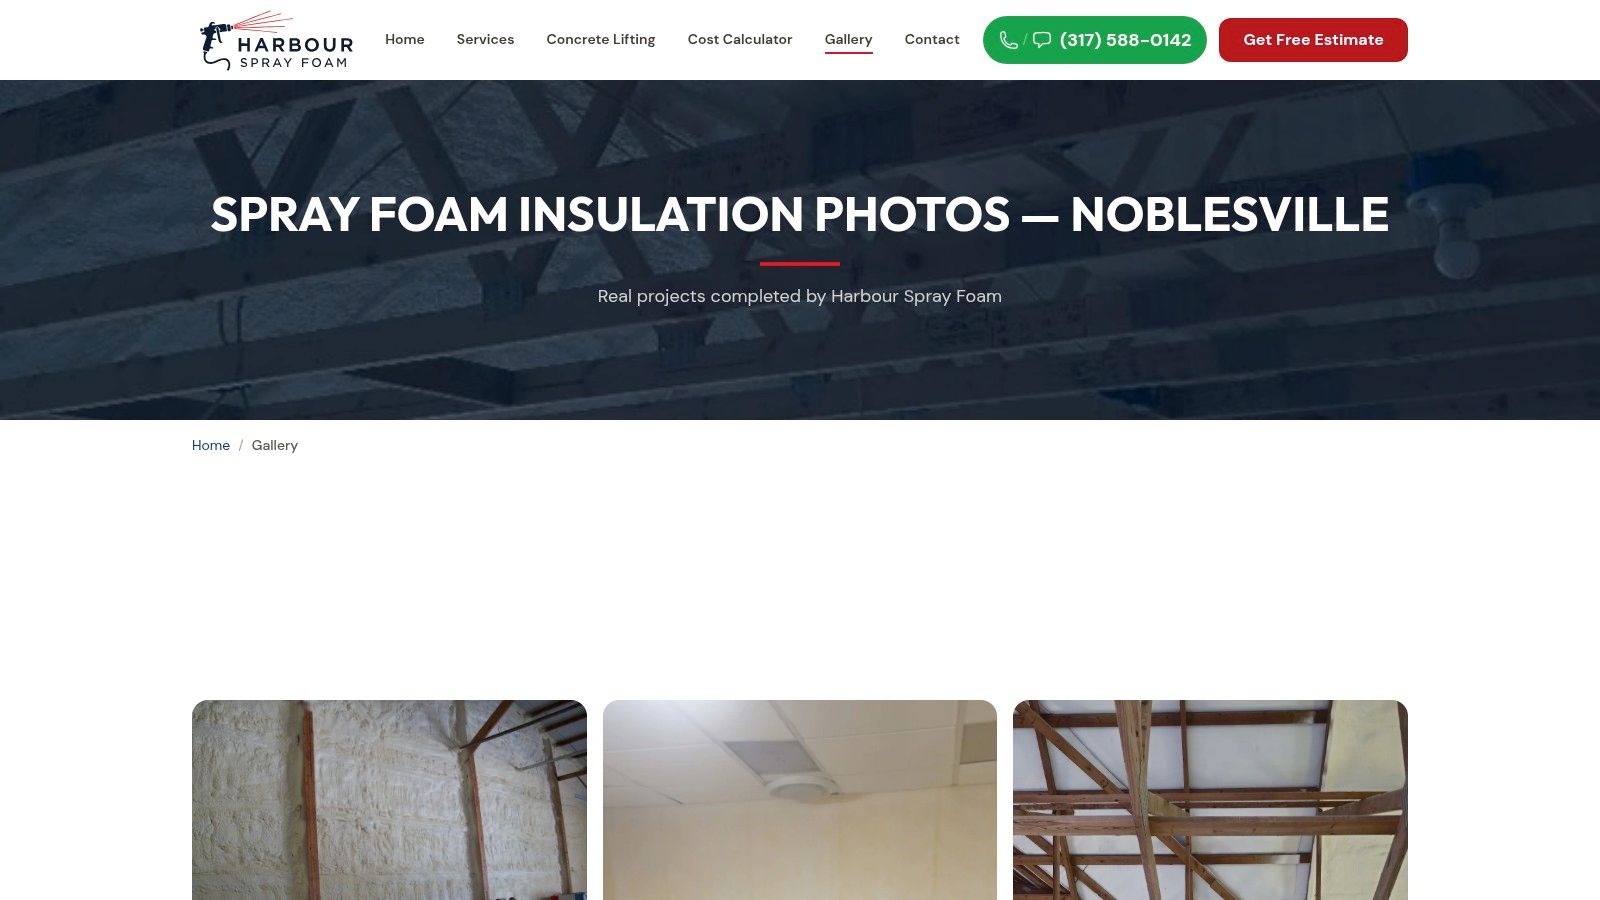
Harbour Spray Foam's gallery is tighter and smaller than some others, but that's part of the appeal. It doesn't bury you in endless repetition. The close framing makes it easier to judge the basics that matter most.
For a homeowner, that's often better than a huge gallery. You can quickly study window perimeters, attic slopes, knee walls, and framing interfaces without sorting through dozens of nearly identical shots.
Good for learning the fundamentals
This gallery is strong when you want to train your eye on coverage and adhesion. Look at whether the foam stays attached cleanly to the substrate and whether corners got enough attention. Thin spots at framing edges are common in rushed jobs and often show up best in tightly framed photos.
It also helps to compare cured surfaces with fresh application surfaces. A smooth-looking finish isn't the goal by itself, but major irregularity, pull-away, or visible void patterns are warning signs.
- Check edge contact: The foam should meet framing and sheathing consistently, not bridge over gaps.
- Check penetrations: Wiring, pipes, and small openings should look intentionally sealed.
- Check trim lines: Post-cure trimming should leave a clean plane for finishes.
One thing this gallery doesn't do much of is annotate the images. You have to know what you're looking for. That makes it better as a visual inspection tool than a teaching library.
7. Paradise Foam – Photo Gallery Port Charlotte FL
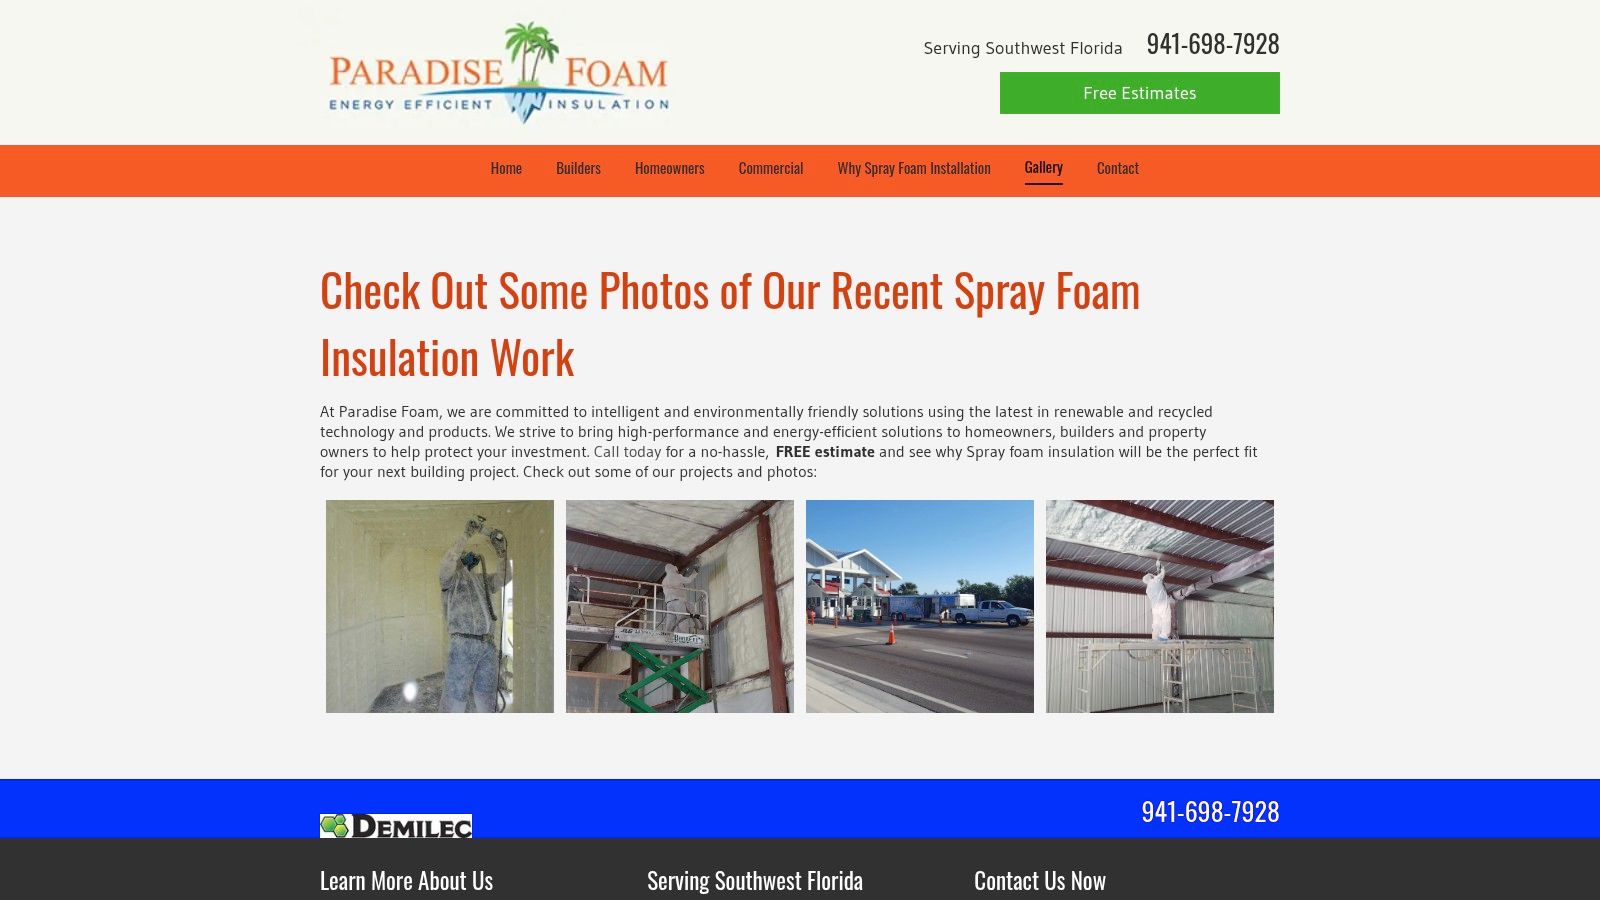
Paradise Foam's gallery earns a place here for one reason above all. It's Florida-based. When you're reviewing spray foam insulation pictures for a South Florida property, regional relevance matters.
A Florida gallery is more likely to show assemblies and conditions that feel familiar. Block walls, humid attic conditions, roofline encapsulations, and coastal concerns all change what useful spray foam photos look like.
Why local climate changes the read
In Florida, a photo should help answer moisture questions, not just insulation questions. Closed-cell images are especially valuable where you want to understand vapor resistance and a tougher, denser build at rooflines or coastal-exposed assemblies.
Recent code and performance discussions around metal buildings and post-frame structures also make this more relevant. One background source notes an emerging need for better retrofit photo documentation as Florida standards tighten, and it cites a December 2025 study claiming closed-cell spray foam reduced metal building heat gain by 40% compared with 25% for open-cell, while radiant barrier integration cut peak cooling loads by 15 kBtu/hr. Even if most galleries don't document that level of detail visually, local pictures are the best place to start the conversation.
A Florida spray foam photo is most useful when it shows how the installer handled heat, humidity, and wind exposure together.
Limits to keep in mind
The gallery depth is moderate, so you may not get detailed step-by-step progressions. Per-image specs are also limited. Still, for local expectations and climate fit, it's one of the more practical references on this list.
Spray Foam Insulation Photo Gallery: 7-Item Comparison
| Example | Implementation Complexity 🔄 | Resource Requirements ⚡ | Expected Outcomes 📊⭐ | Ideal Use Cases 💡 | Key Advantages ⭐ |
|---|---|---|---|---|---|
| Spray Foam Insulation Applications For South Florida | High, professional install, ventilation and cure control | High upfront cost, trained crew, quality materials, safety controls | Long‑term energy savings, moisture control, quieter/stabler indoor temps | Attics/roofs, walls, garages, metal buildings, new construction transitions in humid/coastal climates | Climate‑tailored solutions, local 25+ years experience, satisfaction guarantee |
| Coastal Insulation – Photo Gallery | Low, browseable gallery | Minimal (images only), mobile‑friendly layout | Visual expectations, homeowner education; limited technical depth | Homeowner research, contractor benchmarking | Practical, unstaged photos covering many assemblies |
| Comfenergy – Photo Gallery | Low, well‑organized browsing | Moderate (many albums, before/after sets) | Clear illustration of application differences and best practices | Training, client explanations, contractor references | Deep image sets per assembly; good open vs closed cell comparisons |
| KC Spray Foam & Coatings – Photo Gallery | Low, gallery with filters | Moderate (high‑res photos, category filters) | Strong visual examples for metal buildings and SPF roofing | Metal buildings, SPF roofs, commercial projects | High‑resolution action shots and edge/detail views |
| Elite Insulation & PolyPro – Spray Foam Photo Gallery | Low, multi‑section gallery | Moderate (sectioned content, social links) | Broad view of prep, trimming, and non‑insulation foam uses | Users exploring varied polyurethane applications and retrofit techniques | Wide scope across building types and accessory uses |
| Harbour Spray Foam – Photo Gallery | Low, concise, focused gallery | Low (small, high‑quality set) | Clear examples of coverage, adhesion, and sealing details | Quick comparisons, evaluating penetration sealing and trim quality | High‑quality close frames; concise and easy to scan |
| Paradise Foam – Photo Gallery (Port Charlotte, FL) | Low, regional installer gallery | Moderate (regional photos plus CTA) | Regionally relevant examples for hurricane/humidity considerations | South Florida homeowners/contractors, coastal retrofit decisions | Florida‑specific images showing closed‑cell benefits in coastal climates |
Turn Pictures into a Plan for Your South Florida Property
Once you know how to read spray foam insulation pictures, the next step is simple. Stop asking whether a photo looks impressive. Start asking whether it shows continuity, clean adhesion, proper thickness, good trimming, and attention to the leak points that matter in South Florida.
That shift changes everything. A dramatic “after” shot can still hide thin edges, skipped penetrations, poor sequencing, or the wrong foam type for the assembly. A less glamorous photo can show excellent work if the installer documented transitions, corners, rooflines, and substrate prep clearly.
For homeowners in Jupiter, Palm Beach Gardens, West Palm Beach, Wellington, and Stuart, that matters because our climate exposes mistakes fast. Humid air finds gaps. Ductwork sweats. Rooms stay sticky. Garages trap heat. Roof assemblies punish incomplete sealing. The photo review process should help you rule out those risks before you approve a project.
The better galleries on this list do more than show foam. They show installer discipline. You can see whether the crew respected masking, sequencing, penetrations, framing edges, and final finish quality. That's the difference between a generic insulation job and a real building-envelope upgrade.
Airtight Spray Foam Insulation approaches projects that same way. The goal isn't just to fill cavities. The goal is to build an airtight comfort system that fits the property, the assembly, and the South Florida environment. With more than 25 years of hands-on experience, the team works on attics, roofs, walls, garages, new construction, and metal buildings with a focus on precise installation, moisture control, and long-term comfort.
If you're comparing contractors, bring photos into the conversation. Ask what foam type they'd use. Ask how they handle roofline transitions, duct penetrations, and moisture-prone details. Ask what proper trimming and post-install verification look like. Good contractors won't dodge those questions. They'll welcome them.
If you're ready to move from browsing spray foam insulation pictures to getting the right solution for your property, contact Airtight Spray Foam Insulation. The team serves South Florida homeowners, builders, and property managers with open-cell and closed-cell recommendations suited for attics, walls, garages, metal buildings, and new construction. Request a free quote and get a practical plan built for your home or commercial space.