Blog
Spray Foam Insulation Basement Ceiling: A Practical Guide

Absolutely. Insulating your basement ceiling with spray foam isn't just an option in South Florida; it's one of the smartest, most impactful upgrades you can make.
Think of it this way: your uninsulated basement ceiling is like leaving a window wide open. All that money you spend on air conditioning is literally seeping out, while oppressive humidity and moisture are invited right in. This single project flips that dynamic on its head, creating a powerful barrier that transforms your home’s comfort and efficiency from the ground up.
Why Insulating Your Basement Ceiling Is a Smart Investment
For anyone living in South Florida, the constant war against humidity and sky-high FPL bills is all too real. Your basement, even if it's just a shallow crawl space, is a major weak point in that battle. It’s the direct link between your cool, comfortable living space and the sweltering, damp air outside or the moist ground beneath your home.
When we apply spray foam to that ceiling, we're not just tacking up some insulation. We're creating a single, solid, and completely seamless shield against air and moisture. It fundamentally changes how your home performs.
The Power of an Airtight Seal
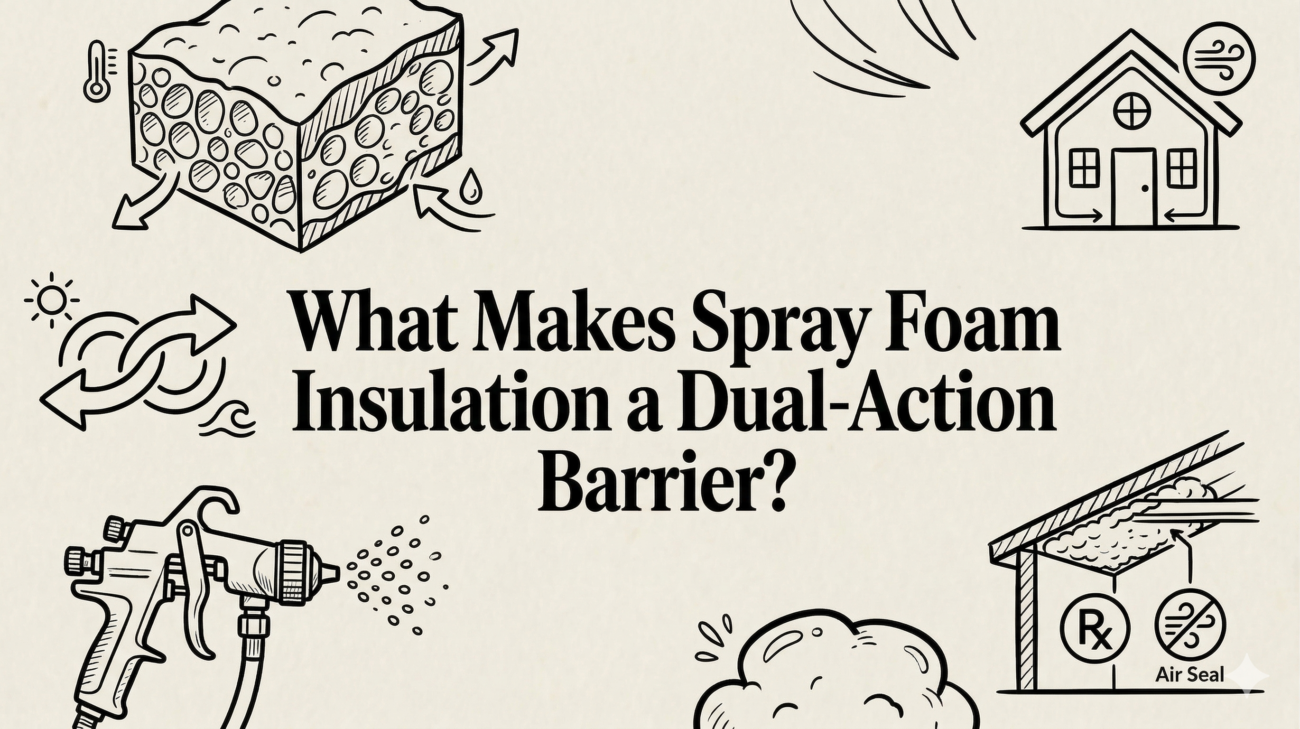
Traditional insulation, like fiberglass batts, can be a decent start, but it often leaves tiny gaps and seams around pipes, wiring, and joists. Spray foam is different. It's applied as a liquid that expands on contact, pushing its way into every last crack and crevice to form a monolithic, airtight barrier.
This unique application delivers some serious wins for homeowners:
- Drastic Energy Savings: It puts a stop to conditioned air leaking out of your living space and prevents unconditioned air from seeping in. Your AC system finally gets a break.
- Superior Moisture Control: In a climate as humid as ours, this is non-negotiable. Spray foam acts as a vapor barrier, blocking the moisture that leads to condensation, musty smells, and dangerous mold growth.
- Enhanced Indoor Air Quality: By sealing off the basement or crawl space, you stop pollutants, allergens, and mold spores from being pulled up into your home's air circulation.
This approach has completely changed the game for basement applications. Homeowners can slash their heating and cooling costs by up to 50% compared to homes with old-school fiberglass. In a place like South Florida, that airtight seal is the secret weapon for maintaining a stable, healthy indoor environment.
A properly insulated basement ceiling does more than just lower your energy bill—it creates a more stable, comfortable, and healthier environment for your entire home. It’s a foundational step in mastering your home’s climate control.
We've put together a quick table to break down exactly how these benefits play out for a South Florida home.
Quick Benefits of Basement Ceiling Spray Foam
| Benefit | Impact on Your Home | Relevance for South Florida |
|---|---|---|
| Energy Efficiency | Reduces HVAC workload and lowers monthly utility bills. | Critical for managing high cooling costs in our year-round hot climate. |
| Moisture Barrier | Prevents humidity and condensation from entering the home. | Essential for combating mold, mildew, and structural rot from high humidity. |
| Air Quality | Seals off dust, pollen, and mold spores from the crawl space. | Improves the health of your indoor environment, especially for allergy sufferers. |
| Structural Integrity | Protects floor joists from moisture damage and rot over time. | A crucial preventative measure against the humid, corrosive coastal air. |
As you can see, the advantages go far beyond just saving a few dollars. It's about protecting your biggest investment.
For homeowners planning a full basement renovation, getting the insulation right from the start is non-negotiable. If you're looking to transform that lower level, this complete guide on how to finish a basement is a great resource that underscores why insulation is so critical for long-term value. The benefits of spray foam insulation are truly felt throughout the entire house, not just the basement.
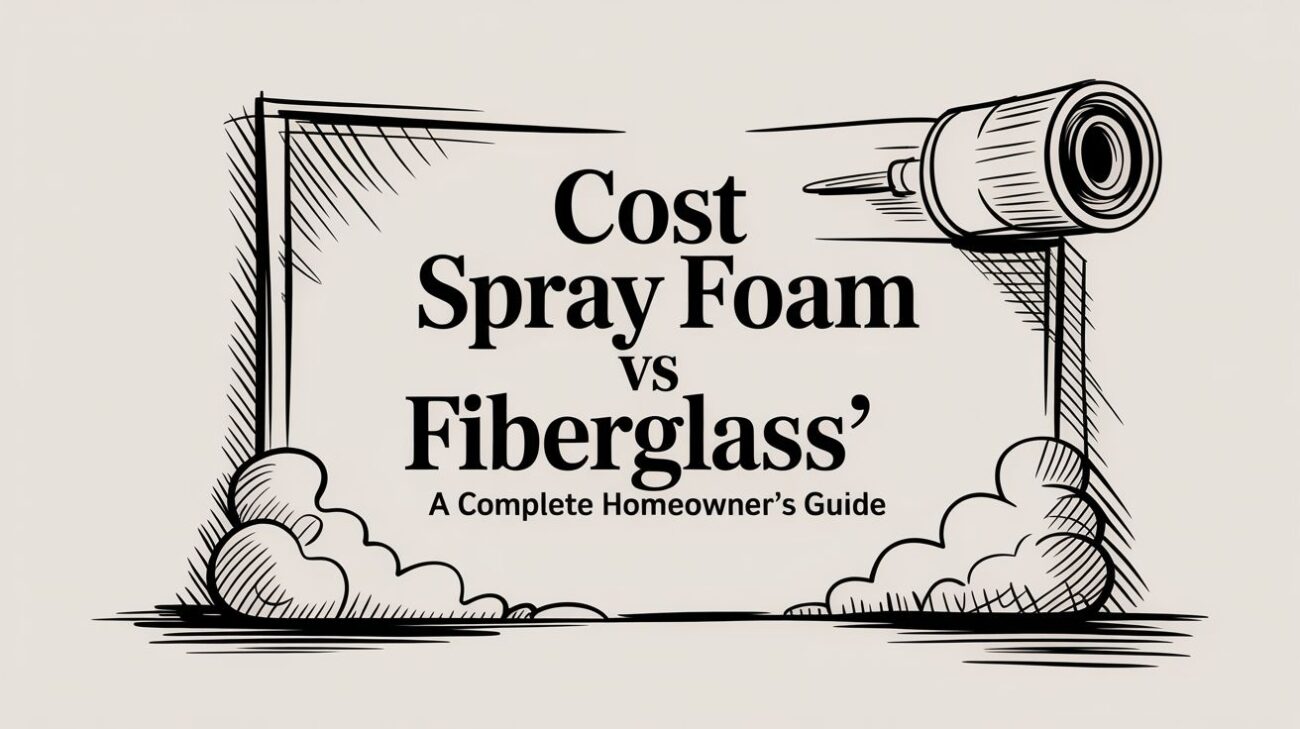
Choosing Between Open-Cell and Closed-Cell Foam
When you're looking at spray foam for a basement ceiling, it really comes down to two players: open-cell and closed-cell. Making the right call is absolutely crucial, especially here in South Florida where the humidity is relentless.
Let's break it down with a simple analogy I use with homeowners all the time.
Think of open-cell foam like a big, dense kitchen sponge. It's soft, flexible, and amazing at soaking up sound. But just like a sponge, it also soaks up and lets water right through it. On the other hand, picture closed-cell foam as one of those high-end, hard-shell coolers. It's tough, rigid, and completely locks out both air and moisture.
This one core difference is what determines where and why we use each type.

As this shows, in a humid place like our corner of Florida, insulating your basement ceiling isn't just a nice-to-have. It’s a direct line to lower power bills, a mold-free home, and air that's actually healthy to breathe.
Comparing Open-Cell and Closed-Cell Spray Foam
To make the choice crystal clear, let's put these two materials head-to-head. I've seen firsthand how picking the wrong one can lead to major headaches down the road, so understanding these differences is key.
| Feature | Open-Cell Foam (The 'Sponge') | Closed-Cell Foam (The 'Cooler') |
|---|---|---|
| Moisture Resistance | Low. It's vapor-permeable and can absorb water. | High. Acts as a built-in vapor barrier, blocking moisture. |
| R-Value (per inch) | R-3.5 to R-4. Lower insulating power. | R-6 to R-7. Excellent insulating power, great for tight spaces. |
| Density | Low (approx. 0.5 lbs/ft³). Soft and flexible. | High (approx. 2.0 lbs/ft³). Rigid and strong. |
| Sound Dampening | Excellent. Great for reducing noise between floors. | Good. Provides some sound reduction but less than open-cell. |
| Structural Strength | None. It's too soft to add any structural support. | Adds Strength. Cures into a hard, rigid material that reinforces framing. |
| Primary Use Case | Interior walls (in dry climates), soundproofing rooms. | Basement ceilings, exterior walls, and any area exposed to humidity. |
After years in this business, I can tell you that for a South Florida basement, the "cooler" almost always wins. The ability to block moisture is non-negotiable here.
A Closer Look at Open-Cell Foam
Open-cell spray foam has a very low density, coming in around 0.5 pounds per cubic foot. Its internal structure is made of tiny cells that are deliberately left "open," which creates that soft, squishy texture.
This structure is exactly why it's a fantastic sound-dampening material. If your goal is to keep the noise from a basement home theater from traveling up to the living room, open-cell foam does a great job.
But its sponge-like nature is its Achilles' heel in a basement. Because it’s vapor-permeable, it will literally pull moisture out of the humid air. In a place like Jupiter or West Palm Beach, that's a recipe for disaster. You end up trapping moisture against your subfloor and joists, which is a perfect invitation for rot and mold.
Why Closed-Cell Foam Is the Clear Winner Here
For basement ceilings in our region, closed-cell foam is the undisputed champ. It’s much denser—typically around 2.0 pounds per cubic foot—and its cells are completely sealed off from each other, packed tight like tiny bubbles. This rigid structure gives it some major advantages that are tailor-made for South Florida.
- Rock-Solid R-Value: Closed-cell foam delivers a much higher thermal resistance, or R-value, clocking in at R-6 to R-7 per inch. This means you get way more insulating power without having to use as much material, which is perfect for basement ceilings where headroom is at a premium.
- A Built-In Vapor Barrier: This is the game-changer. Its sealed cell structure makes it impermeable to moisture. It’s an all-in-one insulation and vapor barrier, effectively slamming the door on humidity trying to creep up into your home’s structure.
- It Adds Strength: When closed-cell foam cures, it becomes incredibly hard and rigid. Spraying it against the underside of your subfloor actually adds a surprising amount of structural reinforcement, helping to stiffen the entire floor assembly.
For a South Florida basement, using closed-cell foam isn't just a good idea; it's a necessity. Its ability to block moisture is the single most important factor in preventing long-term mold, mildew, and structural rot.
While open-cell foam definitely has its uses for soundproofing interior walls in a dry, climate-controlled house, it simply should not be used on a basement ceiling in a humid climate. Even with a separate vapor barrier, it's a risk. Closed-cell foam is the more reliable, all-in-one solution that gives you performance and, more importantly, peace of mind.
To really get into the weeds on the technical specs, you can learn more about the differences between open-cell and closed-cell spray foam in our detailed guide.
The Professional Spray Foam Installation Process
Let's be clear: applying spray foam insulation in a basement ceiling is a different world from unrolling a few fiberglass batts. This is a complex chemical process that absolutely requires a pro with specialized gear. It’s one of those jobs where trying to DIY it can go wrong in a hurry.
Understanding how the pros handle it shows you just how much skill is involved and what to expect when a real crew shows up. It's less of a construction task and more of a carefully controlled operation, all designed to give you the best performance while keeping your home and family safe.

Stage 1: Prepping the Site Like a Pro
The most important work happens long before any foam is actually sprayed. A professional crew knows that containment is everything. They will treat your basement like a clean room, making sure the work area is totally isolated to protect the rest of your home from any overspray.
This means a detailed masking and covering process:
- Floors and Walls: They’ll lay down thick plastic sheeting over the entire basement floor and run it up the walls, taping the seams to create a completely sealed-off zone.
- Mechanicals: Your furnace, water heater, ductwork, and any other equipment get carefully wrapped and protected.
- Pipes and Wires: All plumbing lines, electrical boxes, and wiring that aren't being insulated are also masked off so foam doesn’t stick where it shouldn't.
This step isn't optional, and it's a huge clue that you’re dealing with a true professional, not a low-ball amateur. Getting the prep right saves a massive headache on cleanup later.
Stage 2: The Art of the Application
With the basement fully prepped, the technicians gear up in full personal protective equipment (PPE)—we're talking respirators and hazmat-style suits. The spray foam itself starts as a two-part liquid that gets mixed right at the tip of a specialized spray gun.
Applying it is a true skill that demands a steady hand and a deep knowledge of the material. The installer sprays the foam in thin, even passes between the floor joists. The idea is to build up a consistent thickness to hit the target R-value. A seasoned pro knows how to manage the spray pattern to perfectly coat tricky spots around pipes and wiring, creating that seamless, monolithic air barrier.
A true professional isn't just "spraying and praying." They are constantly monitoring and adjusting the temperature and pressure of their equipment. This controls the chemical reaction, making sure the foam expands and cures correctly for the best possible adhesion and thermal performance.
Stage 3: Expansion, Curing, and Off-Gassing
The moment that liquid mixture hits the subfloor and joists, the chemical reaction kicks off. It expands at an incredible rate—some foams can grow up to 100 times their original liquid volume. This explosive expansion is what lets it force its way into every tiny crack, gap, and seam, creating the airtight seal that makes spray foam so powerful.
Next, the foam "cures," hardening from a liquid into a solid, rigid mass. As it cures, it releases gases in a process called off-gassing. This is precisely why nobody is allowed in the area during and right after the installation. Professional teams set up high-powered ventilation systems to pull these fumes out of the basement and vent them directly outside, keeping them out of your living space.
Stage 4: Ventilation and the Final Walk-Through
After the spraying is done, the ventilation fans keep running for a specific amount of time—usually 24 to 48 hours—until the foam is fully cured and chemically inert. This is a non-negotiable safety step to ensure the air quality in your home is perfectly safe for your family.
Once the all-clear is given for re-entry, the crew comes back for a final inspection. They’ll check for consistent thickness, make sure every gap is filled, and confirm the seal is airtight. Finally, they carefully tear down all the protective plastic and coverings, leaving your basement clean and free of debris. This last walk-through is their guarantee that your spray foam insulation basement ceiling has been installed to the highest possible standard of quality and safety.
Understanding the Costs and Return on Investment
Alright, let's get right to the question every homeowner asks first: "What's this going to cost me?"
It’s true, installing spray foam in your basement ceiling has a higher upfront price tag than throwing up some traditional fiberglass batts. But looking at it as just another expense is missing the forest for the trees.
Think of this project as a serious financial investment in your home's performance and future value. The initial cost is just one piece of the puzzle—a puzzle that, when solved, reveals significant long-term savings and a strong return.
Breaking Down the Main Cost Factors
The final quote for your project isn't a one-size-fits-all number. A few key variables come into play, especially for homes here in the Palm Beach area.
- Total Square Footage: This one’s pretty straightforward. A bigger basement ceiling means more material and more time, which directly impacts the bottom line.
- Choice of Foam: As we've covered, closed-cell spray foam is really the only game in town for South Florida basements because of how it shuts down moisture. It’s also denser and packs a bigger R-value punch per inch, making it a more premium (and pricier) material than open-cell.
- Ceiling Complexity: A nice, flat ceiling with nothing in the way? That’s a relatively quick job. But a ceiling that’s a maze of ductwork, plumbing lines, and wiring? That requires a lot more prep and careful, precise application, which adds to the labor cost.
- Required Thickness (R-Value): The R-value you’re aiming for dictates how thick the foam needs to be. A higher R-value means a thicker layer of insulation, and that means using more material.
For a detailed estimate based on your home's unique needs, take a look at our guide on spray foam insulation installation costs.
Calculating Your Return on Investment
The real story here is the powerful ROI that a spray foam basement ceiling delivers. The money you put in starts coming back to you almost immediately, most noticeably on your FPL bill.
By creating a nearly perfect air seal, spray foam can slash your home's energy use by 20-40%. In our sweltering climate, where the AC runs what feels like year-round, that adds up to major monthly savings. For most homeowners, this leads to a full payback on their investment in just 3 to 5 years.
Think of it this way: You're not just buying insulation. You're essentially pre-paying a chunk of your future energy bills at a huge discount. Once you hit that payback point, the savings are pure profit for as long as you own the home.
Building science and local codes back this up. Since the 2012 IECC updates, regulations mandate a minimum of R-10 for basement ceilings in our climate zone. Spray foam nails this with just 1.5 inches of material. To get the same R-value, you'd need over a foot of fiberglass. That efficiency is what drives such a fast payback.
Boosting Your Home's Long-Term Value
Beyond the monthly savings, insulating your basement ceiling with spray foam is a legitimate upgrade that boosts your property's value. It’s a feature that smart, modern homebuyers actively look for.
Let's face it, a home that can prove it has lower utility bills, better air quality, and is protected from our notorious humidity is a much more compelling sell. When you stack this project up against other home improvements, it’s clear that insulation delivers one of the strongest ROIs you can get. For homeowners weighing their options, it helps to see where insulation ranks among the best upgrades to increase home value for a solid financial return.
How to Find the Right Spray Foam Contractor

Choosing the right insulation for your basement ceiling is only half the battle. The quality of the installation is just as critical, and that comes down to hiring the right professional. An expert contractor ensures your investment pays off for years, while a bad one can turn a smart home upgrade into a costly nightmare.
This isn't a job for a handyman. It's a specialized trade that demands a deep understanding of building science, chemical safety, and precision application. Here in South Florida, you absolutely need an installer who gets how our intense humidity changes the game. Hiring the wrong person is a risk you just can't afford to take.
Your Contractor Vetting Checklist
To protect your home and your wallet, run every potential contractor through this checklist. These are the non-negotiables that separate the true pros from the pretenders.
- Florida Licensing and Insurance: Your contractor must hold a valid Florida license for insulation work and carry both general liability and workers' compensation insurance. Ask to see the paperwork—any legitimate company will have it ready.
- Certified Technicians: The guys actually holding the spray gun should be certified by the Spray Polyurethane Foam Alliance (SPFA) or a similar group. This is your proof they've been properly trained in safety, equipment, and application techniques.
- Deep Local Experience: Ask them about other spray foam insulation basement ceiling projects they've done right here in South Florida. A contractor who knows our climate will understand exactly why closed-cell foam is the only real choice and how to handle applying it when the air is thick with moisture.
- High-Quality Materials: Find out what brand and type of foam they use. Reputable installers work with materials from established manufacturers and will be happy to explain why they’ve picked a specific product for your home.
Red Flags to Watch Out For
Knowing what to look for is great, but knowing what to avoid is just as important. If you see any of these red flags, it's time to walk away.
An unusually low bid is almost always a warning sign. Everyone loves a good deal, but a price that’s way below other quotes means corners are being cut somewhere—whether it's with cheap materials, inexperienced labor, or no insurance at all.
Be wary of any contractor who gets vague about their safety procedures. A professional crew has strict, clear protocols for prepping the site, using personal protective equipment (PPE), and ventilating the area after the job. They should be able to walk you through this process in detail.
A contractor's primary job is to deliver a safe, effective, and durable insulation barrier. If they can't clearly articulate their safety protocols or provide a detailed, transparent quote, they haven't earned your trust or your business.
Finally, a confusing or incomplete quote is a major red flag. Your estimate should clearly itemize all costs: the type of foam, total square footage, target R-value, and the scope of work for prep and cleanup.
With residential projects booming in humid regions like ours, the demand for quality installers is high. Homeowners need solutions that control moisture, which is why closed-cell foam's ability to block up to 99% of moisture is so vital here. Professionals can typically install 600 sq ft per day, with costs averaging $1.50-$3.00 per sq ft for a product that lasts 10-15 years. You can find more market insights on the growth of spray foam applications and its benefits.
Common Questions About Basement Ceiling Insulation
Even with all the benefits laid out, it's smart to have a few questions before jumping into a project like this. We get it. We hear the same handful of great questions from homeowners all over South Florida, so let's tackle them right now.
Is Spray Foam Insulation Safe for My Home?
This is always the first question, and for good reason. The answer is a clear and confident yes—but with a crucial condition: it must be installed by a certified professional.
During the application process, two liquid components mix and create a chemical reaction. This is the stage where the pros need full-on ventilation and personal protective equipment (PPE). Once the foam cures, which usually takes 24-48 hours, that reaction is over. The material becomes inert, which is just a technical way of saying it’s a stable, solid plastic that’s completely safe and won't off-gas or pose any health risks. It's a lot like using a two-part epoxy; once it's set, it's just a solid, harmless material.
Can Spray Foam Be Installed Around Pipes and Wiring?
Not only can it, but this is actually one of spray foam’s biggest strengths. Let's be honest, most basement ceilings are a chaotic mess of plumbing pipes, electrical conduit, and HVAC ducts. Trying to cut and stuff fiberglass batts around all that is a recipe for gaps and leaks.
Because spray foam starts as a liquid, our crew can spray it directly onto the subfloor and around every single obstruction. It flows into every nook and cranny before expanding to create a perfect, airtight seal. You get a solid, monolithic barrier with zero weak points for humid air to sneak through—something you just can’t achieve with traditional insulation.
One of the biggest myths we have to bust is the idea that insulating the basement ceiling will make the floor above it cold. It's actually the complete opposite. By creating a thermal break that stops damp, unconditioned basement air from touching your subfloor, you stabilize the temperature of the entire house. The result? Warmer, more comfortable floors all year round.
How Long Will the Insulation Last?
Think of spray foam insulation as a permanent upgrade to your home. This isn't something you'll have to revisit in 10 or 15 years.
Unlike other materials that can sag, settle, or degrade, spray foam is incredibly durable. It adheres directly to the joists and subfloor, forming a rigid, solid structure that becomes part of your home. It won’t compact or lose its insulating R-value over time. The energy savings and moisture protection you get on day one are the same ones you'll have for the entire life of your home. It’s a true set-it-and-forget-it solution.
Ready to put an end to high energy bills and musty basement air? Airtight Spray Foam Insulation has helped homeowners across South Florida create more comfortable, efficient, and healthy homes. Request your free, no-obligation quote today and discover how our expertise can transform your space.