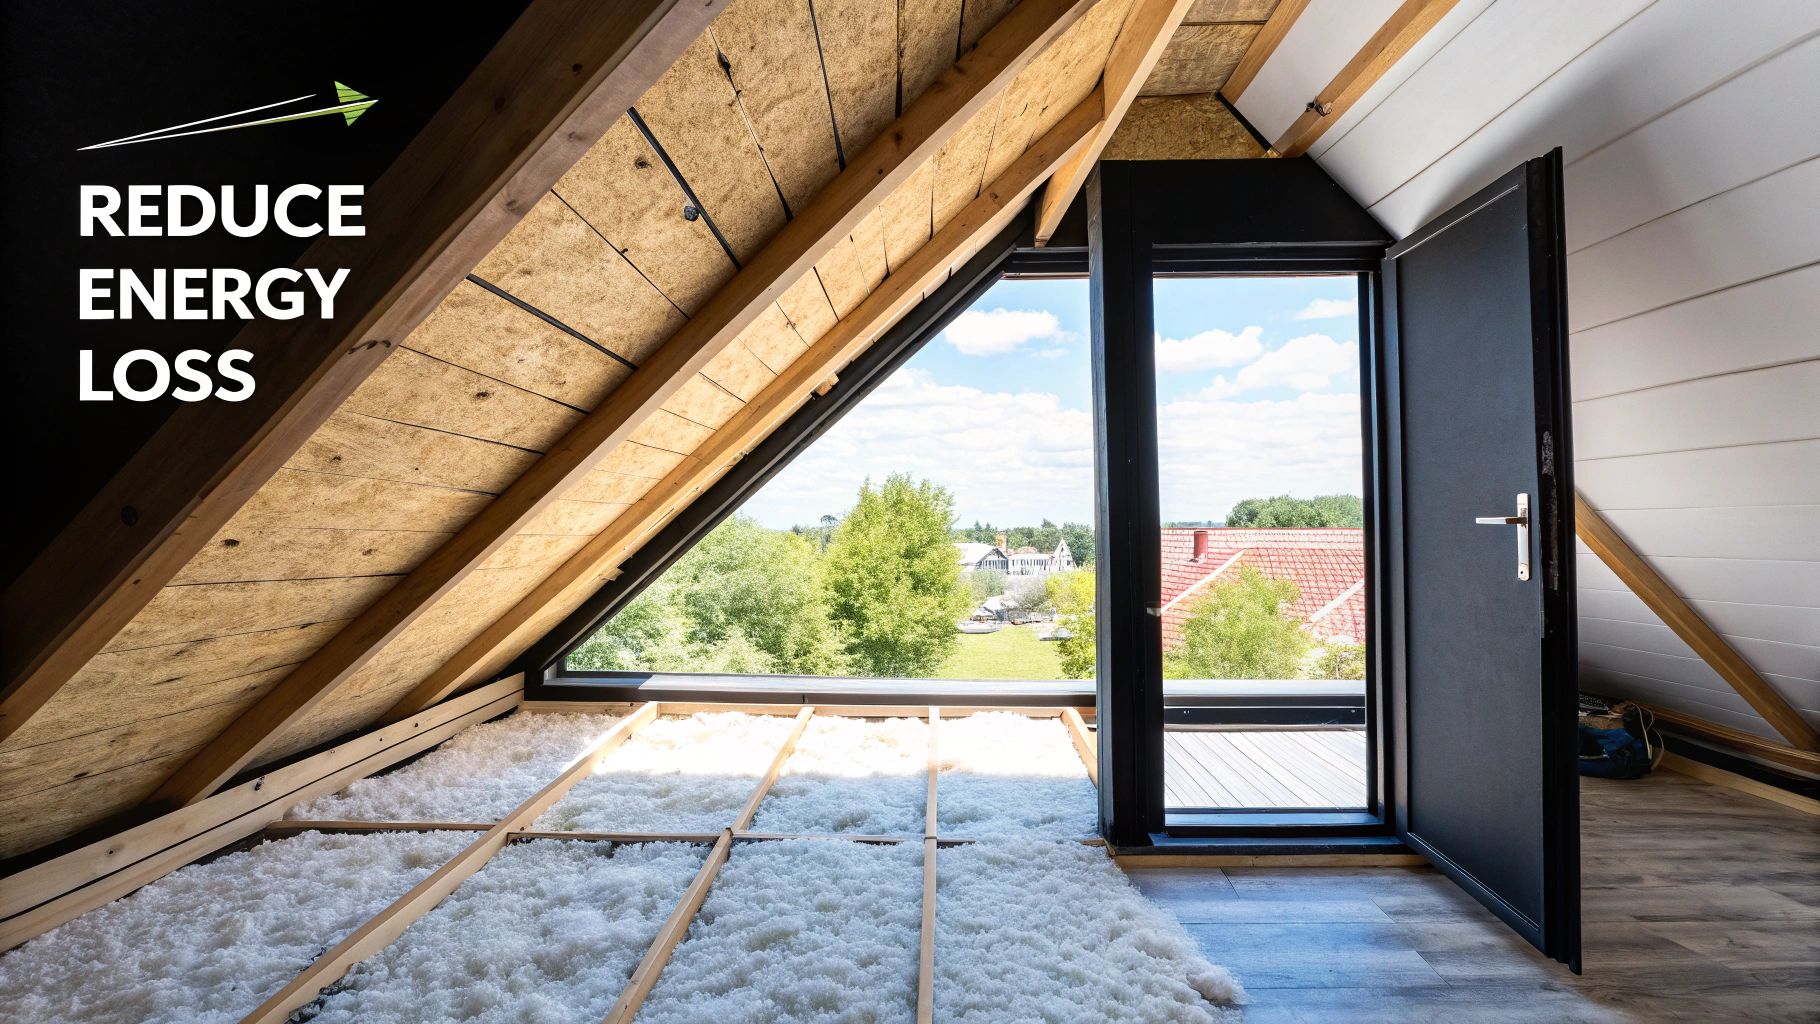
When we talk about a professional attic insulation installation, we're not just talking about a home improvement project. It's a fundamental upgrade that completely seals your home's thermal envelope, stops massive energy loss, and takes a huge amount of strain off your HVAC system.
By creating a real barrier against the brutal South Florida heat, a proper insulation job means lower utility bills and a much more comfortable, consistent temperature inside your home.
Most people see their attic as a dusty spot to store old boxes. But from an energy perspective, it's the single most important space in your entire house. Here in South Florida, the sun just relentlessly hammers our roofs, turning the average attic into an oven that can easily top 150°F. All that intense heat radiates straight down into your living space, forcing your air conditioner to run nonstop just to keep you comfortable.
This problem gets even worse because of something called the "stack effect." Your AC works hard to cool the air, making it denser and causing it to sink. This creates a vacuum effect that actually pulls the sweltering, lighter air from the attic down through all the tiny cracks and gaps in your ceiling. It's a vicious cycle of energy waste that explains why some rooms feel stuffy, others feel chilly, and your AC unit sounds like it never gets a break.
A poorly performing attic doesn't just inflate your FPL bill; it degrades your entire living environment. A proper insulation attic installation tackles these problems at the source, giving you real benefits you can feel every day.
Attic insulation isn't a new idea, of course. The concept took off during the post-WWII housing boom, but the technology didn't really get serious until the 1970s oil crisis. That's when spray foam started to emerge as a far superior solution.
Today, the importance of good insulation is undisputed. Market research shows that uninsulated spaces can account for 25-30% of a home's total energy waste, with most of that loss happening right through the attic. This is why modern materials like spray foam are so critical for our humid climate—they can slash air infiltration by over 80% compared to old-school fiberglass.
Picking the right material for your attic isn't just about grabbing something off a shelf; it's about understanding how that material will stand up to South Florida's relentless heat and humidity. The term you’ll hear thrown around a lot is R-value, which is just a simple way of measuring how well a material resists heat flow. The higher the R-value, the better it insulates.
For our specific climate zone, local building codes and energy standards all point to a target attic R-value of R-38. Not too long ago, hitting that number with old-school fiberglass batts meant stacking them over a foot thick. Thankfully, modern solutions like spray foam give us a much smarter way to create a complete thermal barrier in a single go.
That's because spray foam does two jobs at once: it insulates and it air-seals. As it’s applied, it expands to fill every last crack, gap, and seam in your attic, stopping air leaks cold. This one-two punch is exactly why it's become the go-to for creating a truly comfortable and efficient home down here.
When you start looking into spray foam, you'll find there are two main players: open-cell and closed-cell. They might sound alike, but their physical properties are worlds apart, making each right for different jobs. Getting a handle on these differences is the key to making the right call for your home.
Open-cell spray foam is the softer, more flexible of the two—think of a dense, spongy material. Its cells are left "open" during the curing process, which gives it some interesting traits:
Closed-cell spray foam, on the other hand, is completely different. It cures into a rigid, dense solid. Its cells are completely sealed off from one another, creating a powerful, multi-purpose barrier with superior insulating power.
We're not just guessing here. Research from the experts at Oak Ridge National Laboratory found that spray foam can slash air leakage by as much as 75% compared to traditional fiberglass. It's this dramatic drop in air movement that helps keep your indoor temperature stable and fight off Florida's notorious humidity.
So, which one makes sense for your attic? For almost every single attic we work on here in South Florida, closed-cell spray foam is the clear winner.
Its incredible R-value—up to R-7 per inch—lets us hit that target R-38 without eating up all your valuable attic storage space.
Even more critical for our climate, its rigid, closed-cell structure is impermeable to moisture. It acts as your insulation, air barrier, and moisture barrier all in one. If you live anywhere near the coast, dealing with constant humidity and the threat of wind-driven rain, this isn't just a nice-to-have feature; it's essential. It even adds a bit of structural strength to your roof deck, providing a tough defense against moisture getting in.
To make it even clearer, here’s a quick rundown of how the two types stack up.
This table breaks down the key differences to help you see which foam is the right fit for your project and budget.
| Feature | Open-Cell Spray Foam | Closed-Cell Spray Foam |
|---|---|---|
| Density | Low-density (soft, flexible) | High-density (rigid, strong) |
| R-Value per Inch | ~R-3.5 | ~R-7 |
| Moisture Barrier | No (vapor permeable) | Yes (vapor impermeable) |
| Soundproofing | Excellent | Good |
| Best Use Case | Interior walls, sound dampening | Attics, roofs, exterior walls |
Ultimately, a proper attic insulation job can make a huge dent in your home's energy bills, often cutting them by 20-30%. The airtight seal you get from closed-cell foam is what drives these massive savings, making it one of the smartest long-term investments you can make in your property. By choosing the right material for our unique climate, you're not just adding insulation—you're securing your home's comfort and value for years to come.
It helps to know what’s coming when a professional crew shows up to install your attic insulation. Seeing the process from start to finish takes the mystery out of it and shows you just how much care goes into doing the job right. This isn’t just another home improvement project; it’s a finely tuned operation designed for top-notch results with as little disruption to your day as possible.
The first thing you’ll notice is our self-contained truck and trailer. Everything we need is right there: the spray foam materials, a heavy-duty generator to power our equipment, and a long, heated hose that runs directly to your attic. This setup means we can work efficiently without parading through your home or tying up your power outlets.
Before we spray a single drop of foam, our crew leader will do a final walk-through with you. This is our chance to confirm exactly what we’ll be doing, look at any tricky spots you’re concerned about, and answer any last-minute questions. It’s a simple but critical step to make sure we’re all on the same page.
Once we’ve got the green light, the team gets to work prepping the site. Protecting your home is priority one. We lay down heavy-duty plastic sheeting and tarps, creating a clean path from your front door right up to the attic access. We’ll also carefully cover any furniture or items near the work area to keep them free of dust and any potential overspray.
A professional crew knows that a successful installation is as much about what they protect as what they insulate. Meticulous preparation is the hallmark of a team that respects your property and is committed to a clean, professional outcome.
We also establish a proper ventilation system. Usually, this means setting up a powerful fan in a window to create negative air pressure. This pulls any fumes or airborne particles from the work area and vents them directly outside, which is key for maintaining good air quality and safety while we work.
This visual shows the streamlined approach professionals take, moving logically from assessment and preparation to the final application.
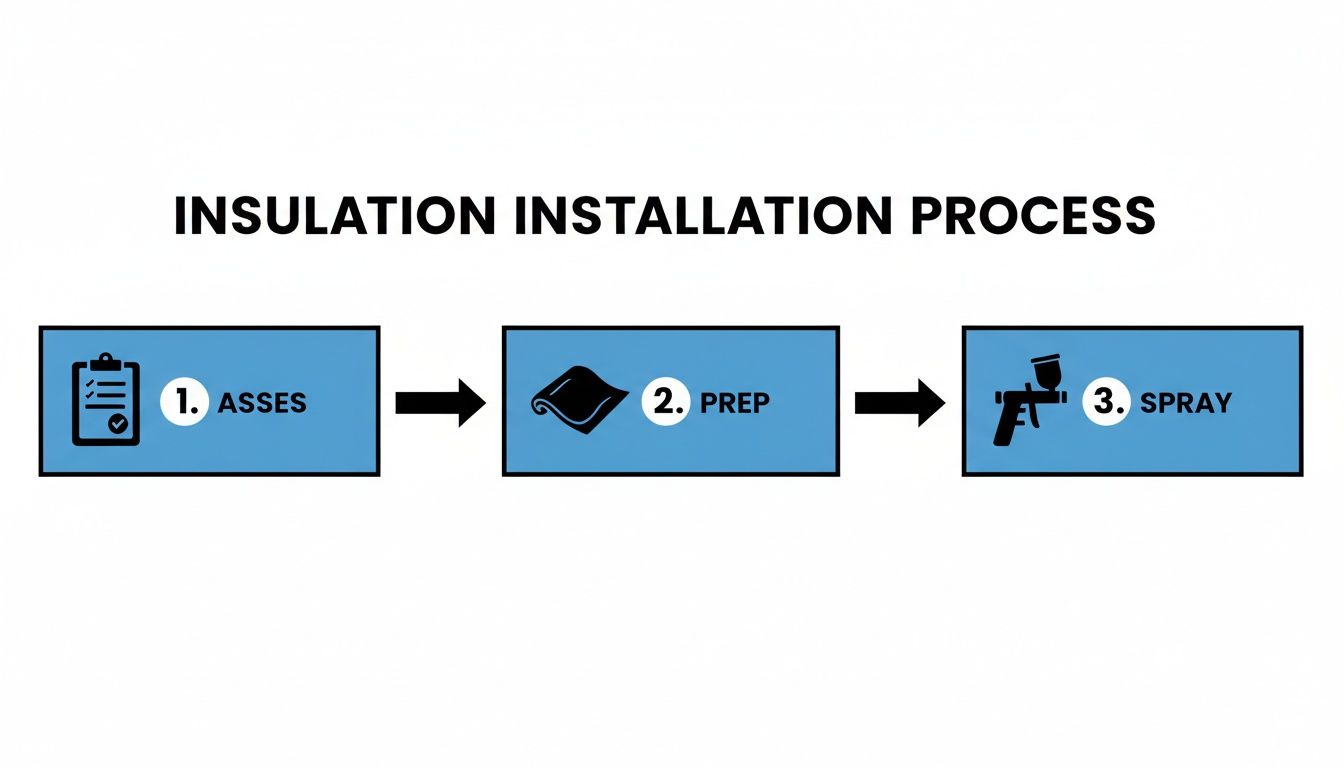
Each step is carefully planned to ensure the project is completed efficiently and correctly, leading to a perfectly sealed attic.
With your home prepped and protected, it’s time to apply the foam. Our technician will gear up in full personal protective equipment (PPE)—a hooded suit, gloves, and a fresh-air respirator. This is a non-negotiable safety standard for anyone handling the two-part chemical compound before it fully cures into a solid, inert foam.
The technician then gets to work, methodically applying the spray foam to the underside of your roof deck. It’s a pretty amazing process to see. The liquid mixture hits the surface and, within seconds, expands to its final thickness, locking into every crack, seam, and gap. This is what creates that seamless, airtight barrier you just can’t get with other insulation types.
This is where real expertise comes into play. An experienced applicator knows exactly how to build up the foam in even layers (we call them "lifts") to hit the target R-value without leaving any weak spots. They’re trained to pay close attention to the tough areas:
We do require that homeowners, family members, and pets leave the house during the application and for a short period afterward. This allows the foam to cure completely and for any vapors to fully dissipate. This curing and ventilation process typically takes about 24 hours.
Once the last bit of foam is sprayed, the curing process is already well on its way. That’s when our team switches gears to cleanup, and we’re just as thorough here as we are with prep.
We carefully roll up all the protective coverings, trapping any dust inside, and remove them from your home. The work area is then swept or vacuumed, leaving it just as clean as we found it—if not cleaner. We’ll leave the ventilation fan running for a bit longer to ensure the air is completely clear before we close everything up. While you're out of the house, it might be a good time to think about other attic improvements; for instance, you can check out our guide on how to properly insulate your ductwork in the attic.
Before we pack up, the crew leader does one last inspection of the attic to verify the coverage is complete and uniform. They’ll then do a final walk-through with you to show you the finished product and give you any specific instructions. For most residential attics, this whole process—from our truck pulling up to us driving away—is done in a single day. It’s a fast, efficient way to completely transform your home’s comfort and energy performance.

A successful insulation attic installation is really a team effort. While we bring the expertise and equipment, a little prep work on your end can make a world of difference in how smoothly the day goes. Think of it as setting the stage for success—these simple steps help our crew work safely and efficiently from the moment we pull up.
Taking a bit of time to get your home ready minimizes disruptions and, honestly, just makes for a better, faster project. Here’s our collaborative game plan for installation day.
Our truck and trailer are loaded with specialized gear, including a long, heavy hose that needs to run all the way from the truck to your attic. The single most helpful thing you can do for us is clear a direct path.
This simple prep saves a ton of time and keeps your belongings safe. It lets us get our protective floor coverings down and get straight to work.
Your collaboration is key to a smooth workflow. By preparing your space, you’re not just helping the crew—you’re ensuring the project stays on schedule and is completed with the highest level of care and precision.
The spot right under and around your attic access is going to be the main hub of activity. Prepping this space is crucial for both safety and keeping things clean.
Valuable and Fragile Items
Take a few minutes to remove anything fragile from the general area. This includes things like:
It’s always better to be a little overcautious. Our crew is incredibly careful, but completely clearing the area eliminates any risk to your prized possessions.
Storage in the Attic
If you use your attic for storage, it’s vital to move everything at least 10-15 feet away from the areas we'll be spraying. This gives our technicians the space they need to work and ensures none of your belongings get hit with overspray.
Finally, just a few last-minute things will make installation day a breeze for everyone living in the house.
Don't forget, you, your family, and your pets will need to be out of the house during the spray application and for the recommended 24-hour curing period. Now's the time to finalize where you'll be staying.
Also, please make sure any pets are safely secured in another room, crated, or with a friend before we arrive. This keeps them safe and stress-free while we’re moving equipment around. A little bit of prep work really does go a long way toward a perfect installation.
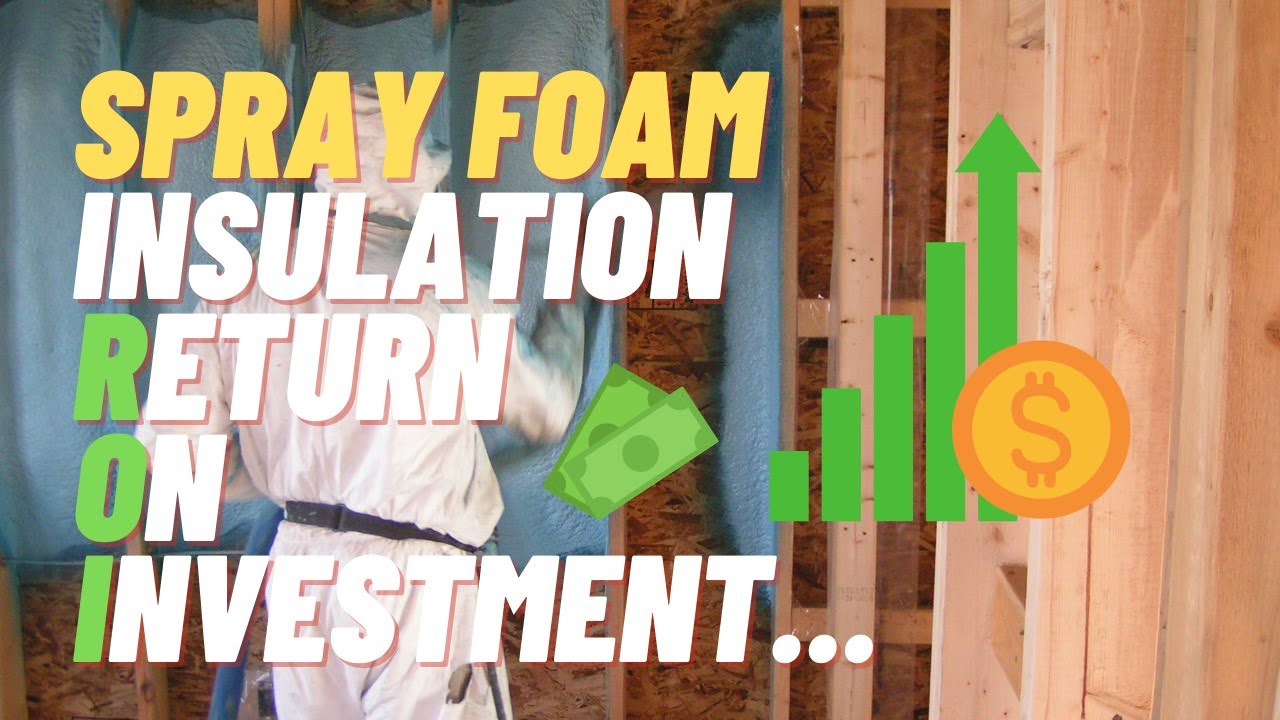
When you're thinking about a professional insulation attic installation, it's easy to get fixated on the initial number. But looking at it as a simple expense really misses the mark. It's much smarter to see it for what it is: a serious investment in your home's value, your comfort, and your wallet.
The final price tag always depends on the house itself. The biggest factor, of course, is the total square footage of your attic—that dictates how much material and time we'll need. Your choice between open-cell and closed-cell foam also makes a difference, as the denser closed-cell foam is a larger upfront investment.
The complexity of the job is a big piece of the puzzle, too. An attic with a crazy roofline, a maze of ductwork, or just plain difficult access is going to require more finesse and time from our crew. If we first have to tear out and haul away old, contaminated, or useless insulation, that removal process gets factored into the project cost.
While I can't give you a universal price without seeing your attic, understanding these variables helps you see where the real value is. You aren't just buying foam. You're investing in a meticulous process to create a permanent, high-performance thermal barrier for your home. You can get a clearer picture of what a project might involve with our detailed cost guide right here on our site.
This is where the conversation pivots from cost to value. The most immediate payoff you'll feel is the dramatic drop in your monthly FPL bill. By creating a truly airtight seal, spray foam stops that expensive, cool air from bleeding out through your roof and blocks South Florida's oppressive heat from pouring in.
For many homeowners we work with, this translates to a 20-40% reduction in cooling costs. Think about what that adds up to month after month, year after year. It’s not just an abstract number; it's real cash back in your pocket.
And the numbers back it up. In an energy-conscious market like ours, a professional attic spray foam installation can boost a home's resale value by 5-10%. In many cases, the project actually pays for itself in just 3-5 years from the utility savings alone. For builders, using spray foam to hit the modern IECC R-38 attic codes also opens the door to significant federal tax credits.
Beyond the direct energy savings, it’s a no-brainer to look into the financial incentives that can make an insulation attic installation even more affordable. These programs are specifically designed to reward homeowners for making smart, energy-efficient upgrades.
The big one is the federal tax credit, often available through programs like the Inflation Reduction Act. This can give you a hefty credit, frequently up to 30% of the project's cost.
I always tell my clients to have a quick chat with their tax advisor and check their local utility's website for the most current details. These incentives can seriously cut down the net cost of the project, making a powerful home upgrade more accessible than you might think. When all is said and done, investing in proper attic insulation is one of the sharpest financial moves a homeowner can make, paying you back for decades.
Even with all the facts laid out, it's totally normal to have a few more questions pop up before committing to a project like this. We get it. Here are some of the most common questions we hear from homeowners across South Florida, along with the straight-up answers you need to feel confident.
This is one of the best parts about choosing spray foam: its longevity is incredible. Unlike fiberglass batts that sag, compress, and get contaminated over time, spray foam is basically a permanent upgrade for your home. Once it’s cured, it’s chemically inert and rock-solid stable.
Think of it this way—the foam literally glues itself to the surfaces in your attic, becoming a single, solid piece of your home's structure. It doesn't settle under its own weight and it doesn’t absorb moisture, which are the two things that kill traditional insulation. That means it holds its R-value and air-sealing power for decades. It's truly a "do it once and you're done" solution, designed to last the entire life of your house.
Safety is our absolute number one priority on every single job. During the installation itself, our crews are suited up in full personal protective equipment (PPE), including respirators. We require homeowners, family, and pets to be out of the house during the application and for a set curing period, which is typically 24 hours.
This 24-hour window is crucial. It gives the foam time to fully cure and allows any vapors to be completely vented out of the house with our high-powered ventilation systems. Once it's cured, modern spray foam is completely inert, stable, and non-toxic. It doesn't off-gas or release harmful VOCs. Any faint chemical odor you might notice during that initial window is gone once it’s fully set, leaving your home with no smell at all. In fact, by sealing out all the dust, pollen, and other gunk from outside, it actually makes your indoor air cleaner.
In almost every single case, yes. Pulling out the old, nasty insulation is a critical first step. Just spraying new foam over the top of old material is a recipe for trouble—you can trap moisture, dust, and even pests, which defeats the whole purpose. More importantly, it stops the new foam from creating that perfect, monolithic bond directly to your home's structure.
Old fiberglass or cellulose gets compressed, dirty, and loses its R-value over the years. It basically becomes a dusty, allergen-filled blanket that isn't doing much.
A professional assessment will confirm the plan, but you should expect removal to be part of the job. Our team handles the entire process safely and cleanly, giving us the perfect blank canvas to work with.
A clean slate is essential for a high-performance attic. Removing old, contaminated insulation isn't just a cleanup task; it's a foundational step that guarantees the new spray foam can deliver maximum thermal performance and air sealing.
This is a common myth, and we're always happy to set the record straight. When applied correctly by a professional to the underside of the roof deck, spray foam actually protects your roof and shingles. It does this by creating what we call a "conditioned" or "sealed" attic.
Think about a typical vented attic here in South Florida. On a sunny day, that space can easily hit 150°F or higher. That extreme heat is baking your shingles from the underside, day in and day out, which drastically shortens their lifespan.
When we apply spray foam directly to the roof deck, we stop that from happening. The attic temperature now stays much closer to the temperature of your living space below. This dramatically reduces the thermal stress on your shingles. It also stops humid air from condensing on the hot roof deck, which protects the wood from moisture damage. A proper insulation attic installation is one of the best things you can do for the longevity of your roof.
Ready to transform your home’s comfort and slash your energy bills? The team at Airtight Spray Foam Insulation brings over 25 years of hands-on experience to every project. Request your free, no-obligation quote today and discover how our Airtight Comfort System can make your South Florida home quieter, healthier, and more efficient.