Blog
A Homeowner’s Guide to R Value of Fiberglass Insulation Batts

When you're looking at insulation, the first thing you'll see on the package is the R-value. For fiberglass batts, this number usually lands somewhere between R-3.0 and R-4.3 per inch of thickness, which is a big reason why it’s such a common and budget-friendly pick for so many homes.
This R-value is the single most important measure of how well the insulation will do its job—resisting the flow of heat. A higher number means better performance and a more comfortable home.
Understanding The R-Value of Fiberglass Insulation Batts

Think of R-value like the SPF rating on sunscreen. A higher SPF gives you more protection from the sun; a higher R-value gives your home better protection from heat moving where you don't want it to. It's a direct measure of thermal resistance.
In the winter, that means keeping the warm, conditioned air you paid for from leaking out. Here in South Florida, it’s all about blocking that intense summer heat from baking your attic and getting into your living space. The better the R-value, the stronger the barrier.
How R-Value Is Measured And Why It Matters
That R-value number isn't just a guess—it's determined in a lab under strict, controlled conditions. This gives us a reliable, apples-to-apples way to compare different products. When a batt is labeled R-13, you know exactly what level of performance to expect, assuming it’s installed correctly.
Fiberglass offers a respectable thermal resistance of around R-3.0 to R-4.3 per inch. This performance, combined with its low cost of roughly $0.40 to $0.70 per square foot, is why it's a go-to material. In fact, residential construction makes up an estimated 42% market share of all fiberglass insulation used.
The R-value is the first and most important number to check when choosing insulation. It directly translates to how well the material will help you save on energy bills and maintain a stable indoor temperature.
Common R-Values For Standard Fiberglass Batts
To make things simple, manufacturers produce batts in standard sizes meant to fit perfectly into common wall and ceiling framing. A batt made for a 2×4 wall, for instance, will naturally have a different R-value than a thicker one designed for a 2×6 wall or deep attic joists.
Here’s a quick look at what you can expect to find on the shelves.
Common R-Values for Standard Fiberglass Batts
This table shows the typical R-value for standard fiberglass batts based on their thickness and the common wall framing they are designed to fit.
| Wall Framing | Batt Thickness (Inches) | Typical R-Value Range |
|---|---|---|
| 2×4 Wall | 3.5" | R-13 to R-15 |
| 2×6 Wall | 5.5" | R-19 to R-21 |
| Attic/Ceiling | 6.25" | R-19 |
| Attic/Ceiling | 8" – 8.5" | R-25 to R-30 |
| Attic/Ceiling | 10" – 12" | R-30 to R-38 |
As you can see, more thickness equals more insulating power. The deeper the cavity you have to fill, the higher the R-value you can achieve.
If you’re trying to figure out exactly what your project calls for, our insulation R-value calculator can give you a more precise estimate. Getting this basic knowledge down is the first step toward making your home truly energy-efficient.
How Thickness and Density Affect Fiberglass R-Value

When you're staring at a stack of fiberglass batts, it’s tempting to assume that thicker is always better. After all, more material should mean more insulation, right? But that’s only half the story. The real performance of a batt comes from the interplay between its thickness and its density.
Think of it like a winter blanket. You could have a big, fluffy comforter that’s thick but so loosely woven that the cold air just cuts right through. A thinner, more tightly knit wool blanket might actually keep you much warmer. Insulation works the same way—denser batts pack more heat-stopping fibers into the same space, which is what really drives up the R-value.
It's precisely this difference that lets you find two different R-values for batts designed for the very same wall.
Standard vs. High-Density Batts
Insulation manufacturers get this, so they produce both standard and high-density fiberglass batts. This gives builders and homeowners a way to get more insulating power without having to change the way we frame buildings.
The classic example we see all the time is in a standard 2×4 wall, which gives you a 3.5-inch deep cavity to work with. You have two common options:
- Standard Batt: A standard R-13 batt is made to fit perfectly into that 3.5-inch space.
- High-Density Batt: A high-density R-15 batt is also 3.5 inches thick. It just has more glass fibers packed in, giving you a performance bump in the exact same cavity.
That extra density lets you build a better thermal barrier without needing a thicker wall. You’ll see the same thing with 2×6 walls, where you can choose between a standard R-19 batt or a high-density R-21 batt to get a little extra performance. While fiberglass is a great go-to, other materials take this density concept even further—you can see how dense-pack cellulose R-value pushes this idea to another level in our guide on that topic.
The Bottom Line: Density is how you get more R-value without needing more space. It's the key to maximizing insulation performance in standard wall and floor cavities.
So, should you spring for high-density? It really comes down to your budget and your goals. High-density batts cost a bit more, but that extra investment pays off in better performance. For many projects in South Florida, that small jump is what it takes to meet stricter energy codes and, more importantly, create a genuinely comfortable home.
But here’s a word of warning from the field: never cram a thick batt into a shallow cavity. Forcing an R-19 batt into a 2×4 wall crushes all the tiny air pockets that give the insulation its power. You'll actually end up with less insulating performance than if you’d just used the correct R-13 or R-15 batt in the first place. Always match the batt to the depth of the cavity. No exceptions.
Choosing the Right R-Value for Our South Florida Climate
Let’s be clear: insulating a home down here in West Palm Beach is a whole different ball game than it is up north. Our enemy isn't the cold; it's the oppressive, year-round heat and suffocating humidity. This is where people get confused. A high R-value isn't just about staying warm—for us, it's absolutely critical for keeping cool.
Think about what your insulation is really doing. It’s creating a thermal barrier that keeps your expensive, air-conditioned air right where you want it: inside. Even more importantly, it has to stop that blistering heat radiating down from your sun-baked attic, which can easily turn your living space into an oven. A higher R-value in your fiberglass batts means a stronger defense against this relentless heat gain.
R-Value Targets for South Florida Homes
For homeowners from Jupiter all the way down to Stuart, we have specific climate needs. We're in what the pros call Climate Zone 1 (hot-humid), and ENERGY STAR gives some great starting points to maximize your home's efficiency and comfort.
- Attics: This is your most important battleground. The official recommendation is R-30 to R-60, but from my experience, you should be aiming for at least R-38 in our attics. It’s a smart investment that pays for itself by fighting off those extreme attic temperatures.
- Walls: In standard 2×4 framed walls, R-13 is the go-to. If your home has beefier 2×6 framing, step it up to R-19 or R-21 to create a much more effective thermal break.
- Floors & Crawl Spaces: If you have floors over an unconditioned garage or a vented crawl space, you’ll want to install R-13 to stop heat from creeping in from below.
These numbers give you a solid baseline, but they're only half the story. The R-value number on the package doesn't mean much without the next step.
Don't Forget the Most Important Part: Air Sealing
I want you to imagine putting on a brand-new, expensive winter coat that’s full of holes. It’s not going to do you much good, right? The exact same logic applies to your home. You can pack your walls and attic with the highest R-value batts you can find, but if you have gaps and cracks letting air move right through, you’re just throwing money away. This is why air sealing is completely non-negotiable here.
Air sealing is simply the process of finding and plugging up all the little leaks in your home's "envelope"—the shell between your conditioned space and the outside world. When you pair thorough air sealing with the right R-value, you get the one-two punch you need to beat Florida’s heat and humidity.
Even perfectly installed fiberglass batts can’t stop air from moving through them. Before any insulation goes in, you have to seal all the penetrations around plumbing pipes, electrical wires, and light fixtures. This creates an airtight system that actually lets your insulation do the job it was designed for.
Now, you might hear some debate about fiberglass losing effectiveness in extreme temperature swings. Some research shows loose-fill fiberglass can lose R-value when the temperature difference hits 70°F or more. The good news? In South Florida's climate, we rarely see that kind of massive differential. Studies have found that in our more moderate subtropical temperatures, fiberglass batts perform much closer to their stated R-value. This just reinforces why a quality installation with diligent air sealing is so incredibly important. You can dig into the research on how temperature affects insulation performance to understand the details. Get the air sealing and the R-value right, and you're well on your way to a truly efficient home.
Common Installation Mistakes That Kill R-Value
That R-value printed on the insulation package? It's a best-case scenario, a promise of performance that hinges entirely on proper installation. I've seen it a hundred times: a homeowner or even a hurried contractor thinks they're doing the right thing, but a few simple mistakes completely tank the insulation's effectiveness.
It's heartbreaking to see good material go to waste. These errors create thermal bridges—basically, highways for heat to blow right past your insulation. Research has shown that a 4% void area in a wall, which isn't much, can slash the effective R-value by a shocking 50%.
Compression: The Silent Killer of R-Value
One of the most common blunders I run into is compressed fiberglass. The magic behind fiberglass isn't the glass itself, but the millions of tiny air pockets trapped between the fibers. Those pockets are what actually slow down heat.
When you cram or crush a batt into a cavity that’s too tight, you squeeze all that insulating air right out. You’re fundamentally changing how the material works and destroying its R-value in the process.
A classic example is shoving a thick R-19 batt, which is designed for a 5.5-inch deep 2×6 wall, into a standard 3.5-inch 2×4 wall. You're not "upgrading" anything. You're actually downgrading the performance to something closer to an R-13—or worse. All you've done is waste money and create pressure points inside your wall. You want a snug fit, never a compressed one.
Gaps and Voids: An Open Invitation for Heat
Just as bad are the gaps left around the insulation. Even tiny uninsulated spots around electrical boxes, plumbing, and wiring create massive energy leaks. You could have 95% of your wall cavity filled perfectly with R-13 batts, but if that last 5% is just empty space, you've given heat an easy escape route.
Doing it right means taking the time to cut the batts to fit perfectly around every single obstruction. This isn't just stuffing it in; it's craftsmanship.
- Splitting the batt: For pipes and wires, you should carefully pull the batt in half, tuck one half behind the obstruction, and let the other half lay over the front. It should envelop the pipe seamlessly.
- Cutting clean shapes: Use a sharp utility knife and a straight edge to cut precise openings for outlets and junction boxes. Don't just tear it.
- Tucking, not stuffing: The insulation needs to fill the entire cavity, touching all six sides (front, back, top, bottom, and both studs) without any air gaps along the edges.
These little details are what separate a professional, high-performance job from one that just looks good on the surface. When you pay for a specific R-value of fiberglass insulation batts, making sure it’s installed without compression or gaps is the only way to get the thermal protection you’re counting on.
Fiberglass Batts vs. Spray Foam: The South Florida Showdown
When you're deciding on insulation for a home here in South Florida, the choice usually boils down to two options: the old-school fiberglass batts or the more advanced spray foam. While the R-value of fiberglass insulation batts gives you a number on the package, that's just the start of the story. The real difference isn't just about that number—it's about how these materials actually perform against our relentless heat and humidity.
Fiberglass is the material everyone recognizes. It's affordable and works by trapping pockets of air to slow down heat transfer. But it's a passive system. It doesn’t stop air from moving through it, which means every unsealed gap, every sloppy cut, and every compressed batt becomes a weak point in your home’s defense.
Spray foam is a completely different approach. We apply it as a liquid that expands on contact, filling every single crack and seam to create a solid, continuous barrier. This process does much more than just insulate; it creates a powerful air and moisture seal at the same time.
R-Value Per Inch: Getting More from Your Walls
One of the most important metrics to look at is the R-value you get per inch of thickness. This tells you how much insulating muscle you can pack into a standard wall cavity.
- Fiberglass batts generally give you an R-value between R-2.9 and R-3.8 per inch. You can find high-density batts that bump this up to around R-4.3.
- Spray foam packs a much bigger punch. Open-cell foam comes in around R-3.5 to R-3.9 per inch, but closed-cell foam delivers an incredible R-6.0 to R-7.0 per inch.
What this means in the real world is that spray foam can deliver far more insulating power in the same amount of space. That’s a massive advantage when you need to hit modern energy code targets without having to build thicker, more expensive walls. If you want to dig deeper into the nuts and bolts, we've put together a full breakdown of foam versus fiberglass insulation.
The Air and Moisture Barrier Difference
For anyone building or renovating in South Florida, this is where the game is won or lost. Fiberglass batts do absolutely nothing to stop air or moisture vapor on their own. To make them work, you have to add a separate vapor retarder and meticulously air seal every joint and penetration. If you don't, humid air will find its way in, condense inside your walls, and create a perfect breeding ground for mold and rot.
Spray foam is both your insulation and your air barrier in a single step. By expanding to create a custom-fit, airtight seal, it stops humid, outdoor air from ever infiltrating your home's envelope. This gives you unmatched protection against the moisture problems that plague so many Florida homes.
To make the choice clearer, here’s a direct comparison of how these two materials stack up on the issues that matter most to property owners in our climate.
Fiberglass Batts vs Spray Foam Insulation for Florida Homes
| Feature | Fiberglass Batts | Spray Foam Insulation |
|---|---|---|
| R-Value per Inch | R-3.0 to R-4.3 | R-3.5 to R-7.0 |
| Air Sealing | Poor (Requires separate air sealing) | Excellent (Seals gaps as it expands) |
| Moisture Barrier | Poor (Can trap moisture) | Excellent (Resists moisture intrusion) |
| Upfront Cost | Lower | Higher |
| Longevity | Can sag, settle, and lose R-value | Maintains form and R-value for life |
| Installation | DIY-friendly but requires precision | Professional installation required |
As you can see, while fiberglass has a lower upfront cost, spray foam delivers superior, long-term performance, especially when it comes to managing air and moisture—our two biggest enemies.
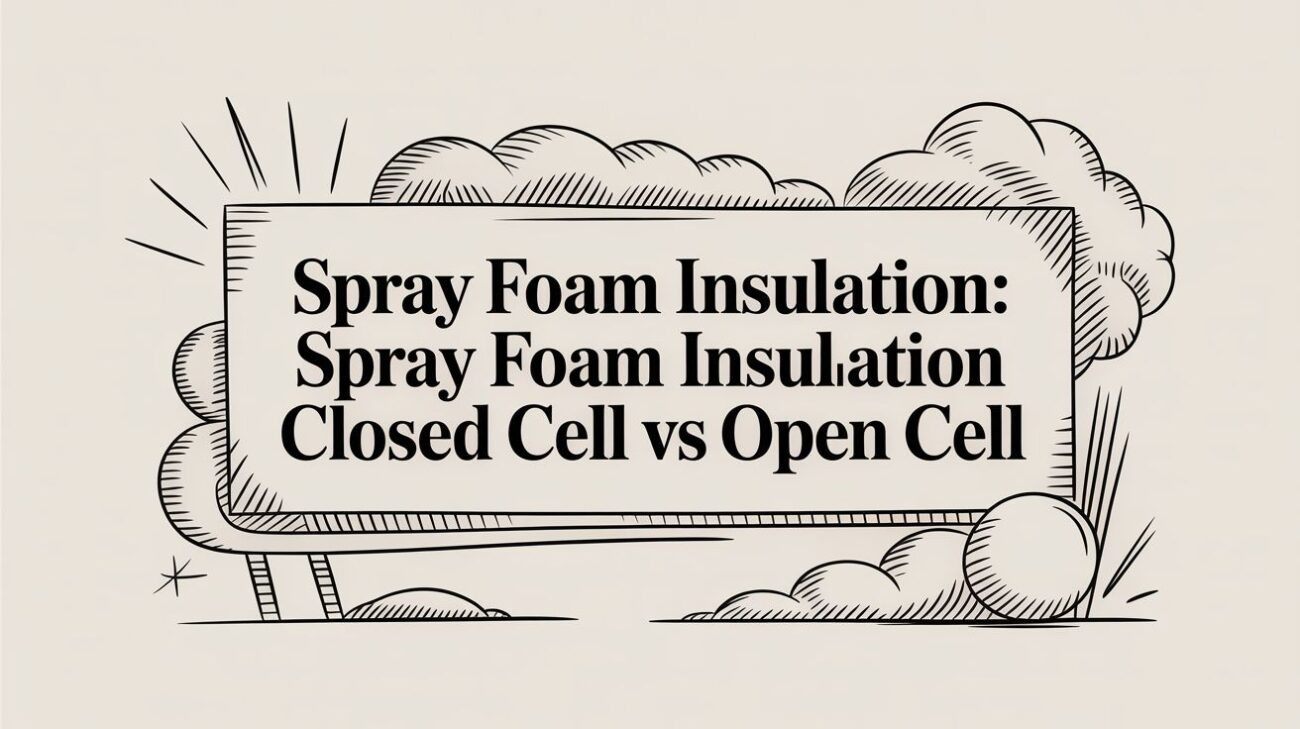
This is why installation quality is everything with fiberglass. It's not just about putting insulation in a wall; it's about creating a perfectly fitted thermal layer.

As this graphic makes painfully clear, compressing batts or leaving even small gaps around wires and outlets destroys their R-value. A perfect fit isn't a "nice-to-have"—it's the only way to get the performance you're paying for.
Putting It All Together for an Energy-Efficient Home
So, after all this talk about R-value, what's the real takeaway? While knowing the R-value of fiberglass insulation batts is a great starting point, it's just one piece of a much larger puzzle. Achieving real comfort and efficiency in a South Florida home means thinking about the entire house as a system.
Fiberglass batts are a common, budget-friendly choice, but for our relentless heat and humidity, they often fall short. From my experience, spray foam insulation offers a far more complete defense, providing both high-performance insulation and critical air sealing in a single application.
A truly energy-efficient home is a system. Insulation, air sealing, and your HVAC system must work together to create a comfortable, cost-effective living space.
This system-based approach is crucial. Your insulation works hand-in-hand with your air conditioner, which is why choosing the right HVAC system for your home is just as important as what you put in your walls. With the U.S. demand for quality insulation projected to climb 1.9% each year through 2025, making an informed decision is more critical than ever. You can see these fiberglass insulation market projections for yourself.
For homeowners and contractors in Jupiter, West Palm Beach, and our surrounding communities, the path forward is clear. It’s about building smarter, not just meeting the bare minimum.
Contact us at Airtight Spray Foam Insulation for a professional home energy assessment and a complimentary quote. Let's work together to build a more comfortable and efficient home for you, starting today.
Frequently Asked Questions About Fiberglass R‑Value
Even after you get the basics down, you’re bound to have some practical questions. These are the ones we hear from homeowners and builders every day, so let's clear things up.
Can I Install New Fiberglass Batts Over My Old Insulation?
Yes, in many situations, you can lay new, unfaced fiberglass batts right over your existing attic insulation. Just make sure the old stuff is bone dry and free of any mold, mildew, or pests.
For the best performance, lay the new batts perpendicular to the direction of your ceiling joists. This creates a solid blanket of insulation that covers the old layer and the tops of the joists, which goes a long way in stopping thermal bridging.
But be careful. You absolutely cannot block any attic ventilation points like your soffit vents. If your old insulation is damp, matted down, or contaminated, it has to come out. Call a professional to have it removed before you even think about putting anything new down.
Is a Higher R‑Value Always Better For My Walls?
No, and this is a common misconception. The best R‑value is the one that fits perfectly inside your wall cavity without getting squished. A standard 2×4 wall is just 3.5 inches deep, which is built to hold an R-13 batt or a high-density R-15 batt.
Jamming a thicker R-19 batt into that 3.5-inch space is a huge mistake. You'll crush the fiberglass, squeezing out all the air pockets that give it insulating power. You’ll actually lower its performance and waste your money.
If you want a higher R‑value in your walls, you have two real options: build with deeper framing like 2×6 studs (which can fit R-19 or R-21 batts) or switch to an entirely different material like closed-cell spray foam, which offers a much higher R‑value per inch.
Does the Paper Facing On Batts Add R‑Value?
The paper or foil facing on a fiberglass batt adds virtually no R‑value. Its real job is to be a vapor retarder, which is all about controlling moisture.
In a hot and humid climate like we have here in South Florida, where you put that facing is absolutely critical.
- Faced Batts: The paper side must always face the conditioned, air-conditioned interior of the house.
- Unfaced Batts: These are what you use when you're installing a separate vapor barrier or insulating between interior floors where moisture isn’t the main issue.
Get this wrong, and you can trap humidity right inside your walls, leading to a disaster of mold and rot. And remember, insulation is just one piece of the puzzle. To keep your Miami home truly efficient, your HVAC system needs to be in top shape. Looking into the benefits of air duct cleaning can make a big difference in your system's performance and the quality of the air you breathe.
Ready to move beyond the basics and discover a superior solution for your South Florida property? Contact Airtight Spray Foam Insulation today to learn how our advanced spray foam systems can deliver unmatched comfort and energy savings. Request your free, no-obligation quote at https://airtightsprayfoaminsulation.com.