Blog
A South Florida Guide to Insulate a Garage for Comfort and Savings
To get the job done right, you need to think of your garage as a complete system. It’s not just about throwing some insulation in the walls. You have to air seal the gaps, insulate the walls and ceiling, and make sure that massive garage door has a real thermal barrier. Here in South Florida, this isn’t a luxury—it’s essential for turning an unbearably hot space into a comfortable, energy-efficient part of your home.
The best way to tackle our intense heat and humidity is with a moisture-resistant insulation like closed-cell spray foam. It’s built to handle the unique challenges we face down here.
Why You Should Insulate a Garage in South Florida
Let’s be real: a South Florida garage in the middle of July feels like stepping into a sauna. Most of us just accept it, but you don’t have to. An uninsulated garage acts like a giant heat sink, soaking up the sun’s rays and pumping that heat straight into your house. This makes your air conditioner work way harder, driving up your FPL bill and making the rooms next to the garage noticeably warmer.
Ever tried to use your Jupiter garage for a workshop or a home gym in the summer? You’re probably driven out by the oppressive heat in minutes. It’s not just about being uncomfortable; you’re losing a huge chunk of your home’s usable square footage for most of the year. When you insulate a garage properly, you’re not just adding foam—you’re reclaiming that valuable space.
The Real-World Benefits of Garage Insulation
The payoff goes far beyond just making the space more tolerable. A well-insulated garage creates a critical buffer zone between the extreme outdoor temperatures and your air-conditioned living areas.
- Serious Energy Savings: When you stop heat from pouring in through the garage, you slash the workload on your HVAC system. That means lower monthly energy bills.
- A More Comfortable Home: Rooms sharing a wall with the garage will finally hold a stable, comfortable temperature all day long.
- Protect Your Stored Belongings: Brutal heat and humidity will wreck tools, electronics, cars, and anything else you store out there. Insulation creates a stable environment, protecting your things from rust, warping, and premature failure.
- A Truly Usable Space: Your garage can finally become the workshop, home gym, or organized storage area you’ve always wanted, ready to use no matter the season.
The Financial Impact of an Uninsulated Garage
The numbers don’t lie. Insulating your garage can cut energy bills by up to 20% in a humid climate like ours, where every unsealed gap is like an open window for your money. According to the U.S. Department of Energy, often-ignored garages can account for 15-20% of a home’s total heat loss.
Even better, adding spray foam insulation to garage walls can reduce air infiltration by a whopping 75%. For a typical garage in Florida’s hot-humid zone, that translates into major annual savings. You can dig into the thermal performance of insulation materials on Grandview Research to see the data for yourself.
Beyond keeping the heat out, insulation is also a fantastic sound barrier. It’s a total game-changer if your garage faces a busy road or if you like to use loud power tools without bothering the rest of the house. You can find out more about how insulation acts as a sound barrier in our detailed guide.
Choosing the Right Insulation for Your South Florida Garage
When you’re insulating a garage in South Florida, picking the right material is everything. This isn’t just about grabbing the cheapest rolls off the shelf at a big box store. Our intense, year-round humidity can turn the wrong insulation into a soggy, mold-infested mess in no time, completely wasting your investment.
The decision boils down to a few key factors: moisture resistance, R-value, and the ability to create a truly complete air seal. A material that works perfectly fine in a dry, northern climate will often fail spectacularly down here. It’s all about choosing a product that can stand up to our unique coastal challenges.
This simple flowchart breaks down why insulating your garage is one of the smartest financial moves you can make, leading directly to lower energy bills.
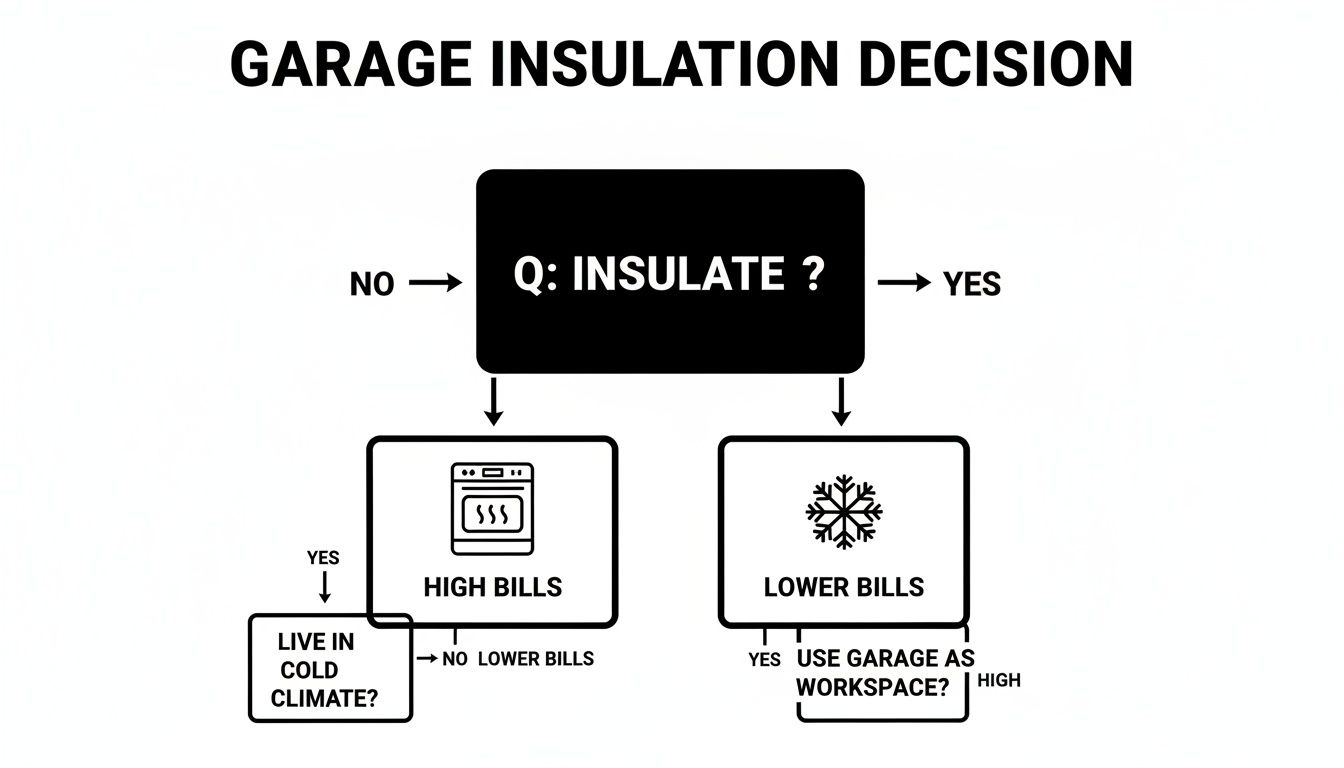
As you can see, you really have two paths: do nothing and keep paying those frustratingly high utility bills, or insulate and start enjoying some significant savings. It’s a pretty clear choice.
The Best (And Worst) Insulation Types for a Humid Climate
Let’s get practical and break down the most common options you’ll encounter. We’ll see how they really perform in places like West Palm Beach or Stuart, where humidity is a constant battle we fight every single day.
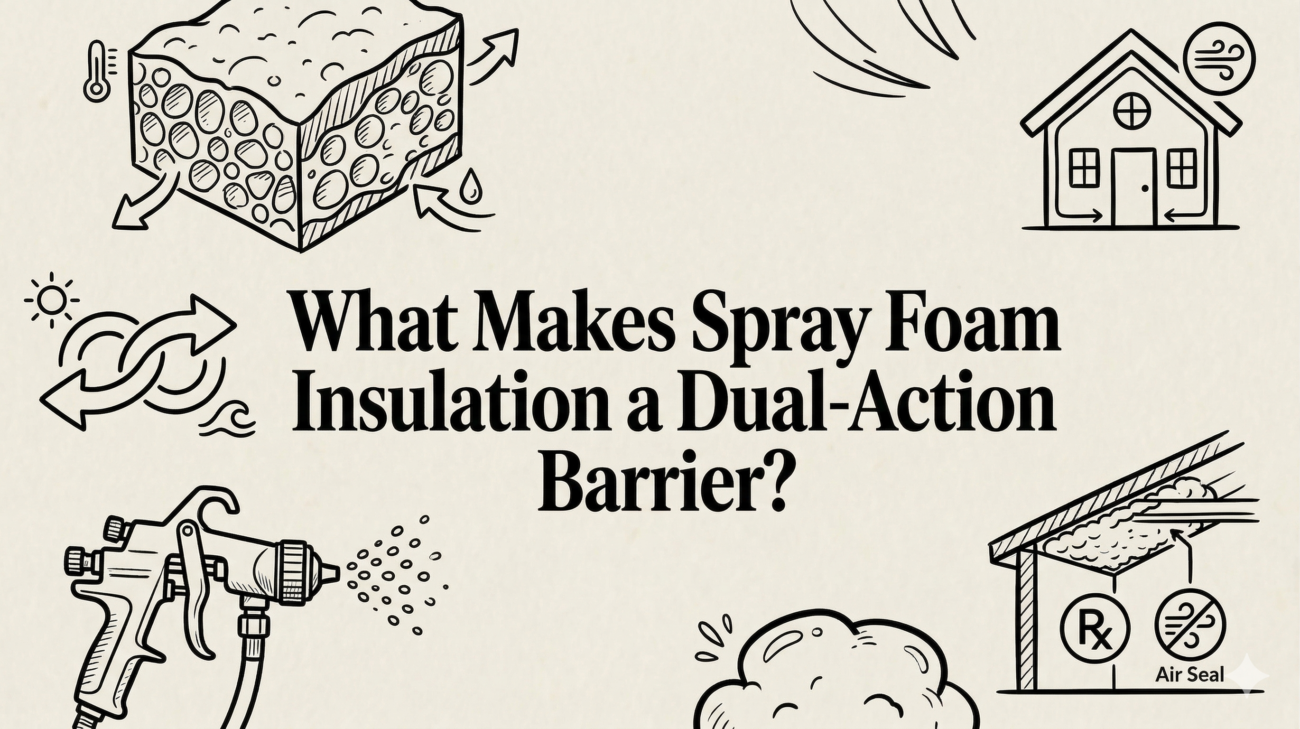
- Closed-Cell Spray Foam: This is the undisputed champion for a reason. It packs a high R-value (around R-6.5 per inch) and, most importantly, it acts as its own vapor barrier. It doesn’t absorb water, which makes it impenetrable to moisture and the mold that follows. It also expands as it’s applied, filling every nook and cranny to create a perfect, seamless air seal.
- Open-Cell Spray Foam: While it also creates a fantastic air seal, open-cell foam is vapor-permeable. This means it can absorb and hold onto moisture. While it’s a great sound barrier, it’s just not the right tool for the job in a South Florida garage where moisture control is the absolute top priority.
- Rigid Foam Boards (XPS/Polyiso): These boards offer a solid R-value and are fairly resistant to moisture. They’re a decent DIY-friendly option, but they have a major weakness: the seams. You have to be incredibly meticulous with taping every single seam to create an effective air seal. Any tiny gap becomes an open invitation for humid air to sneak right through.
- Fiberglass Batts: Honestly, this is the material we see fail the most often in Florida garages. It’s cheap and familiar, but it’s the worst choice for our climate. The moment fiberglass gets damp, it loses a huge chunk of its R-value. Even worse, it traps that moisture right up against your wall studs, creating the perfect hidden breeding ground for mold and wood rot.
For any garage in South Florida, moisture resistance is non-negotiable. While fiberglass might seem like a bargain upfront, the long-term risk of mold, rot, and poor performance makes closed-cell spray foam a much smarter, safer investment for your home and your health.
Garage Insulation Comparison for South Florida
To make your decision even easier, I’ve put together this table that cuts right to the chase. It compares these materials based on the factors that truly matter in our hot, humid environment.
| Insulation Type | R-Value per Inch | Moisture Resistance | Air Seal Quality | Best Use Case |
|---|---|---|---|---|
| Closed-Cell Spray Foam | R-6.0 – R-7.0 | Excellent | Excellent | The ultimate solution for climate-controlled or humid garages. |
| Open-Cell Spray Foam | R-3.5 – R-4.0 | Poor to Fair | Excellent | Good for soundproofing in dry, conditioned spaces, not garages. |
| Rigid Foam Boards | R-4.0 – R-6.5 | Good | Good (if sealed) | A decent DIY option for walls and garage doors, but requires perfect sealing. |
| Fiberglass Batts | R-3.1 – R-3.7 | Poor | Poor | Not recommended for unconditioned Florida garages. |
The takeaway here is pretty clear: closed-cell spray foam stands head and shoulders above the rest for any homeowner who is serious about creating a durable, efficient, and moisture-proof garage in this region. If you’re still weighing your options, you can see a more detailed comparison of spray foam vs. blown-in insulation here.
Don’t Forget About the Garage Floor
While walls and the ceiling get most of the attention, that big concrete slab floor is a massive source of heat transfer. People don’t realize that an uninsulated garage can lose up to 15% of a home’s energy right through the floor.
Applying closed-cell spray foam to the floor before a new slab is poured can raise its R-value to over R-20, which can slash energy bills by another 25% in our hot climate. For a homeowner in a place like Wellington, that can easily add up to over $300 in savings every single year.
How to Prepare Your Garage for Insulation
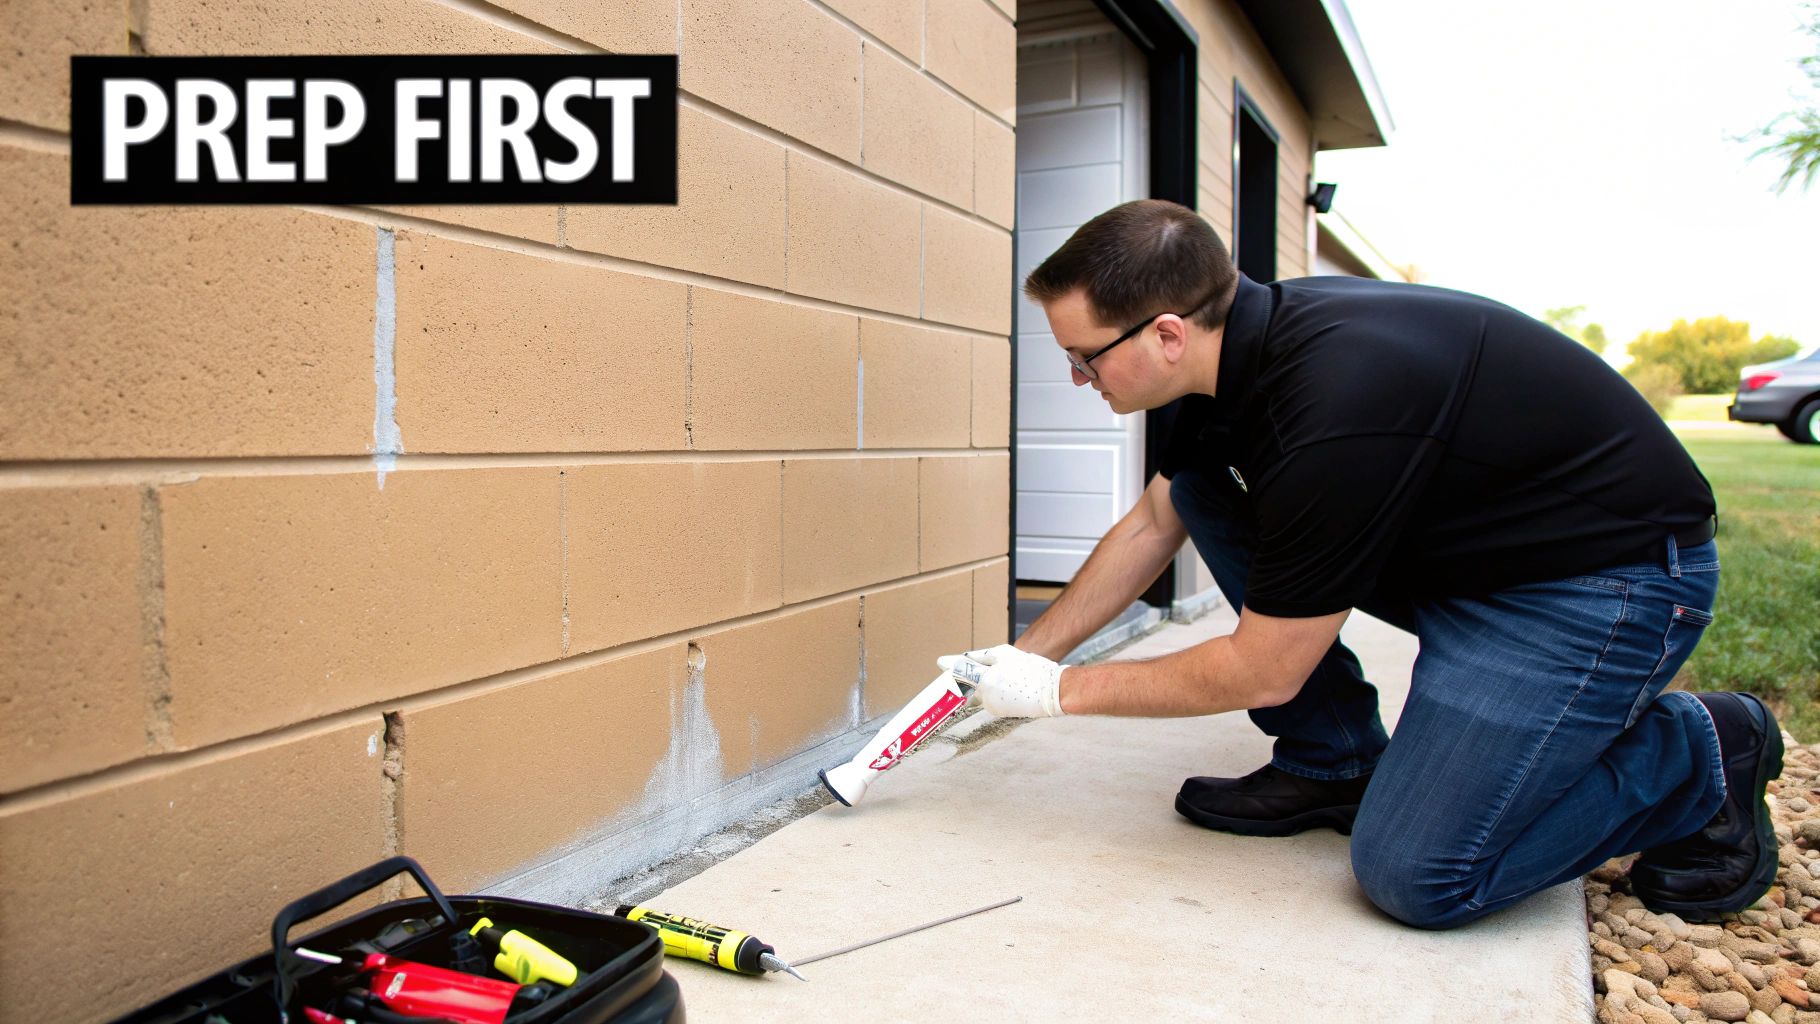
Any high-performance insulation job starts with meticulous prep work. Seriously. This is the single biggest step homeowners get wrong, and rushing it can lead to trapped moisture, hidden mold, and insulation that just doesn’t do its job.
Think of it this way: you wouldn’t paint a car without sanding it down first. Same principle applies here. Before any insulation goes up, your garage has to be clean, dry, and totally sealed from air and moisture. This isn’t just a friendly suggestion—it’s the foundation for a successful project that actually adds value to your home.
Conduct a Thorough Inspection
First things first, you need to play detective and find every single weak point where air and water can sneak in. This calls for a slow, careful inspection of the entire garage, from the floor slab all the way up to the ceiling.
Start by clearing everything away from the walls. Get the shelves, bikes, and storage bins out of the way so you can see what you’re dealing with. Then, grab a good flashlight and hunt for these common culprits:
- Foundation Cracks: Pay close attention to your concrete block walls, especially down low. Look for hairline cracks or that white, powdery stuff called efflorescence—a dead giveaway that water is seeping through.
- Window and Door Gaps: Check the seals around all your windows and the man door. Are they cracked, brittle, or pulling away from the frame?
- Sill Plate Leaks: Get down and inspect the seam where the wood framing of the walls sits on top of the concrete slab. This spot is a notorious source of air leaks.
- Wall Penetrations: Look at every place a pipe, wire, or vent passes through the walls. These are almost always left with messy, unsealed gaps from the original construction.
A classic scenario we run into in Stuart homes is a tiny, unnoticed crack in a concrete block wall. It looks like nothing, but during our rainy season, that little fissure can pull in a surprising amount of moisture. Sealing it before we spray any foam is non-negotiable for a job that’s built to last.
The Art of Air Sealing
Once you’ve mapped out all the problem areas, it’s time to seal them up tight. The goal is to create an airtight shell. Even the best insulation in the world won’t work right if humid Florida air is constantly finding its way in around the edges.
You’ll need a couple of key materials for this. A high-quality caulk is your go-to for small gaps around window frames and outlets. For the bigger cracks or the holes around pipes, expanding foam sealant is your best friend.
- First, use caulk to seal any gaps less than a quarter-inch wide. Hit the seams around windows, doors, and where the wall meets the floor.
- Next, grab the expanding foam to fill larger openings around plumbing, electrical conduits, and vents. A little goes a long way here—the foam expands quite a bit as it cures.
- Don’t forget the sill plate. Run a continuous, solid bead of caulk right along the joint between the foundation and the bottom of the wall framing.
In South Florida, the concrete itself is a huge part of the equation. When you understand the actual insulation value of a concrete block wall, you start to see why sealing every tiny crack is so critical to the final R-value you’re trying to achieve.
Finally, you have to address the biggest hole in the room: the garage door itself. A worn-out, cracked weather seal at the bottom or sides of your door is like leaving a window open. Replacing it is a simple but massive win. A good guide on commercial garage door weatherstripping has some great tips that apply to residential doors, too. Tackling this can dramatically cut down on air and water getting in, making your entire insulation project far more effective from day one.
What to Expect During a Professional Installation
Deciding to bring in a pro to insulate your garage is a smart move. It’s the best way to guarantee the job gets done right the first time. Knowing what the process looks like from start to finish can make it feel a lot less overwhelming. When our crew shows up, they follow a proven system designed for safety, precision, and a final product that will perform for decades.
The whole operation is streamlined to keep disruption to a minimum. For a typical two-car garage here in Palm Beach Gardens, we’re usually in and out in just one to two days. It’s a fast-moving project that completely transforms your garage without turning your home into a long-term construction zone.
Arrival and Meticulous Site Prep
On installation day, our first priority is always protecting your property. We don’t just roll up and start spraying. The process kicks off with a detailed prep phase that sets the stage for a clean, professional job.
Here’s what that initial setup involves:
- Confirming a Clear Workspace: We’ll make sure the garage is empty and gives us clear access to all the walls and the ceiling.
- Masking and Protecting: Our team carefully covers everything that isn’t getting insulated. That means masking off floors, windows, doors, outlets, and any large equipment that couldn’t be moved.
- Ensuring Proper Ventilation: This part is non-negotiable. We set up powerful fans and ventilation systems to keep fresh air circulating, safely pushing any fumes and overspray outside.
Think of it like a surgeon prepping an operating room. The goal is to completely isolate the work area so the spray foam only goes where it belongs. This careful approach prevents messy overspray and protects your home from beginning to end.
The Spray Foam Application
Once the garage is fully prepped, the real work begins. This is where you see the transformation happen. Our certified technicians, geared up in full personal protective equipment (PPE), use specialized rigs to apply the two-part liquid polyurethane foam directly into the wall cavities and ceiling.
The two chemical components mix right at the tip of the spray gun and react the second they hit a surface. The liquid expands incredibly fast—sometimes up to 100 times its original volume—filling every last crack, gap, and crevice. It’s this expansion that creates the seamless air barrier, making spray foam so effective at stopping heat and humidity in its tracks.
The technician applies the foam in smooth, deliberate passes, building up the layers to hit the target R-value we need for our South Florida climate. It’s a process that takes a skilled hand to get a uniform, high-performance thermal barrier.
The true magic of a professional application is watching the foam conform to all the awkward spots. It seals perfectly around pipes, electrical wiring, and outlet boxes—places where traditional insulation batts would leave small but critical gaps for air and heat to sneak through.
Trimming, Finishing, and Final Cleanup
After the foam is applied and has fully cured (which happens surprisingly quickly), we’re not quite done. The foam often expands slightly beyond the face of the studs. To get a perfectly flat surface ready for drywall, we perform a crucial finishing step.
Our crew uses a special trimming tool to shave the excess foam so it’s flush with the wall studs. This leaves you with a clean, uniform surface that’s ready for whatever you have planned next, whether it’s drywall, paneling, or just leaving it exposed.
Finally, we start the cleanup. The team removes all the plastic sheeting, tape, and protective coverings. We sweep the floors and make sure the garage is left tidy, with nothing left behind but a perfectly insulated space. We’ll do a final walkthrough with you to make sure every detail is up to standard and give you a chance to see the finished work.
Understanding the Cost and Return on Investment
When you start looking into insulating your garage, it’s easy to get fixated on the upfront cost. But that’s only half the story. It’s much smarter to see this as a long-term investment in your home’s comfort, efficiency, and real-world value. The numbers often tell a much clearer story than you’d think, showing a real return that goes way beyond just a lower utility bill.
Of course, the total cost swings wildly depending on your garage size, what shape the walls are in, and the insulation you pick. And while fiberglass batts might look cheap on the shelf, they are a terrible choice for Florida’s humidity and just won’t hold up.
For a typical two-car garage here in South Florida, getting closed-cell spray foam professionally installed usually runs between $2,500 and $4,500. That price covers labor, materials, and all the critical prep work needed for a perfect, lasting seal. It’s definitely more than a DIY kit, but the performance and longevity are in a completely different league.
Calculating Your Real-World ROI
The payback on your investment starts the second the job is done. The most immediate and obvious win is the drop in your energy use. By creating a solid thermal barrier, you take a massive load off your air conditioner. We consistently see homeowners save 15% to 20% on their FPL bill during our long, brutal summers.
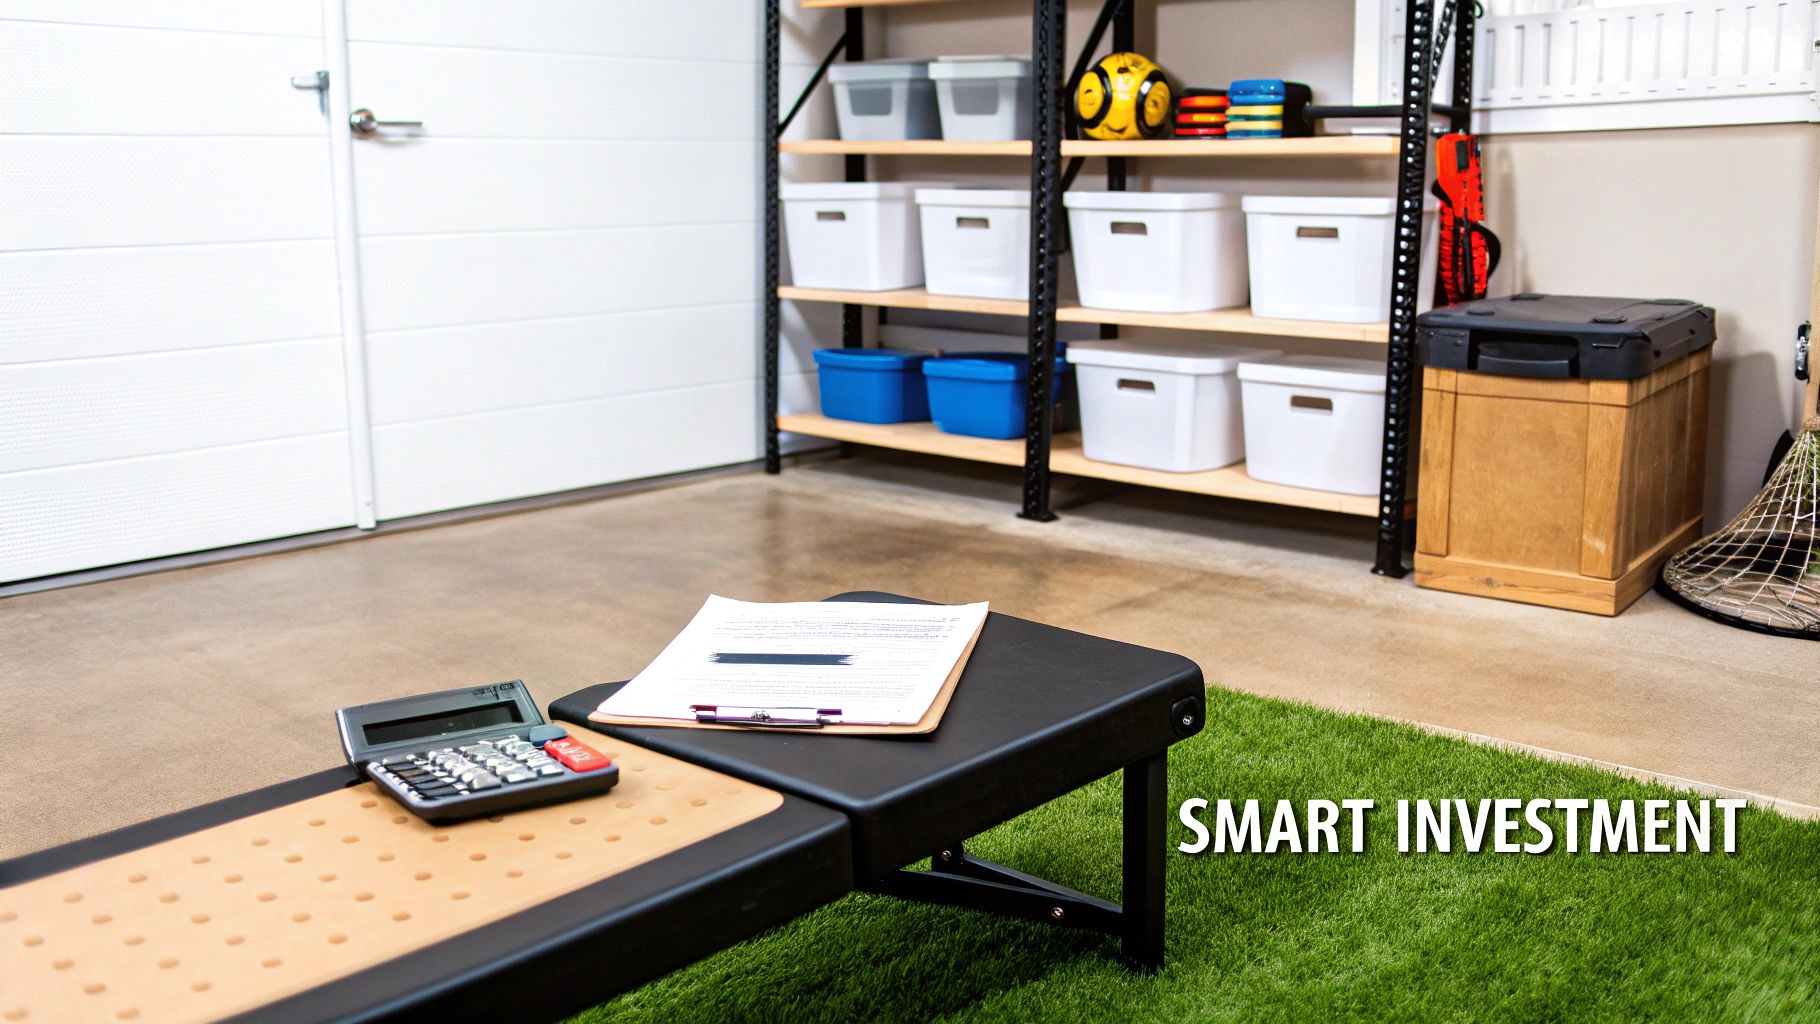
But the monthly savings are just the beginning. Think about the functional value you’re adding. Insulating your garage turns it from a sweltering storage box into a comfortable, usable part of your home. All of a sudden, that space can become a:
- Year-round home gym where you can actually work out without melting.
- Functional workshop for hobbies or projects, no matter what the thermometer says.
- Climate-controlled storage area that protects your tools, car, and other valuables from rust and heat damage.
This “new” square footage directly boosts your home’s appeal and market value. A finished, comfortable garage is a huge selling point for buyers in our area.
When you insulate a garage, you’re not just adding R-value; you’re adding lifestyle value. The ability to comfortably use an extra 400 square feet of your property is an ROI that’s hard to quantify but easy to appreciate every single day.
The Intangible Benefits of a Quieter Home
One of the best—and most surprising—perks is how much quieter your home becomes. Spray foam is an incredible soundproofing agent, which is a massive plus for homeowners in busy areas like Wellington or Stuart. It dampens the noise from lawnmowers, traffic, and general neighborhood chaos, creating a much more peaceful living space.
In fact, spray foam insulation can reduce noise by 50-60%. Recent tests showed that just three inches of closed-cell spray foam blocked 52 decibels from garage activities—a huge improvement over the 28 dB blocked by old-school batt insulation. A case study right here in Palm Beach Gardens found that insulating a 1,000 sq ft metal building cut outside noise by 55% and slashed energy use by 22%. You can dig deeper into the growth and performance of insulation materials to see the full scope.
While you’re thinking about the long-term value, it’s also smart to see how this kind of upgrade might affect your homeowners insurance in Florida. Improvements that make your home more resilient can sometimes impact your policy. Ultimately, the cost is a one-time thing, but the returns—in savings, comfort, and peace and quiet—last for as long as you own your home.
Common Questions About Garage Insulation in Florida
When homeowners decide to insulate their garage, a lot of specific questions pop up. Down here in South Florida, from Jupiter to Wellington, our climate adds its own unique wrinkles to the conversation.
We hear these all the time. Getting clear, practical answers is the key to making a smart investment and avoiding the kind of mistakes that can sabotage the whole project.
Below, we’ll tackle the four most frequent questions we get. These cover everything from the garage door to safety, helping you move forward with confidence.
Do I Really Need to Insulate My Garage Door Too?
Yes, absolutely. This is probably the most common—and critical—question we get asked, and the answer is always a firm yes.
Think of it this way: your garage door is basically a giant, uninsulated hole in your wall. Leaving it untreated after insulating the walls and ceiling is like installing brand-new, high-efficiency windows in your house but leaving one wide open all summer long.
An uninsulated metal door radiates a staggering amount of heat into your garage. All the hard work and money you put into insulating the walls will be largely wasted as heat just pours right back in through that massive opening.
You have two solid options here:
- Insulation Kits: You can find DIY kits with rigid foam panels or reflective insulation made to fit standard garage door sections. These are a good budget-friendly choice and will make a noticeable difference.
- A Pre-Insulated Door: If your current door is old, damaged, or you’re just aiming for the best possible performance, upgrading to a modern, pre-insulated garage door is the ultimate solution. These doors have insulation sandwiched between steel layers, giving you a much higher R-value and a far superior air seal.
No matter which route you take, dealing with the garage door is non-negotiable for a truly comfortable and energy-efficient space. A complete thermal barrier is the only way to get the results you’re paying for.
What Happens to Ventilation After Sealing the Garage?
This is an incredibly important safety point that a true professional will never, ever overlook. When you insulate and air-seal a garage with a high-performance material like closed-cell spray foam, you create an exceptionally airtight environment. That’s fantastic for efficiency, but it also means dangerous fumes have nowhere to escape.
Without proper ventilation, potentially harmful vapors from your car’s exhaust, stored gasoline cans, paints, or other chemicals can get trapped and build up to dangerous levels. This isn’t just a comfort issue; it’s a serious health and safety requirement.
In fact, the Florida Building Code often requires mechanical ventilation in tightly sealed garages to protect occupants. The most common and effective solution is a simple exhaust fan.
An exhaust fan, properly sized for your garage and vented directly to the outside, is a simple and effective way to maintain healthy air quality. It’s a small addition to the project that makes a huge difference in safety and peace of mind.
Can I Still Park a Hot Car Inside?
Of course. This is a garage, after all, and its primary job is to shelter your vehicle. Parking a car with a hot engine will naturally introduce some heat and humidity into the space.
The good news is that a properly insulated and ventilated garage is more than equipped to handle it.
The insulation stops that engine heat from quickly soaking into the walls and radiating back out for hours on end. It keeps the heat localized. Then, your ventilation system steps in to do the rest of the work.
A great habit to get into is running your exhaust fan for about 15-20 minutes after you park a hot car inside. This one simple step will quickly pull the excess heat and any lingering fumes out of the garage, helping the space return to a stable, comfortable temperature much faster. It protects not only the comfort of the space but also any temperature-sensitive tools or items you have stored there.
How Long Does a Professional Installation Take?
One of the best parts about hiring a professional crew for spray foam is just how fast and efficient the whole process is. For a standard two-car garage, the entire job—from start to finish—is usually wrapped up in just one to two days.
- Day One: This day is all about meticulous prep. The crew will clear the area, cover and mask off every surface that won’t be sprayed (floors, windows, shelves), and set up their ventilation equipment.
- Day Two: This is application day. The certified sprayers will apply the foam to the walls and ceiling, followed by any necessary trimming or detail work. The final step is a thorough cleanup, where they remove all the masking and leave your garage ready to use.
It’s a remarkably quick process that causes minimal disruption to your routine. The result is a high-performance space with benefits like lower energy bills and year-round comfort that you’ll enjoy for decades.
Ready to transform your hot, humid garage into a comfortable and efficient part of your home? The team at Airtight Spray Foam Insulation has the experience and expertise to get the job done right. Request a free, no-obligation quote today and discover how the Airtight Comfort System can work for you.
Homeowners in Palm Beach Gardens, FL can learn more about our spray foam insulation services designed to improve comfort, control moisture, and increase energy efficiency in South Florida homes.