In the fight against South Florida's relentless humidity, having a proper defense in your attic isn't just a good idea—it's absolutely essential. Think of vapor barriers in attics as a non-negotiable shield for your home. These are specialized materials designed to stop airborne moisture dead in its tracks, preventing it from infiltrating your attic and causing costly damage like mold, wood rot, and sky-high energy bills.
For homeowners in Jupiter, Palm Beach Gardens, and across our region, a properly installed vapor barrier is the key to protecting your home's structural integrity and keeping it energy efficient.
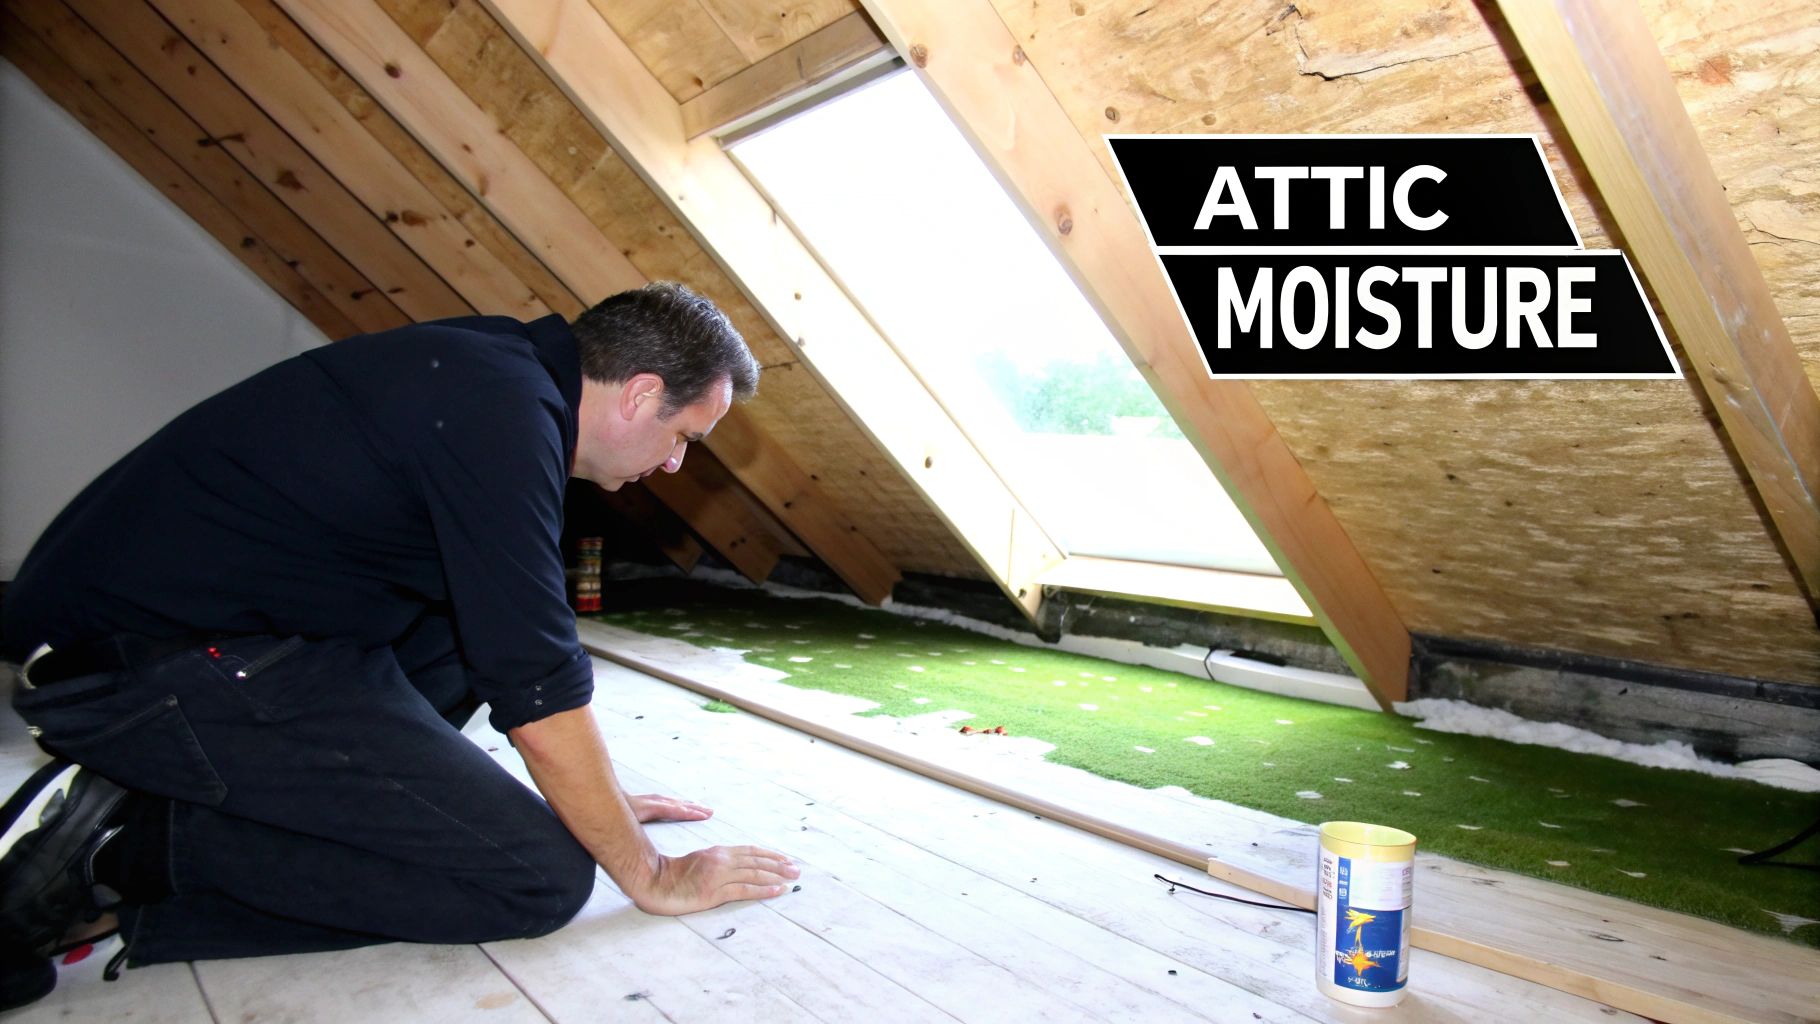
Picture your attic as a giant sponge sitting on top of your house. Here in South Florida, the air is thick with humidity almost year-round. That moisture-laden air is always trying to move from the hot, damp outdoors into your cooler, air-conditioned living space—and your attic is its easiest way in.
Without the right defenses, this airborne water vapor seeps into your attic, where it hits cooler surfaces and condenses back into liquid water. This process quietly turns your attic into the perfect breeding ground for problems that can destroy your home from the top down.
Once moisture gets a foothold, it sets off a chain reaction of destructive issues. An unprotected attic isn't just damp; it actively works against you, leading to major structural and financial headaches down the road.
Here are the key problems that stem from uncontrolled attic moisture:
In our unique climate, a vapor control strategy isn't just an upgrade—it's a fundamental requirement for protecting your home's value, indoor air quality, and structural health.
This is where vapor barriers in attics become so critical. In communities like West Palm Beach, Wellington, and Stuart, these systems are an essential line of defense. In fact, improper attic sealing and the lack of an effective vapor barrier can drive up cooling costs by up to 15%—a number that's even higher in a hot-humid region like ours.
Modern solutions like closed-cell spray foam insulation offer the ultimate protection, acting as an all-in-one insulator, air barrier, and vapor barrier. This guide will walk you through exactly what you need to know to get your home properly protected.
To get a grip on attic moisture, you first have to understand how the materials designed to control it really work. People throw around the terms "vapor barrier" and "vapor retarder" like they're the same thing, but there's a crucial difference in how they perform. Getting this right is the key to protecting your South Florida home.
Think of it this way: a true vapor barrier is like a top-of-the-line raincoat. It's totally impermeable—no moisture is getting through, period. A vapor retarder, on the other hand, is more like a water-resistant windbreaker. It does a decent job of slowing down moisture, but if it gets wet enough for long enough, some of that dampness will eventually find its way through.
In building science, we measure how "breathable" a material is with a perm rating (short for permeability). It’s simple: the lower the perm rating, the less water vapor can pass through. A material with a 0.1 perm rating is a brick wall against moisture compared to one with a rating of 10.0.
This rating system is how we classify materials, making sure we choose the right product for the right climate and the right part of the house.
A lower perm rating means a stronger defense against moisture. In a swampy, high-humidity environment like South Florida, a very low perm rating isn't just a nice feature—it's absolutely essential for preventing condensation and the mold that inevitably follows.
Based on their perm ratings, materials are grouped into three main classes. This classification dictates exactly where and how they should be used in a home.
Getting a handle on these classes is easy once you see how they connect to perm ratings and everyday building materials. Each class offers a different level of moisture protection, suited for different climates and different parts of a building.
Here’s a practical guide to what these classes mean for your home.
This table breaks down the different classes of vapor retarders, showing their permeability ratings and some common materials you'd find in each category.
| Class | Permeability Rating (Perms) | Description | Common Materials |
|---|---|---|---|
| Class I | 0.1 perms or less | Vapor Barrier (Impermeable): This is a complete seal. It blocks virtually all vapor from getting through. | Polyethylene plastic sheeting, foil-faced insulation, closed-cell spray foam. |
| Class II | 0.1 to 1.0 perms | Vapor Retarder (Semi-Permeable): Slows moisture down significantly but allows a tiny amount through, letting the structure "breathe" a little. | Kraft-faced fiberglass batts, asphalt-coated paper, certain vapor-retardant paints. |
| Class III | 1.0 to 10.0 perms | Vapor Retarder (Permeable): Offers only minimal resistance and allows for a lot of drying potential. | Latex or acrylic paint over drywall, plywood, un-faced fiberglass insulation. |
As you can see, there’s a massive difference between a Class I vapor barrier and the other two classes, which is why picking the right one is so critical.
The single most important factor in choosing a vapor retarder is your climate zone. The direction of vapor drive—whether moisture is trying to get in or out of your house—is completely different in a cold, dry climate versus a hot, humid one like ours. This is where so many installers get it wrong.
In a cold northern state, the goal is to stop warm, moist indoor air from hitting the freezing-cold exterior sheathing and turning into condensation. To do that, they place a vapor retarder on the interior side of the insulation (the "warm-in-winter" side).
Here in South Florida, the script is flipped entirely. The enemy is the brutally hot, soupy outdoor air trying to force its way into our cool, air-conditioned homes. The "warm side" is always the outside, and the moisture drive is relentlessly inward, all year long.
This is why a Class I vapor barrier is the only appropriate choice for attics in our region. Using a semi-permeable Class II or III material here would be like wearing a windbreaker in a hurricane—it simply can’t stop the overwhelming amount of moisture trying to invade your home.
Now that we've covered how vapor control works, let's get into the practical side of things: picking the right materials. This is where the rubber meets the road, especially in South Florida. The material you choose for a vapor barrier in an attic can be the difference between a dry, high-performance home and a moisture trap waiting to cause problems.
For years, the go-to "solution" was simple polyethylene plastic sheeting. It's cheap, and if you could install it with lab-like perfection, it would create a Class I vapor barrier. But in the real world of construction, that almost never happens.
Poly sheeting is unforgiving. It tears easily, and getting a perfect, continuous seal around every single pipe, wire, and stud is a massive headache. One tiny rip or an unsealed seam is all it takes for moisture to get in, get trapped, and defeat the whole purpose of the barrier.
Thankfully, we've moved past flimsy plastic sheets. Today's best solutions integrate insulation, air sealing, and vapor control into one powerful application. Spray polyurethane foam (SPF) is the modern gold standard, but you have to know the difference between the two main types.
The push for better vapor barriers in attics really took off after the 1970s energy crisis, when U.S. heating costs shot up by 300%. That event sparked innovation that led us to where we are today. Now, spray foam’s role as an all-in-one system has driven the global market from USD 1.52 billion to a projected USD 1.87 billion by 2032, with attics and roofs making up 41.9% of these applications. You can dig into more of the numbers on the growth of spray foam insulation on intelmarketresearch.com.
So, let's break down the two kinds of foam.
Open-cell spray foam is an incredible insulator and air barrier. It’s the one with the soft, spongy texture that expands like crazy, filling every gap to stop air leaks in their tracks. The key thing to know, however, is that it’s vapor-permeable—usually a Class III retarder.
This means that while it stops air, it doesn't stop water vapor. In our humid South Florida climate, spraying open-cell foam directly onto a roof deck without another layer of vapor control is asking for trouble. To make it work here, it needs a special vapor-retarding paint applied over it to bring its perm rating down.
This is where closed-cell spray foam really proves its worth and becomes the obvious choice for our climate. Unlike its softer cousin, closed-cell foam is dense, rigid, and completely waterproof.
It does three critical jobs in one clean application:
For a South Florida attic, closed-cell spray foam is the most robust and reliable material you can choose. It solves the insulation, air sealing, and vapor control puzzle all at once with a professionally installed system that’s built to last.
This integrated approach eliminates the weak points and installation errors you get with plastic sheeting. While other insulation types have their uses—and we break down the pros and cons in our guide to spray foam vs. blown-in insulation—nothing matches the comprehensive protection of closed-cell foam in a humid environment.
Ultimately, choosing closed-cell spray foam isn't just buying insulation; it's investing in a complete system that defends your home against the unique challenges of our hot and sticky climate.
When it comes to installing vapor barriers in attics, placement isn't just important—it's everything. Get it wrong, and you can trap moisture instead of blocking it, creating the very nightmare you were trying to prevent. This is a massive issue here in South Florida, where following outdated advice from cold climates can lead to disaster.
You’ve probably heard the old rule: "always put the vapor barrier on the warm side of the insulation." While that’s technically correct, the interpretation of that rule is dangerously wrong for our region. In a place like Ohio, the "warm side" is the inside of the house during a long, freezing winter.
But here in Florida? The "warm side" is always the outside. We aren't fighting to keep warm air in; we're battling oppressive, moisture-soaked heat trying to force its way into our homes 365 days a year.
This critical difference completely flips the script on placement. To stop moisture before it soaks your insulation and cooks in your attic, the vapor barrier has to go on the exterior side of the insulation.
Practically speaking, this means the only correct location is directly against the underside of your roof deck. This strategy effectively treats your entire attic as a semi-conditioned space, stopping humid air right at the point of entry.
This concept map breaks down the two most common ways people approach vapor control in an attic.
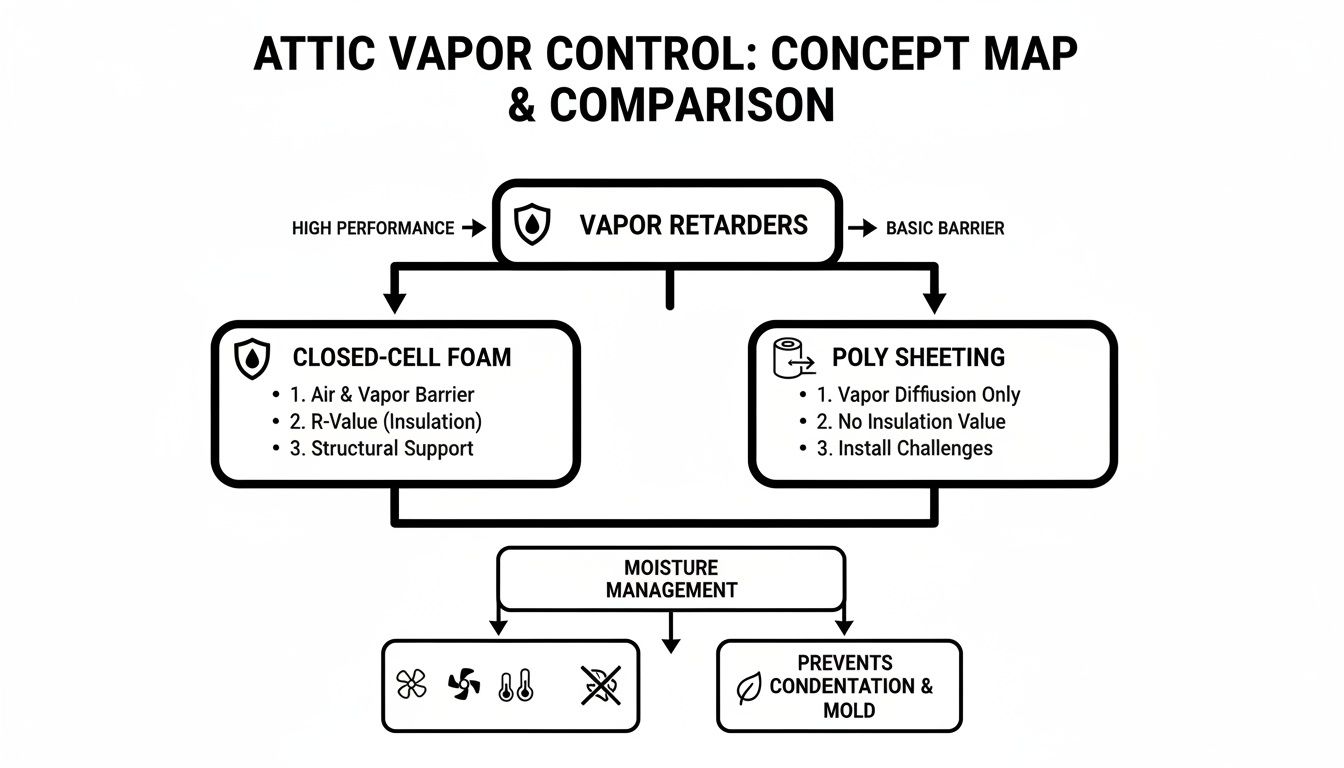
As you can see, closed-cell spray foam creates a seamless, integrated shield. Polyethylene sheeting, on the other hand, relies on staples and tape—a system just waiting for a seam to fail.
Understanding where the vapor barrier goes also means looking at two completely different attic designs: the traditional vented attic and the modern unvented (or conditioned) attic. They handle moisture in opposite ways.
An unvented attic is the most effective strategy for South Florida. By sealing the roof deck with a material like closed-cell spray foam, you create a conditioned buffer zone that stops heat, air, and moisture before they can ever get into your home's living space.
Applying a Class I vapor barrier like closed-cell spray foam directly to the roof deck is a game-changer for Florida homes. This method doesn't just slow down moisture; it creates a single, monolithic, airtight, and waterproof shield at the outermost boundary of your attic.
Think of it like putting a waterproof hardshell jacket directly on your roof's structure. Rain can’t get through from the top, and humid air can’t push its way through from the atmosphere.
This approach delivers some serious advantages:
In South Florida, getting your vapor barrier placement right is non-negotiable. Moving the thermal, air, and vapor boundary from your ceiling to your roof deck with a professionally installed system is the single most effective thing you can do to protect your home from moisture, slash your energy bills, and create a healthier place to live.
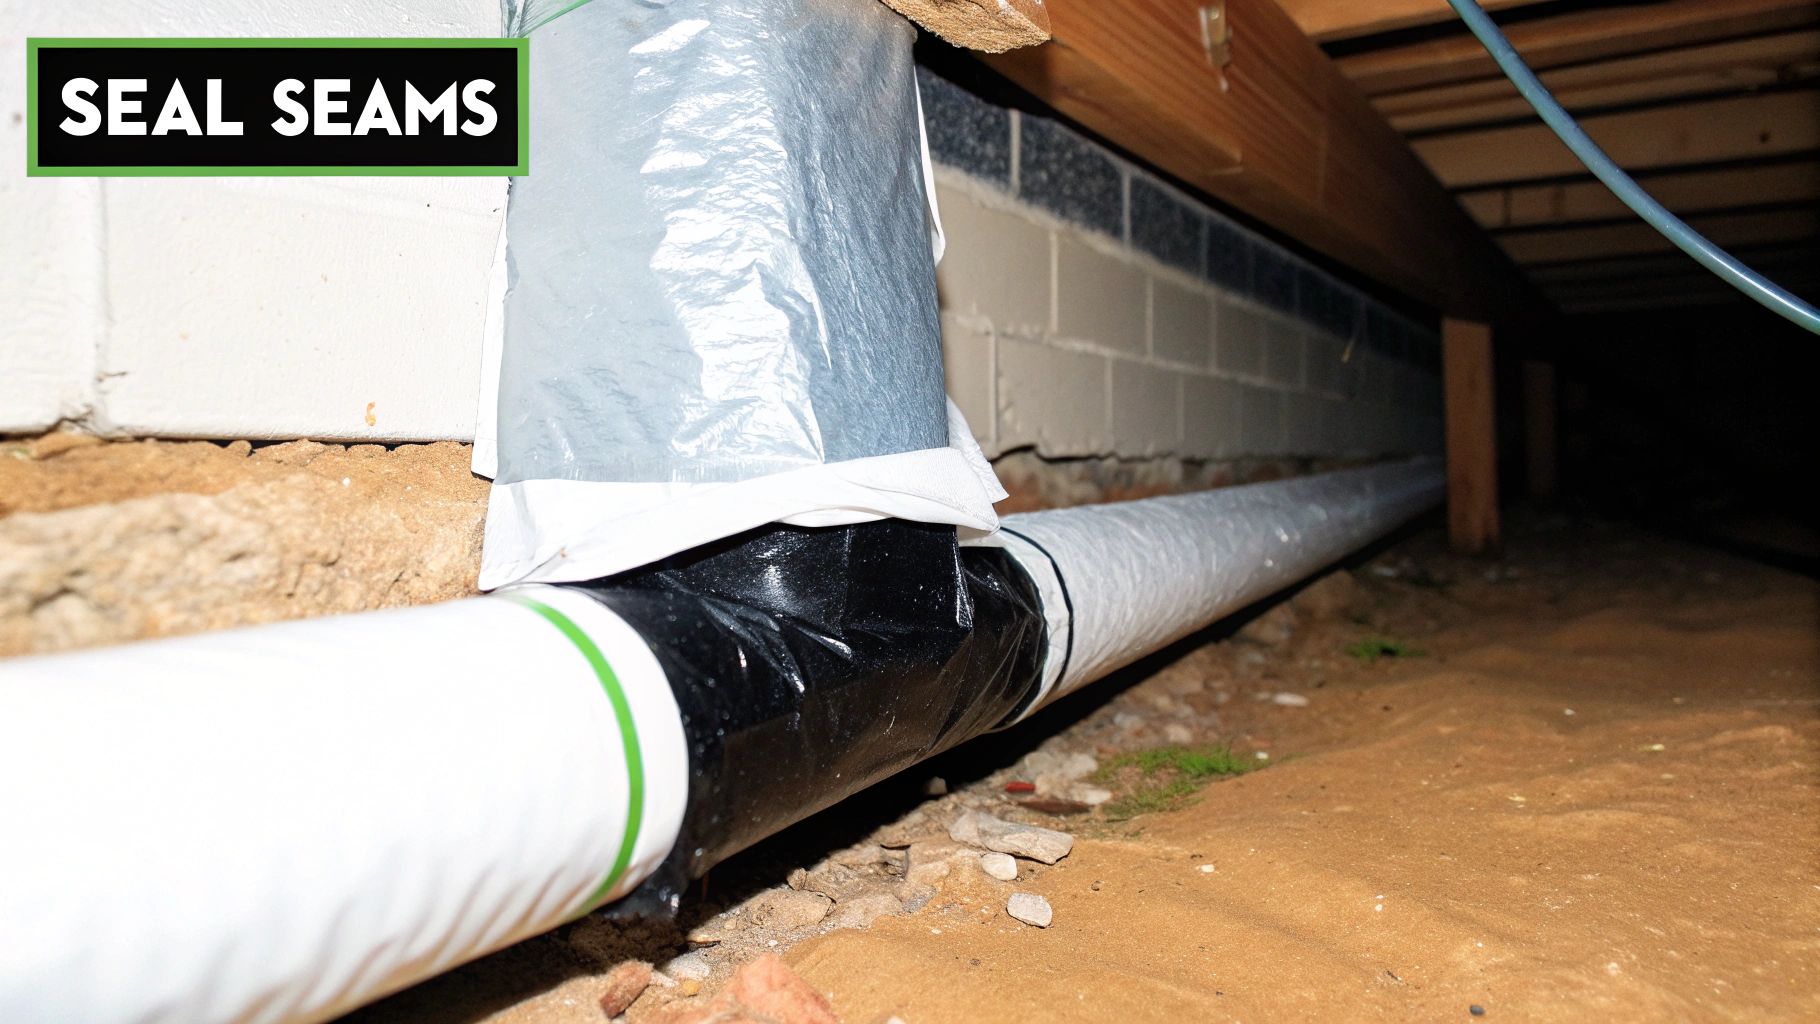
Even the best materials on the market will fail if they’re installed the wrong way. When it comes to vapor barriers in attics, precision is everything. A tiny gap or a poorly taped seam can turn the whole system from a solution into a problem, trapping moisture right where you don’t want it.
These mistakes are more common than you’d think, but with a professional eye for detail, they are completely avoidable. Let’s walk through the pitfalls we see most often in South Florida homes.
This is the biggest mistake right out of the gate: choosing a material that just can't handle a hot, humid environment. We often see people install a Class II or III vapor retarder, like kraft-faced batt insulation or so-called vapor-retardant paint. That's a recipe for disaster in a Florida attic. These materials are only semi-permeable and don’t stand a chance against the immense vapor pressure we deal with year-round.
For our climate, a Class I vapor barrier is the only way to go. You need an impermeable shield that blocks moisture completely. Nothing does this better than closed-cell spray foam, which acts as both insulation and a true vapor barrier in one shot.
The goal of a vapor barrier is to create a continuous, monolithic shield. Any break in this shield—no matter how small—becomes a superhighway for moisture to enter and cause damage.
Another critical error we run into is placing the vapor barrier on the attic floor. This is an old-school technique that was designed for cold climates, and it’s dangerously wrong for South Florida. Laying a barrier on the floor allows hot, humid air to pour into your attic, superheating the space and forcing your HVAC system to work overtime just to keep up.
This placement essentially leaves your attic vented to the humid outdoors. The only effective strategy here is to apply the vapor barrier directly to the underside of the roof deck, creating a sealed, unvented attic space.
The whole point of a vapor barrier is its continuity. It has to be a single, unbroken plane with no gaps, no holes, and no unsealed penetrations. This is where so many installations fall apart.
Here are the common failures we see:
Trying to get this perfect with sheet goods is incredibly difficult, which is why spray foam is so often the superior choice.
When professionally applied, spray foam creates a perfect, seamless bond, automatically sealing every last crack and crevice. There's no taping, no cutting around pipes—just a monolithic, airtight seal that eliminates the risk of human error. The EPA estimates that proper air sealing and insulation can cut heating and cooling costs by 20% nationally. In a high-use region like South Florida, where A/C can be 50-70% of a utility bill, those savings can climb as high as 35%. You can dig deeper into the impact of spray foam on the market at marketsandmarkets.com.
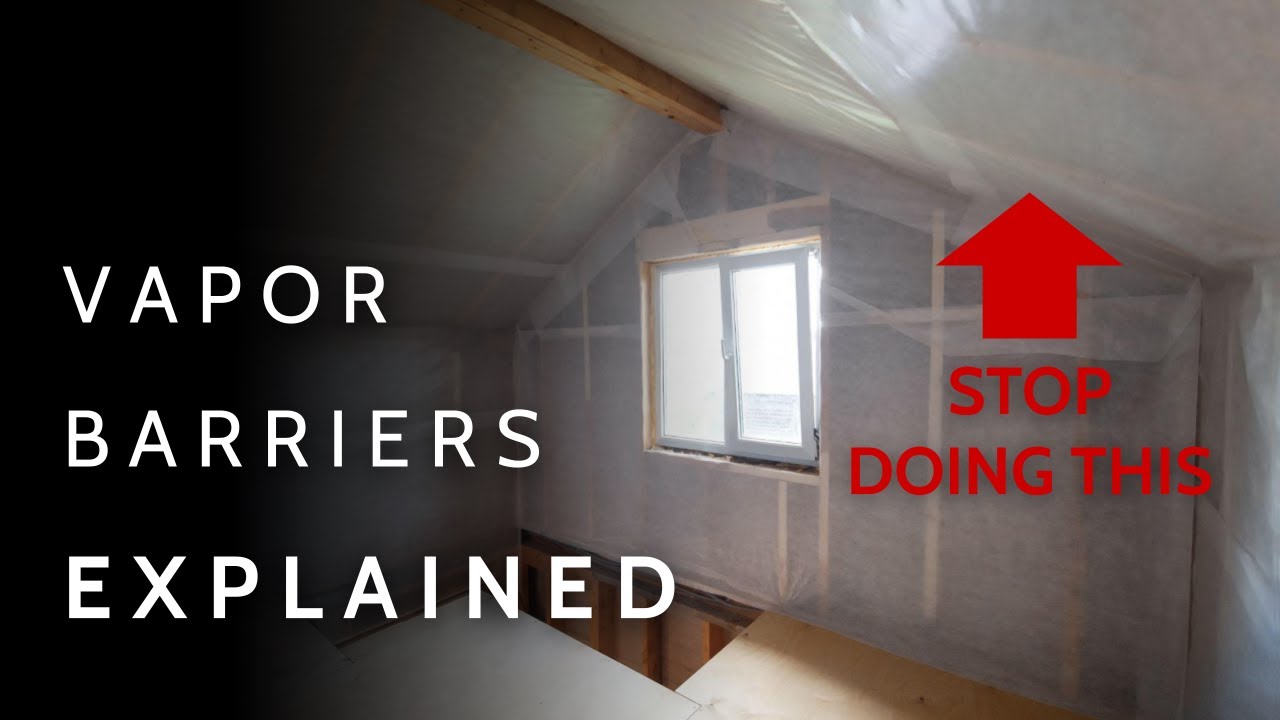
We’ve covered a lot of ground in this guide, and it all boils down to one crucial takeaway: vapor barriers in attics aren't just an upgrade—they're your home's first line of defense in South Florida. Properly managing moisture is the foundation for protecting your property's value, its structural integrity, and the health of your family.
Think of a professionally installed vapor barrier as a silent guardian against our relentless humidity. It works around the clock, stopping moisture before it can lead to destructive mold, wood rot, and soggy, useless insulation. The benefits aren't just theoretical; you'll feel them every day.
Investing in a professional vapor control system pays dividends, creating a home that’s more comfortable, efficient, and resilient against the Florida climate.
As we’ve detailed, managing attic moisture in South Florida is a technical challenge that demands real, local expertise. This is absolutely not a DIY job.
An incorrectly placed or poorly sealed barrier can actually trap moisture, turning a small problem into a catastrophic one. Our process always starts with a thorough, hands-on assessment of your home. From there, we design a tailored solution, which often involves advanced systems like closed-cell spray foam to create a truly seamless and effective moisture seal. To see how different materials work, you can explore our various spray foam insulation solutions.
A professional vapor barrier installation is more than a service—it’s an investment in your home’s long-term health and your peace of mind.
For homeowners in Jupiter, West Palm Beach, and the surrounding communities, taking control of your attic is the single best step toward a healthier, more efficient home. Contact Airtight Spray Foam Insulation today to schedule your professional assessment and get a free, no-obligation quote.
When it comes to vapor barriers in attics, it's natural to have a lot of questions—especially for those of us in South Florida dealing with our one-of-a-kind climate. Getting straight, honest answers is the first step to protecting your home from moisture damage and sky-high energy bills.
This section tackles the most common questions we get from local homeowners, with answers aimed at giving you real clarity.
Yes, absolutely. In South Florida’s hot, humid climate, damp air is constantly trying to force its way from the outside into your cooler, air-conditioned home. Your attic is one of its favorite entry points.
Without a proper vapor barrier, all that moisture condenses on the cooler surfaces inside your attic. This is a recipe for disaster—it ruins insulation, fuels aggressive mold growth, and causes the wood framing of your roof to rot from the inside out. A vapor barrier isn't a nice-to-have upgrade here; it's an essential defense for your home’s health and efficiency.
While you can technically use other materials like polyethylene sheeting, closed-cell spray foam is, without a doubt, the most effective all-in-one solution for a South Florida attic. It’s a high-R-value insulator, a complete air seal, and a true Class I vapor barrier, all in one seamless application.
Traditional plastic sheeting might seem like a solution, but it's famous for installation errors. Even the smallest tear or unsealed seam can make it completely useless, and it offers zero insulation value on its own. For a truly sealed, high-performance attic that can handle our climate, closed-cell spray foam is the clear winner. Plus, many homeowners find that certain types of insulation are also a great way to improve their home’s acoustics, which you can read about in our guide on using insulation as a sound barrier.
We strongly recommend against it. Installing a vapor barrier correctly is a technical job where every detail matters. The biggest risk with a DIY job is failing to create a perfect, continuous seal.
Even a single small gap, unsealed pipe penetration, or torn seam can render the entire system ineffective and may even trap moisture, making the underlying problem significantly worse.
When it comes to advanced systems like spray foam, professional installation isn't just a suggestion—it's mandatory for safety and performance. When you think about the staggering cost of repairing widespread moisture damage down the road, investing in a professional installation from the start is a smart financial move that guarantees your system works right for years to come.