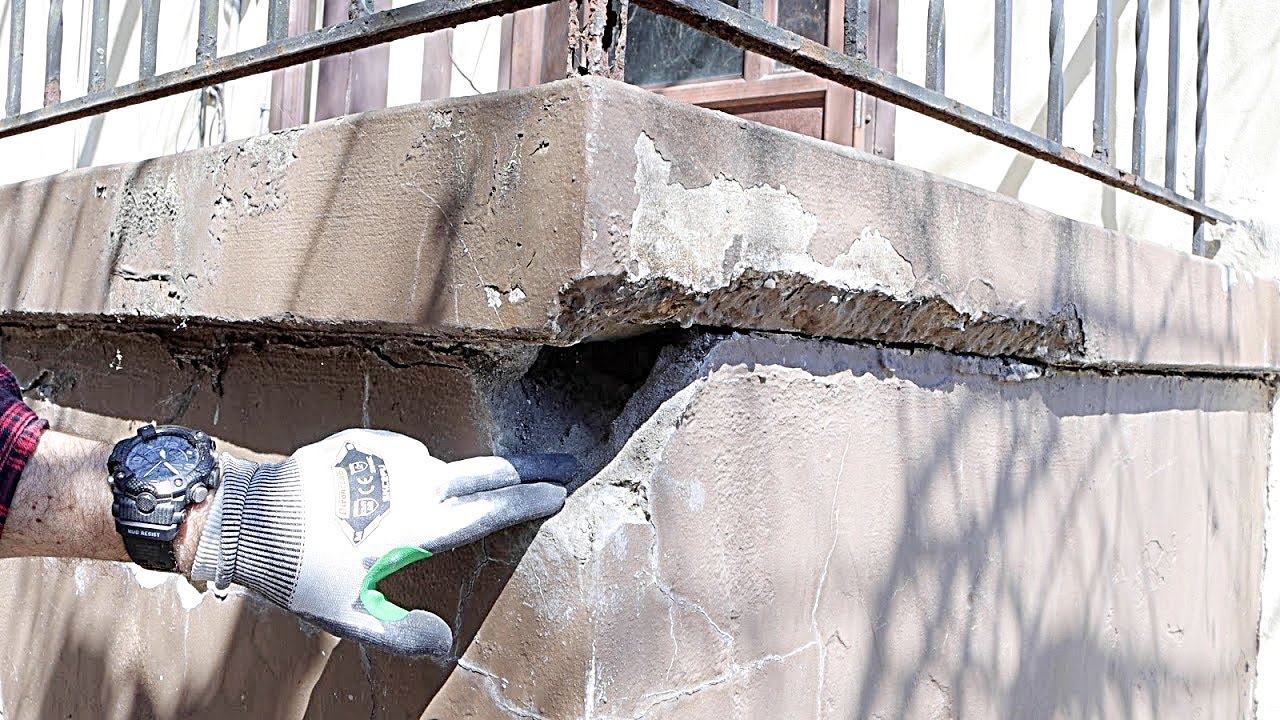
You step onto the front porch with coffee in hand, and something looks off. A crack that used to be a faint line now runs farther across the slab. The corner of a step feels rough under your shoe. Near the edge, the surface has started to flake.
That’s a common South Florida moment. Our porches take heat, rain, salt air, and long stretches of humidity that keep concrete from ever fully drying out the way it would in a drier climate. Some damage is cosmetic. Some damage is the porch telling you water is getting in, the base is moving, or an old repair has lost its bond.
A good concrete porch repair doesn’t start with a bag of patch mix. It starts with reading the symptoms correctly, choosing the right repair method, and handling the moisture problem that caused the damage in the first place.
A porch usually gives warnings before it fails in a big way. Homeowners often notice one of three things first. A crack that wasn’t there last season. A chipped edge on a step. A powdery white stain that keeps coming back after cleaning.
In South Florida, those signs matter because moisture rarely acts alone. Water gets into the slab, humidity hangs around the surface, and the soil under and around the porch can shift through wet and dry cycles. What looks like a small blemish can turn into loose concrete, uneven sections, or a repair that pops out after the next storm season.
A hairline crack in a sound slab may only need monitoring and sealing. A broken step edge or spalled corner usually needs patching with proper prep. A porch that has dropped, tilts toward the house, or keeps cracking in the same area needs a deeper look.
That distinction is where many repairs go wrong. People see exposed aggregate or a split at the edge, buy a patching compound, trowel it over the surface, and assume the job is done. Then the patch separates because the old concrete was dirty, dry, or still moving.
Practical rule: If the porch is still moving or still wet underneath, the patch is only cosmetic.
The broader repair industry has a durability problem. According to the concrete repair durability findings summarized in this structural restoration research, 50% of repairs fail within 10 years, and only 10% last beyond 25 years. That should change how you think about a “quick fix,” especially in a coastal climate.
On a South Florida porch, I don’t assume a crack is just age. I assume water is involved until proven otherwise. The porch may be taking splash-back from rain, runoff from clogged gutters, irrigation overspray, or ground moisture wicking up through the slab.
Look closely and the porch will tell you a lot. A chalky residue points toward moisture movement. Flaking edges often mean water got into weak surface concrete. Repeated cracking near the house can signal drainage problems at the connection point.
A lasting repair starts when you stop treating symptoms as isolated defects.
Before buying any material, inspect the porch like a mechanic checks a machine. You’re not just looking for ugly spots. You’re trying to identify whether the problem is surface wear, bond failure, settlement, or ongoing moisture intrusion.
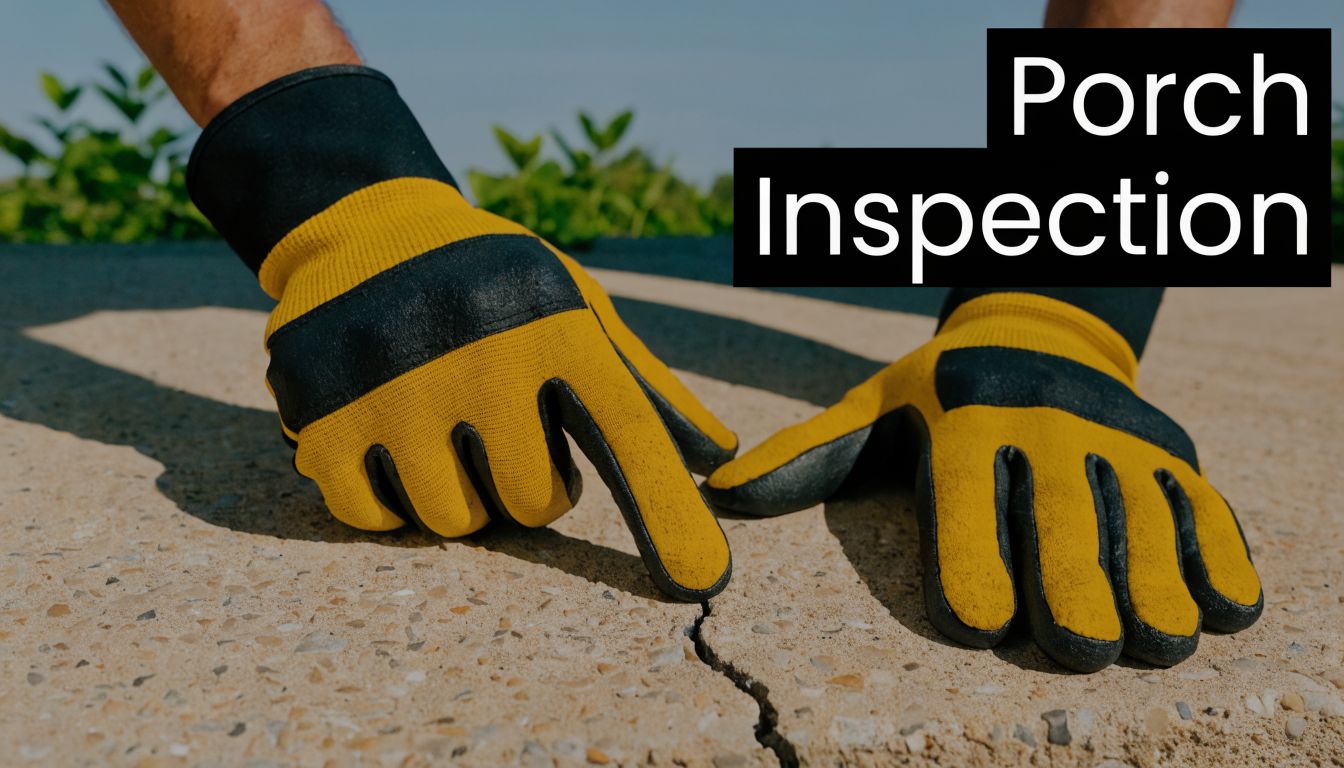
Walk the full porch slowly, including the edges, step noses, and the area where the porch meets the house. Look from standing height, then crouch and sight across the surface.
Use this checklist:
Take a hammer handle or another hard, non-sharp tool and tap across suspicious spots. Sound concrete gives a sharper, more solid note. Delaminated or loose areas often sound hollow.
This test is especially useful on porches that look mostly intact from above but have hidden bond failure below the surface. On steps, pay close attention to front corners and the underside of the nose where damage often starts.
Hollow-sounding concrete isn’t always an emergency, but it does tell you the surface may not be a stable base for a skim repair.
Efflorescence matters because it usually means moisture is moving through the slab, not just across it. In coastal communities like Jupiter and Palm Beach Gardens, salt air and constant humidity can accelerate surface breakdown, especially on exposed porch edges.
Check for these patterns:
The most revealing spots are rarely the middle of the slab.
| Area to inspect | What to look for | What it may mean |
|---|---|---|
| Step edges | Chips, broken noses, crumbling corners | Impact damage, weak surface concrete, moisture entry |
| Porch perimeter | Surface loss, staining, exposed aggregate | Water intrusion, poor runoff control |
| Where porch meets house | Cracks, separation, dark staining | Movement, trapped moisture, drainage issues |
| Low spots | Ponding marks, discoloration | Inadequate slope, recurring water exposure |
If you find active movement, recurring moisture, or broad hollow zones, don’t jump straight to patching. The repair method has to match the failure pattern.
The repair should match the failure, not just the symptom you can see from the driveway. On South Florida porches, that matters even more because heat, humidity, wind-driven rain, and salt exposure can turn a small surface defect into a repeat repair if the wrong product goes down first.
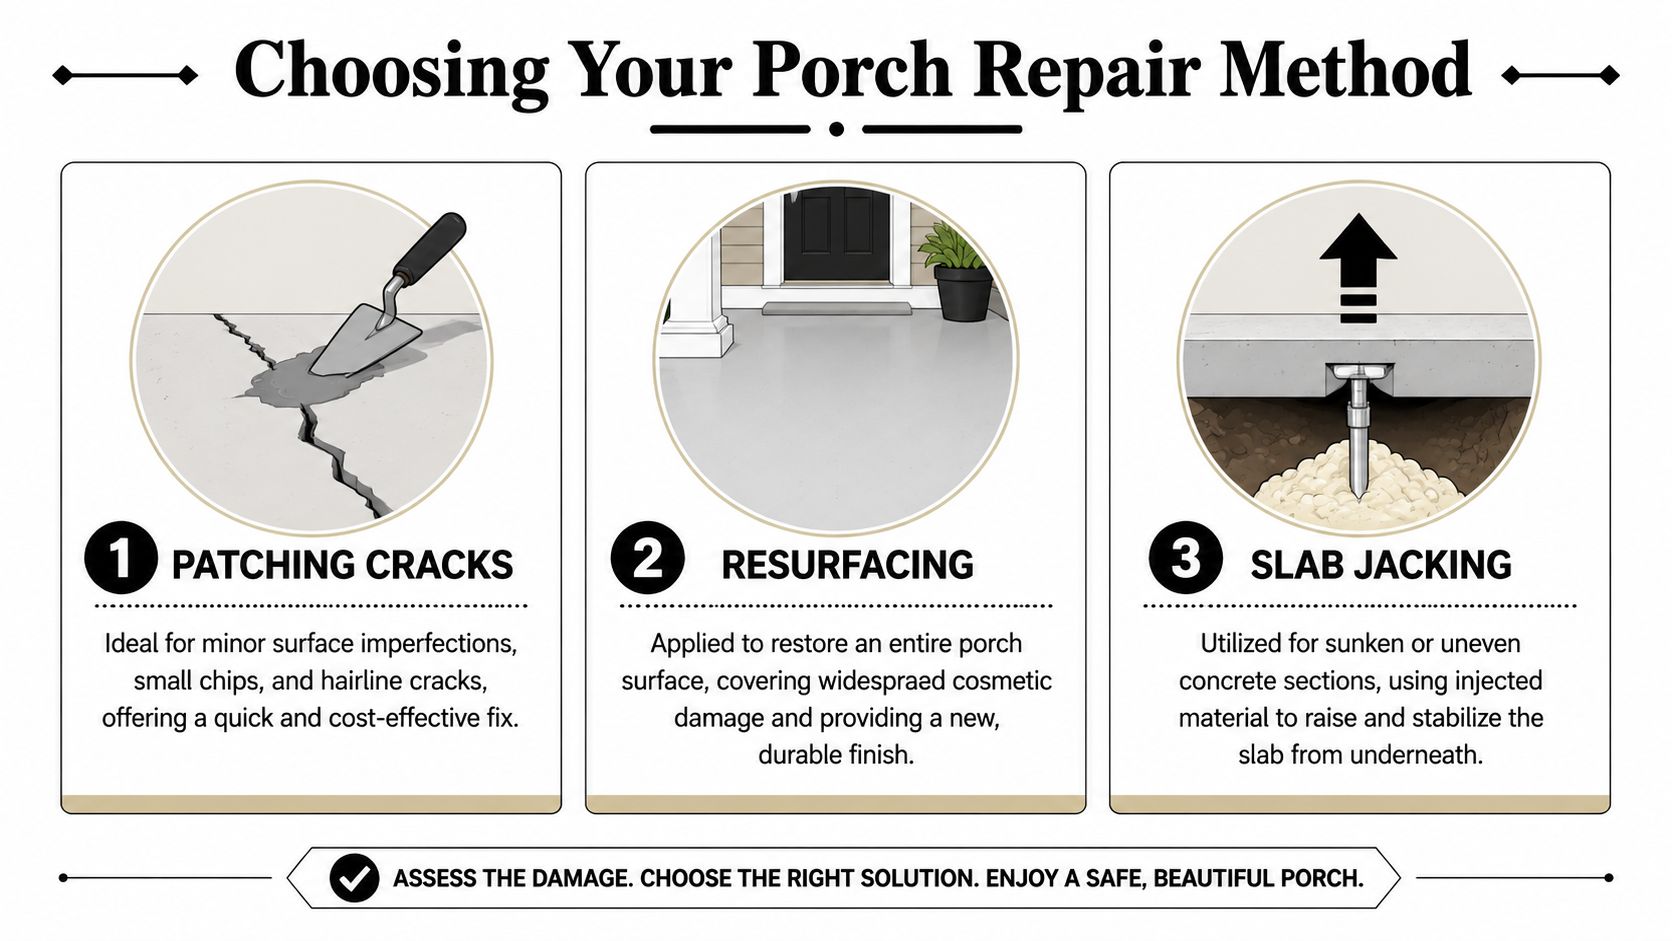
Use crack filler for narrow, non-structural cracks in a slab that is still flat and stable. It helps keep water out, but it does not restore broken concrete or correct movement underneath.
Use a cementitious patch for chipped edges, spalled spots, and broken step corners where the surrounding concrete is still sound. That is a good repair for localized damage, especially around porch noses and corners that take impact and hold moisture. It fails fast if you apply it over weak, sandy, or hollow concrete.
Resurfacing makes sense when the porch is mostly intact but the face is worn, pitted, stained, or scaling across a broad area. It gives the slab a new wear surface. It also demands better prep than many homeowners expect. In humid conditions, poor bond and trapped moisture are common reasons resurfacing peels.
If part of the porch has dropped, tilted, or pulled away, start with the support issue. Lifting methods such as slab jacking or polyurethane foam injection address voids or settlement below the slab. Surface products do not.
| Repair Method | Best For | DIY Difficulty | What to know before choosing |
|---|---|---|---|
| Crack filling | Minor non-structural cracks on a stable porch | Low | Good for water exclusion and appearance. Poor choice if the crack shows vertical offset or keeps reopening. |
| Cement patching | Spalls, chips, broken edges, small isolated damage | Moderate | Works well on solid concrete with clean edges and proper prep. Weak surrounding concrete usually means the repair area needs to be cut back farther. |
| Resurfacing | Broad surface wear on a level, stable porch | Moderate to high | Best for cosmetic renewal, not structural correction. South Florida humidity makes moisture control and cure conditions more important. |
| Slab jacking or leveling | Sunken or uneven slab sections | Not typical DIY | This is usually a professional repair because the real work is diagnosing washout, poor compaction, or drainage problems below. |
The longest-lasting repairs solve both the damaged concrete and the moisture path feeding it. A porch edge patch can last for years if runoff is controlled and the slab stays dry enough to let the repair bond and cure properly. The same patch can fail in one wet season if sprinklers hit it daily or water sits along the house line.
Sealer belongs after the repair is sound and cured. It is a protective step, not a substitute for patching, resurfacing, or leveling. For a practical look at finish protection after repairs, Wheeler Painting's guide to concrete sealing is a useful companion read.
I also tell homeowners to look past the porch itself. If humid air and moisture are getting into adjacent block walls, or the wall-to-slab connection stays damp, the porch repair keeps living in a bad environment. That is part of the reason whole-home moisture control matters in South Florida, including better air sealing and insulation strategies such as spray foam insulation for concrete block walls.
Choose the least invasive method that still fixes the actual cause. That usually saves more money than buying the cheapest repair material on the shelf.
For most homeowners, the practical DIY lane is localized patching and modest resurfacing on a stable porch. The key isn’t speed. The key is preparation, bond, and curing.
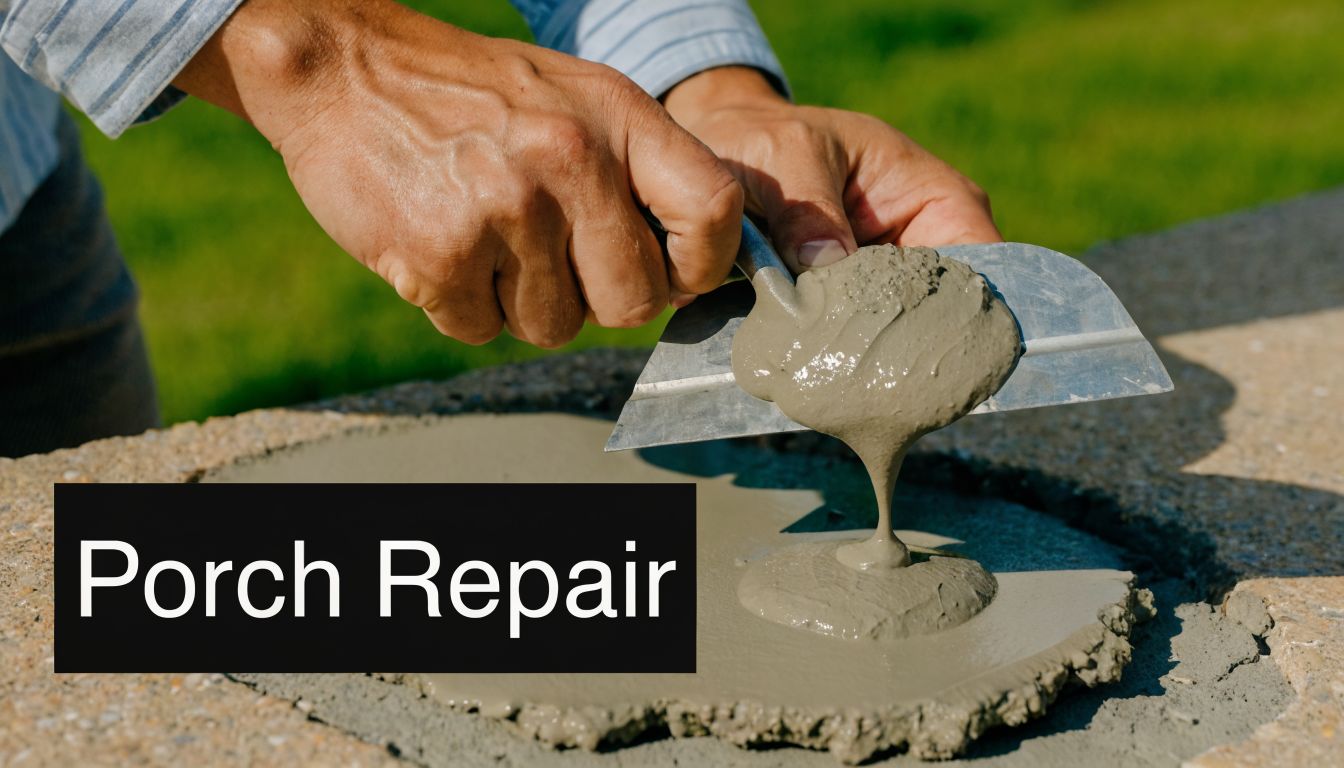
Remove every loose piece. Use a chisel and hammer, or a small sledge where needed, to knock off weak concrete until you reach a solid substrate. For cracks, widen the opening enough for filler or patching compound to grab instead of sitting on top like caulk on dust.
Brush aggressively with a wire brush. Vacuum or sweep out debris. If grime, algae, or old residue is present, wash the area so the repair bonds to concrete, not contamination.
For edge and corner repairs, undercutting helps create a mechanical bond. A repair feathered to nothing at the edge is far more likely to fail than one keyed into the existing concrete.
Dry concrete sounds good to beginners, but it’s often the wrong condition for patching. The substrate should be damp, not dripping. For edge repairs between ¼ inch and 2 inches deep, the guidance from Sakrete’s broken concrete edge repair instructions is to use a 4:1 mix ratio of fast-setting cement patcher to water, and the same source notes that 70% of patch failures come from delamination caused by a dry surface.
That one mistake ruins a lot of otherwise decent work.
Pre-wet the repair area, then let the surface lose its shine. Damp concrete helps the patch bond. Standing water weakens it.
If you’re using a product that calls for a bonding adhesive, apply it as directed after the surface is properly prepared. On humid days, work in manageable sections so the area doesn’t swing from wet to dry while you’re still mixing.
A broken step nose or porch corner needs a form so the patch has shape and support while it sets. A straight wood board works well if it’s braced firmly and set flush to the final profile.
For vertical edge repairs:
Mix by hand for about two minutes if you’re doing a small repair. Use gloves and follow the manufacturer’s water limits. Don’t thin the mix to make it easier to trowel. Overwatering weakens the repair and increases shrinkage.
Rod or pack the material firmly into the void. This matters on deeper spalls and corners where trapped air can leave weak pockets. Fill from the corners toward the middle, then screed across the form or surrounding slab.
For broader spalled areas, a mortar blend or rapid-set repair product can be troweled onto a damp surface and blended into the surrounding field. If low spots exist in a wider porch, a self-leveling resurfacer can help restore plane before a final resurfacing pass.
Here’s a visual walkthrough that helps if you’re more comfortable watching the sequence before starting:
Use a margin trowel for shaping. Once the repair begins to set, tool the edges with a concrete edger if needed. A damp sponge can soften the finish and help blend transitions. A broom pulled in one direction gives the repair a more natural texture on exterior porches.
Don’t overwork it. Constant re-troweling brings excess water and paste to the surface, which often leaves a weak skin that doesn’t age well outdoors.
Cover the repair with plastic or a damp cloth and let it cure for 24 to 48 hours, following the repair guidance described in the technical repair methods summarized by Concrete Repair UK’s porch repair process. In South Florida, that protection matters because sun, wind, and humidity swings can interfere with an even cure.
If you’re resurfacing an entire porch, prep quality decides whether the finished surface lasts. Loose concrete, dirt, or trapped moisture under a resurfacer causes callbacks, peeling, and visible weak spots. A porch can look great on day one and still be headed for failure if the base wasn’t ready.
A patch can repair damage you see. Moisture control deals with the force that usually caused it.
In humid subtropical climates, concrete porches deteriorate faster because capillary action and high humidity accelerate moisture movement, and standard repair methods can fail early if the underlying problem isn’t addressed with vapor barriers or improved drainage, as explained in this discussion of unlevel concrete porch repair in humid conditions. That’s the part many repair guides skip.
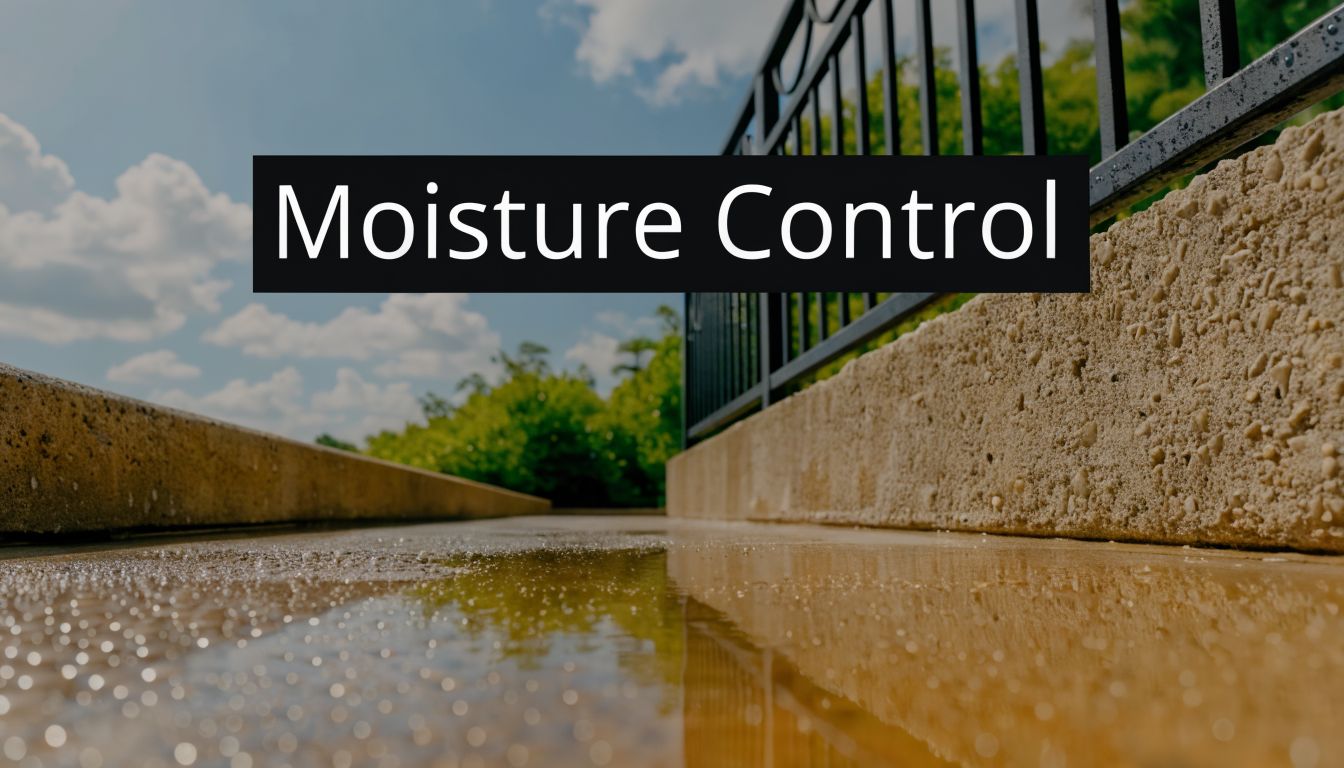
South Florida porches get moisture from several directions at once. Rain can pond on the surface. Soil moisture can wick upward. Humid air can linger in shaded areas and keep the slab from drying. Poor runoff can wash the base material away slowly enough that the owner doesn’t notice until the porch drops.
The practical fixes usually start outside the repair itself:
Porch moisture doesn’t always stay at the porch. If humid air and water are also affecting adjoining wall cavities, crawlspace-like areas, or transition points near the slab, repairs outside may keep seeing the same conditions. That’s where vapor management inside the envelope can support durability outside.
One option homeowners consider is a dedicated moisture barrier insulation approach to limit humid air movement into vulnerable parts of the structure. In some homes, Airtight Spray Foam Insulation may be part of that broader strategy when moisture is moving through adjacent building assemblies and not just across the porch surface.
A porch repair lasts longer when the slab, the soil around it, and the nearby building envelope all stay drier.
Don’t seal a wet problem shut and assume it’s solved. Don’t keep re-patching the same corner without asking why it stays damp. Don’t ignore recurring white residue, mildew, or soil washout along the perimeter.
On South Florida homes, the most durable repairs come from pairing the right concrete method with moisture control around the porch and the house.
A South Florida porch can fool you. A crack at the front edge may look like a simple Saturday patch, but if that area stays damp after every storm, or the slab has started to drift away from the house, the cheap repair is usually the one that fails first.
Cost matters, but scope matters more. A homeowner can usually handle small, stable defects with basic tools, patch material, and time for careful prep and curing. Once the job involves movement, hidden voids, recurring moisture, or a porch tied into steps, columns, or the home’s foundation line, the price of guessing wrong climbs fast.
A do-it-yourself repair often makes sense for hairline to moderate surface cracks, minor corner breaks, and isolated spalling where the surrounding concrete is still solid. In those cases, the budget question is not just material cost. It is whether the surface is dry enough to bond, whether you can clean it properly, and whether runoff or humid air exposure will break the repair back down in one wet season.
Professional work earns its keep when the repair calls for judgment, not just labor.
Call a pro if you see any of these conditions:
In this climate, moisture is often the dividing line between a homeowner repair and a contractor repair. If the porch keeps staying wet, or the adjoining wall and slab edge show signs of humid air leakage, talk with local air sealing contractors near me before you keep resurfacing the same area. Airtight Spray Foam Insulation may be part of that larger fix when the problem extends beyond the porch surface and into the building envelope.
If your inspection points toward replacement or major reconstruction, it helps to understand what proper subgrade prep, forming, and placement should look like. This guide to professional patio slab installation gives useful context before you start comparing bids.
Here is the practical rule I give homeowners. Patch what is cosmetic. Hire out what is moving, sinking, or staying wet for reasons you cannot clearly trace. That approach usually saves more money than stretching a DIY repair past its limit.