Blog
A Guide to Spray Foam Insulation on Existing Walls

Of course you can. Adding spray foam insulation to existing walls isn’t just possible—it’s one of the single most effective upgrades you can make to an older home. It’s a complete game-changer for energy efficiency, especially here in South Florida.
Think of it as a retrofit that seals up your home’s weak points without needing a full-blown demolition, stopping drafts in their tracks and finally getting those utility bills under control.
Understanding Your Retrofit Insulation Options
If your home constantly feels drafty, your AC runs nonstop, or certain walls just feel warm to the touch, your existing insulation isn’t doing its job. Most older homes were built with fiberglass batts or blown-in cellulose, which over time can settle, degrade, or get damp, leaving all sorts of gaps for air to leak through.
Applying spray foam to existing walls tackles these problems head-on.
Imagine your home’s walls as a protective shell. After a few decades, that shell is full of tiny cracks and holes you can’t see. Spray foam is applied as a liquid that expands to fill every single one of those leaks, creating one solid, airtight barrier. The process transforms a leaky, inefficient house into a modern, sealed structure. The difference is immediate, particularly in a demanding climate like ours where keeping cool, conditioned air inside is everything.
The Benefits of a Wall Insulation Upgrade
Upgrading your wall insulation is about more than just comfort; it’s a serious investment in your home’s performance and long-term value. The main goal is to create a complete air seal, something traditional insulation just can’t do.
Here’s what you get with a proper wall insulation upgrade:
- Serious Energy Savings: Once you seal the air leaks, your HVAC system finally gets a break. It doesn’t have to fight to keep the house cool, which means lower monthly energy bills.
- A More Comfortable Home: An airtight seal gets rid of those frustrating hot and cold spots. Your home’s temperature becomes consistent and comfortable, room to room, year-round.
- Better Indoor Air Quality: Sealing up the walls doesn’t just block air—it blocks what’s in the air. Dust, pollen, and other outdoor pollutants can no longer sneak in through gaps and cracks.
- Moisture and Mold Control: This is a big one for Florida. Closed-cell spray foam acts as a vapor barrier, stopping humid air from getting inside your wall cavities where it can lead to mold, mildew, and wood rot.
A properly insulated and air-sealed home can cut heating and cooling costs by an average of 15%. For many homeowners, this means the project pays for itself over a few years through pure energy savings.
When it comes to getting this done, pros typically use one of two methods. The first is a minimally invasive “injection” technique. The second is a more comprehensive “remove and replace” approach, usually done during a remodel. Let’s break down both so you can figure out what’s right for your home.
How Retrofit Spray Foam Insulation Works
Think about trying to stop a leaky pipe by just wrapping a towel around it. Sure, it’ll catch some of the drips, but water will always find a way through the gaps. This is pretty much how old-school insulation, like fiberglass batts, functions inside your walls—it’s just sitting there, but it does almost nothing to stop air from moving through all the tiny cracks and seams.
Now, imagine injecting a special sealant right into that same leaky pipe. The sealant expands instantly, filling every single pinhole and crevice from the inside out until it forms a solid, completely waterproof plug. That’s exactly how spray foam insulation on existing walls works. It’s not just an insulator; it’s an air sealant that creates a powerful, unbroken barrier.
This idea of an air barrier is the secret sauce to its incredible performance. By stopping all that uncontrolled air movement, spray foam prevents your expensive, conditioned air from escaping and, just as importantly, stops the hot, sticky Florida air from sneaking in. It’s a simple concept, but it’s what makes a massive difference in your energy bills and overall comfort.
This chart really breaks down the whole process of retrofitting your walls, showing the path from where you are now to the benefits you’ll get with a professional install.
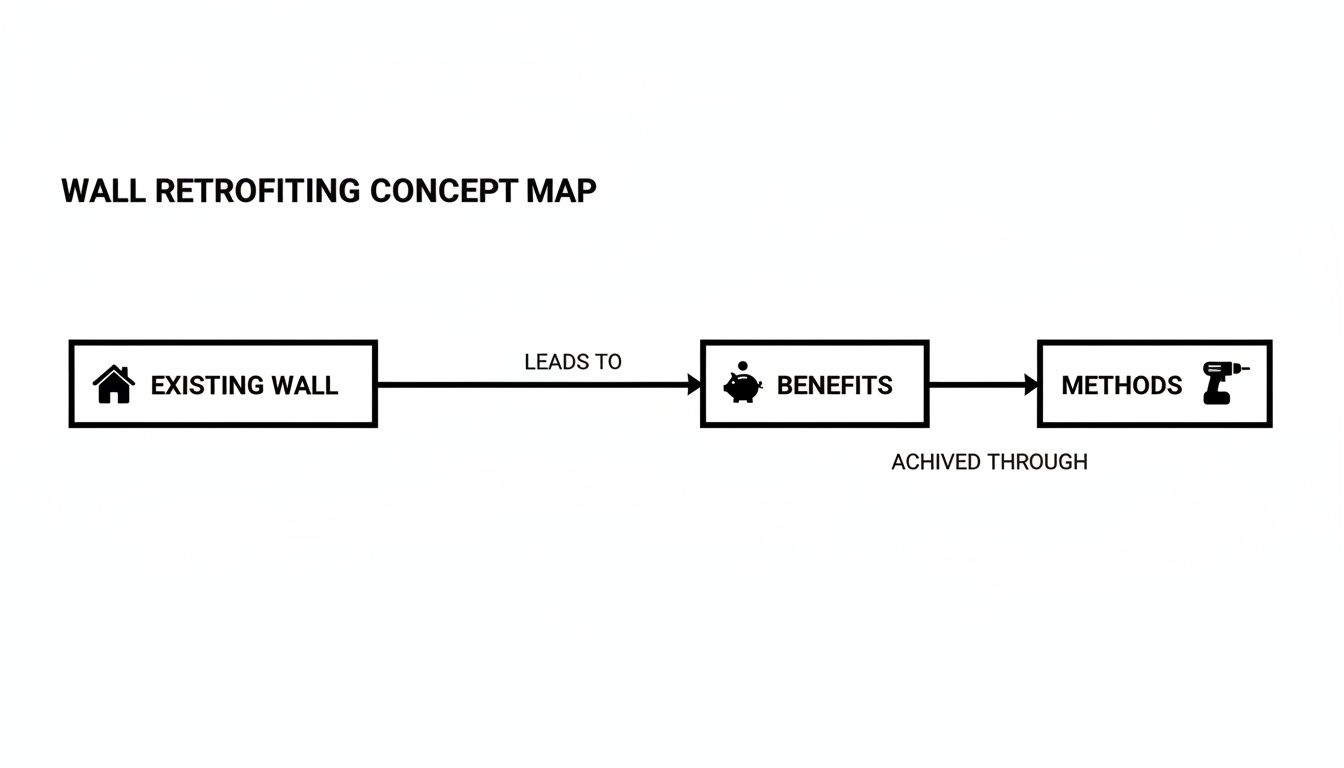
As you can see, it’s a straightforward journey from your current walls to big improvements in comfort and efficiency.
Open-Cell vs. Closed-Cell: The Two Main Types
When you start looking into spray foam, you’ll hear about two main players: open-cell and closed-cell. Figuring out the difference is crucial, especially when you’re dealing with South Florida’s soul-crushing humidity.
Open-cell spray foam has a light, spongy texture—kind of like a dense kitchen sponge. Its tiny cells aren’t fully sealed off from each other, which is why it stays soft and flexible after it cures. This structure makes it a fantastic sound insulator, soaking up noise from outside or between rooms. The trade-off? It’s vapor-permeable, meaning water vapor can pass right through it.
Closed-cell spray foam, on the other hand, is the tough guy. It’s dense, rigid, and hard to the touch. Its cells are completely sealed and packed tightly together, making it totally waterproof. Think less like a sponge and more like a hard-shell cooler. This quality allows it to act as a complete vapor barrier, blocking moisture entirely—a massive win in our climate. It even adds a bit of structural strength to the walls it fills.
The demand for high-performance home upgrades has made spray foam a major player in the insulation world. In fact, spray polyurethane foam now accounts for nearly half (49.4%) of the entire foam insulation market by volume, thanks to its incredible thermal resistance (R-value) and air-sealing power. The North American market is booming, driven by energy-efficiency retrofits for existing homes just like yours. You can discover more insights about the foam insulation market and its growth here.
For homes in South Florida, the choice often boils down to moisture control. While both types insulate well, closed-cell foam’s ability to completely block humidity is a game-changer for preventing mold and rot inside your walls.
Comparing the Two Retrofit Options
To make the right call for your home, it helps to see how each foam type stacks up side-by-side. Your goals—whether it’s soundproofing a home office or building a fortress against moisture—will point you to the best choice.
Here’s a side-by-side look at the two primary types of spray foam to help you choose the best option for your South Florida home’s existing walls.
Comparing Open-Cell and Closed-Cell Spray Foam
| Feature | Open-Cell Foam (The ‘Sponge’) | Closed-Cell Foam (The ‘Hard Shell’) |
|---|---|---|
| Density | Low density (approx. 0.5 lb/ft³) | High density (approx. 2.0 lb/ft³) |
| R-Value per Inch | R-3.5 to R-3.7 | R-6.0 to R-6.5 |
| Moisture Barrier | No, it is vapor-permeable. | Yes, it acts as a vapor barrier. |
| Sound Dampening | Excellent sound absorption. | Good sound reduction. |
| Structural Strength | Does not add structural support. | Adds significant rigidity to walls. |
| Cost | Less expensive per board foot. | More expensive per board foot. |
At the end of the day, the right choice really depends on your project. For exterior walls here in South Florida, the superior R-value and moisture-blocking power of closed-cell foam often make it the smartest investment for long-term protection and energy savings.
The Professional Installation Process Explained
Getting spray foam inside a finished wall isn’t magic, but it’s a precise, surgical process that professionals have down to a science. Unlike a new build where the walls are wide open, retrofitting requires a more delicate touch. The whole point is to completely fill every nook and cranny inside the wall cavity, creating a perfect air seal without tearing your home apart.
Our crews use two main strategies to install spray foam insulation on existing walls, and the right one depends on your home’s construction and your goals. Knowing how these methods work helps take the mystery out of the process and gives you a clear idea of what to expect on installation day.

Method 1: The Drill-and-Fill Technique
The most common and least disruptive method is what we call “drill-and-fill” or injection foam. This is the go-to technique when you want to upgrade your insulation without touching the existing drywall. It’s a clean, efficient process that works like a well-oiled machine.
Here’s the step-by-step breakdown:
- Strategic Hole Placement: First, our crew drills small, precise holes—usually about 2 to 2.5 inches across—through either the exterior siding or the interior drywall. We carefully place these holes between each wall stud to get access to every single empty cavity.
- Specialized Foam Injection: Next, we insert a specialized hose into each opening and inject a slow-rise injection foam. This foam is formulated to expand more gently than standard spray foam, so it can flow around wires, pipes, and other obstructions to fill the space completely without blowing out your drywall.
- Plugging and Patching: Once the cavity is full, we pull the hose, plug the hole, and clean up. If we worked from the outside, we patch the siding. If we worked from inside, we patch the drywall, leaving it ready for you to sand and paint.
This approach is incredibly popular because it keeps your finished walls intact. A skilled team can insulate an entire house in just a few hours with almost no mess left behind.
The drill-and-fill method is a game-changer for retrofitting. It lets homeowners get a complete air seal, which drastically improves comfort and energy efficiency, all without the dust and hassle of a major renovation.
Method 2: The Remove-and-Replace Approach
Sometimes, you need to get your hands dirty. The “remove-and-replace” approach is exactly what it sounds like, and we typically use it in two scenarios: during a larger home remodel or when we have to get rid of old, failing insulation first.
This is the only way to go if your walls are already packed with old, sagging fiberglass or cellulose that’s gotten damp, moldy, or infested with pests. Just spraying over that mess would defeat the whole purpose of the upgrade.
This process is a bit more involved:
- Drywall Removal: The installation team carefully cuts away sections of drywall to expose the wall cavities.
- Cavity Clean-Out: We pull out all the old, nasty insulation and debris, then vacuum the space clean. This ensures the new foam gets a perfect bond to the wall sheathing.
- Spray Foam Application: With the cavities open, our technicians apply the spray foam directly. We can see everything, guaranteeing a perfect, airtight fill every time.
- Wall Restoration: Finally, we hang new drywall, tape it, and mud it. Your wall is restored to a smooth, paint-ready finish.
While this method takes more work, it’s the ultimate fix for walls with existing problems. It guarantees the cavity is pristine before the new, high-performance insulation goes in, ensuring you get every ounce of value from your investment.
No matter which method is right for your home, the result is the same. A professional installation transforms your home’s building envelope, creating a living space that’s quieter, more comfortable, and a whole lot more energy-efficient.
Understanding the Cost and Return on Investment
When you’re thinking about adding spray foam insulation to existing walls, it’s best to see it as a long-term upgrade for your home’s performance, not just another line item on a budget. Yes, the initial cost is higher than stuffing in more fiberglass, but the real win comes from the permanent, significant drop in your energy bills and a massive boost in comfort.
The final price for a retrofit job like this hinges on a few key things. The total square footage of your walls is the biggest driver, of course, but the type of foam you pick plays a huge part, too. Open-cell foam is less dense and usually more affordable, while high-performance closed-cell foam costs more because it delivers a superior R-value and acts as a powerful moisture barrier.
Beyond the foam itself, the complexity of the job really influences the final cost. Accessibility is a huge factor. A simple, single-story home with easy-to-remove vinyl siding is a much less labor-intensive project than a multi-story brick home that requires specialized drilling and patching. And if we have to remove old, degraded insulation first, that will naturally add to the scope and budget.
Breaking Down the Numbers
To give you a realistic idea for budgeting, let’s look at some typical industry numbers. National surveys show installed spray foam can range anywhere from $1.00 to $4.50 per square foot.
Open-cell foam generally lands on the lower end of that, around $1.00 to $2.00 per square foot. Closed-cell foam, being the premium option, is typically between $2.50 and $4.50 per square foot. So, for a 1,500 square foot exterior wall area, you could be looking at a project cost from roughly $1,500 to $6,750, all depending on the foam type and the specifics of your home.
But the real story here isn’t the upfront cost—it’s the return on that investment (ROI). Time and again, studies show that properly air-sealing a home with spray foam can slash heating and cooling costs by 15% to 30% every year. For a typical South Florida home, that’s hundreds of dollars back in your pocket annually, letting the investment pay for itself over time.
For many homeowners, the simple payback period for a spray foam retrofit lands between 3 and 10 years. After that, the ongoing energy savings represent a pure return, year after year.
While spray foam is a powerhouse for efficiency, pairing it with other proven tips to lower your electric bill can maximize your savings even further, especially during our brutal summers.
A Look at Sample Costs and Savings
To make this a bit more concrete, let’s put some numbers to a hypothetical 1,500 sq. ft. wall project in a South Florida home. This table gives you a simplified look at the numbers and shows how both foam types deliver serious long-term value.
If you want to dive deeper into how different insulation materials stack up, our guide on spray foam versus blown-in insulation is a great resource.
Sample Cost and Savings for a 1,500 Sq. Ft. Wall Area
| Metric | Open-Cell Foam Estimate | Closed-Cell Foam Estimate |
|---|---|---|
| Upfront Cost Range | $1,500 – $3,000 | $3,750 – $6,750 |
| Typical Annual Savings | $360 – $720 | $480 – $960+ |
| Payback Period | 4 – 8 Years | 5 – 10 Years |
| Key Advantage | Lower Initial Cost | Superior Moisture Barrier |
Ultimately, this isn’t just about plugging numbers into a calculator. It’s about the benefits you can’t easily quantify: getting rid of those drafty rooms for good, enjoying the peace and quiet from better sound dampening, and the confidence that your home is truly protected from moisture and mold.
When you add all that up, the real ROI of spray foam insulation goes far beyond your monthly FPL bill.
Critical Factors for South Florida Homes
Insulating a home in South Florida is a completely different ballgame than anywhere else. Our real enemy isn’t just the heat; it’s the relentless, oppressive humidity that finds its way into every tiny crack and crevice of your home. This constant moisture is exactly why choosing the right type of spray foam insulation on existing walls is so critical for long-term protection.
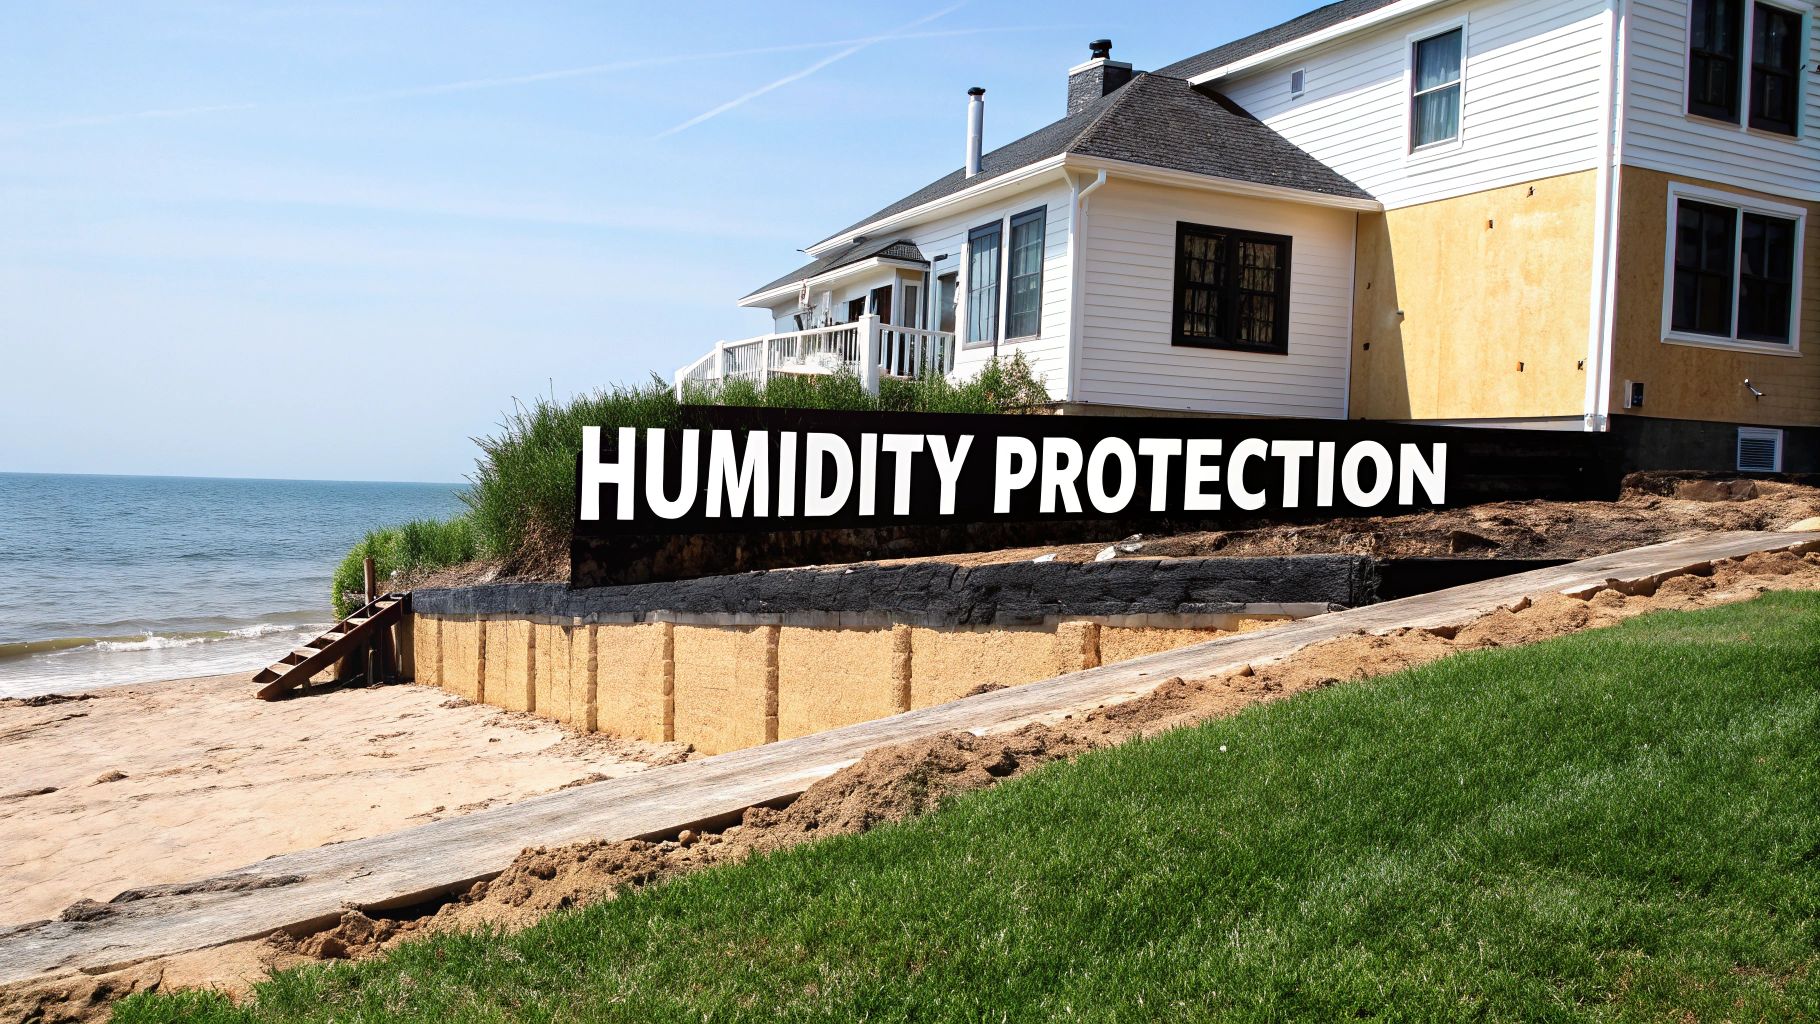
Here, closed-cell spray foam isn’t just a good option—it’s often the best defense. Its dense, rigid structure creates a powerful vapor barrier, completely blocking water vapor from seeping into your wall cavities. Think of it as a waterproof shield built right inside your walls.
This barrier is your number one defense against the mold, mildew, and wood rot that can quietly destroy a home from the inside out in our climate. While open-cell foam is a fantastic insulator, its spongy nature means it’s vapor-permeable. That can allow humid air to pass through, potentially trapping moisture where you can’t see it.
Balancing the Building Envelope
Creating an airtight seal is great for energy efficiency, but it brings up another vital point: ventilation. If you seal a house too tightly without thinking about airflow, you can run into issues with indoor air quality. It’s like putting a tight lid on a jar—nothing gets in, but nothing gets out either.
A professional installation team understands this delicate balance. Part of the job involves assessing your home’s entire system, what we call the “building envelope.”
A true professional doesn’t just insulate your walls; they make sure the insulation works with your HVAC system and existing ventilation. This holistic approach prevents air quality problems and guarantees your home stays healthy and comfortable.
They’ll look at how your air conditioning runs and whether your home has the right ventilation to manage indoor humidity and pollutants. This assessment makes sure your newly sealed home can still “breathe” properly, exchanging stale indoor air with fresh outdoor air in a controlled way. It’s a non-negotiable step for a safe, effective upgrade.
Adding Strength for Hurricane Season
Living in South Florida means preparing for hurricane season is just a way of life. Beyond its thermal and moisture-blocking benefits, closed-cell spray foam gives you another powerful advantage: it adds significant structural strength to your home.
When closed-cell foam is injected into a wall cavity, it cures into a hard, dense solid that basically glues the exterior sheathing to the interior studs. This makes the entire wall assembly stronger and more unified.
That added rigidity helps your walls resist the intense pressures and shear forces from hurricane-force winds. While no home is truly hurricane-proof, this structural boost can make a real difference in how well your home weathers a major storm. Concrete block homes also see huge benefits from this reinforcement, which you can read more about in our guide to the insulation value of concrete block walls.
Considering these factors—moisture control, balanced ventilation, and structural resilience—is the key to making a smart insulation choice in our unique environment.
Why Professional Installation Is Not Negotiable
While plenty of home improvement projects offer the satisfaction of a job well done, retrofitting spray foam insulation on existing walls is one of those times you absolutely call in a pro. This isn’t like rolling on a coat of paint or hanging shelves. It’s a complex chemical process happening inside your walls, and a small mistake can lead to big, expensive—and even hazardous—problems.
The biggest issue with a DIY attempt is getting the chemical mix right. Spray foam is created on-site by combining two liquid components at a very specific temperature and pressure. If that ratio is even a tiny bit off, the foam won’t cure properly. What you’re left with is a sticky, useless mess that can off-gas unpleasant chemical odors and provide almost no real insulation value.
The Dangers of a DIY Installation
Beyond the chemical risks, an amateur application can physically damage your home. For example, injecting a standard, fast-expanding foam into a closed wall cavity is a recipe for disaster. It can expand with enough force to crack drywall from the inside out or even warp your siding. A professional knows to use a specific slow-rise injection foam designed for this exact purpose.
Another common DIY pitfall is an incomplete fill. It’s almost impossible to “see” what you’re doing inside a wall. This often leads to hidden voids and gaps, creating thermal weak spots for air to leak through. You end up paying for a premium product but getting subpar performance that defeats the whole purpose of the upgrade.
A professional crew isn’t just spraying foam; they’re managing a complex chemical reaction inside the structure of your home. Their specialized equipment, safety training, and deep understanding of building science are what guarantee a safe, effective, and long-lasting result.
The Value of a Professional Crew
Hiring a certified team isn’t just about avoiding disaster—it’s about making sure you actually get the full benefit of your investment. A professional brings critical advantages to the job that you simply can’t replicate with a kit from a big-box store.
Here’s what a professional installer brings to the table:
- Specialized Equipment: Pros use high-pressure proportioning machines that can cost tens of thousands of dollars. These rigs are designed to heat and mix the chemicals to the manufacturer’s exact specifications, ensuring a perfect cure every time. DIY kits just can’t compete.
- Knowledge of Building Codes: An experienced installer knows the local South Florida building codes for insulation, air sealing, and fire safety. They make sure your project is fully compliant, so you don’t run into headaches during a future home inspection or sale.
- Problem Identification: A trained technician can spot underlying problems—like hidden moisture from a small leak—before applying the foam. This prevents you from trapping a serious issue inside your wall that could lead to rot and structural damage down the road.
Ultimately, professional installation is your peace of mind. It’s the only way to ensure the job is done safely, correctly, and effectively, so your investment in spray foam insulation on existing walls delivers the comfort and energy savings you expect for decades to come.
Common Questions About Retrofit Spray Foam
Even after learning how it all works, it’s completely normal to have a few questions before committing to a project like this. Upgrading to spray foam insulation on existing walls is a significant investment in your home, and you should feel 100% confident in that decision.
We’ve pulled together some of the most common questions we hear from homeowners to give you the clear, straightforward answers you need. Our goal is to clear up any lingering concerns about what the process really looks like, from the day of the job to the performance you can expect for years to come.
How Disruptive Is the Installation Process?
One of the biggest worries homeowners have is about mess and disruption. But you might be surprised to learn that for the “drill-and-fill” method, the whole process is remarkably clean and efficient.
Professional crews are masters at minimizing their footprint. If they’re working from the outside, they’ll just need clear access around your home, so you may have to move some patio furniture or potted plants. If they need to work from the inside, they’ll carefully lay down plastic to cover floors and furniture, containing any dust from the small drill holes. An experienced team can often get the entire job done in just 3 to 5 hours, leaving your home exactly as they found it.
The only prep work you really need to do is to take down any pictures or decorations from the walls being worked on. The vibrations from drilling can cause things to fall, so it’s a simple but important safety measure.
Is Spray Foam Safe After Installation?
Absolutely. Once spray foam fully cures, it becomes a completely inert, stable, and rigid plastic. It doesn’t off-gas or release any harmful chemicals into your home. The key is to have it installed by a certified professional who knows how to mix the components at the exact right temperature and ratio.
During the actual application, the area needs to be well-ventilated, and we typically ask homeowners to be out of the house for about 24 hours. This allows the foam to fully cure and any vapors to completely dissipate. It’s a strict safety protocol that ensures when you return, your home’s air is clean and perfectly safe.
We also get questions about sound. While closed-cell foam is the king of thermal performance, open-cell foam is a fantastic sound absorber. If you’re looking to create a quieter, more peaceful home, you can learn more about using insulation as a sound barrier in our detailed guide. At the end of the day, a professional installation is what guarantees a safe and effective result every single time.
Ready to transform your home’s comfort and slash your energy bills? The experienced team at Airtight Spray Foam Insulation is here to answer any other questions you have and provide a detailed, no-obligation estimate for your project. Contact us today to discover the difference an airtight home can make.