Blog
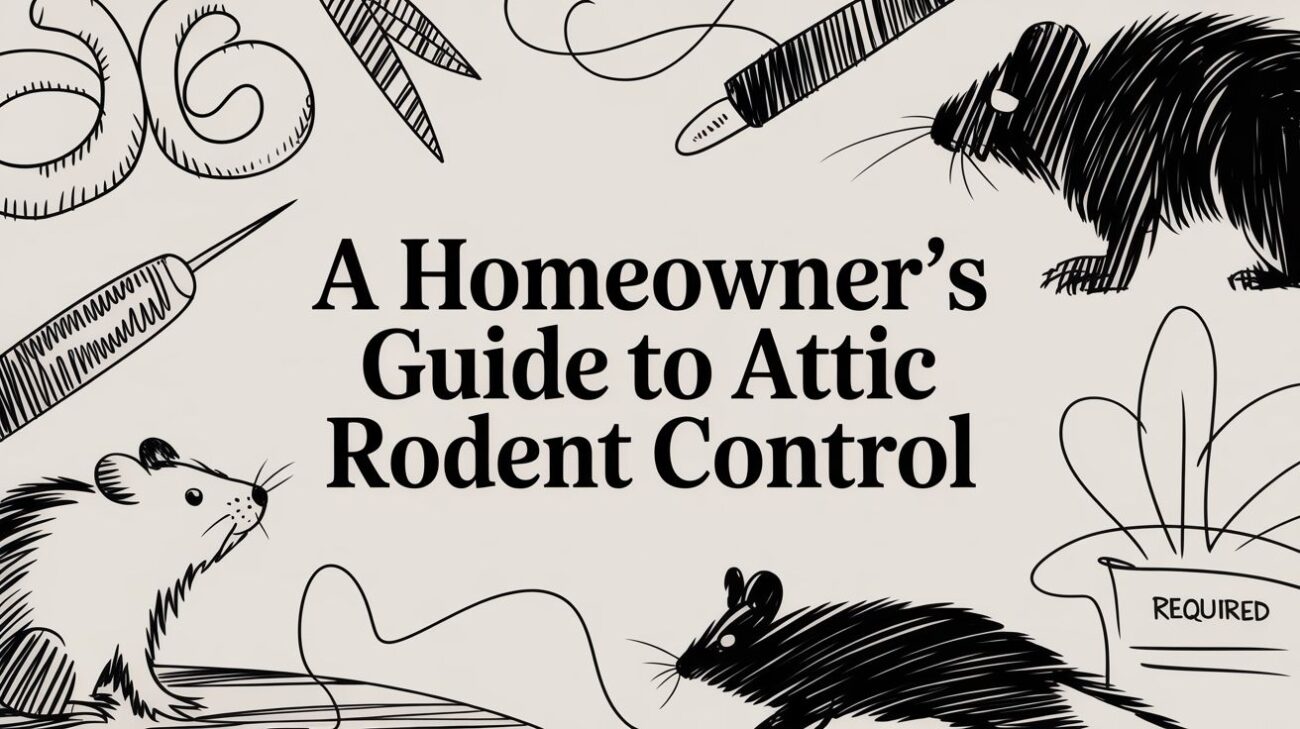
A Homeowner’s Guide to Insulation Rodent Proof Solutions

That scratching in the attic isn't just an annoyance. From my years of experience in South Florida homes, I can tell you it's the sound of your insulation—and your money—being torn to shreds.
Rats and other rodents don't just pass through; they see traditional fiberglass insulation as the perfect five-star hotel for nesting. This constant burrowing and shredding destroys the insulation's R-value, crippling your home's thermal barrier and sending your cooling bills through the roof.
The Hidden Threat Rodents Pose to Your Insulation

When pests get into your attic or walls, they’re not just seeking shelter. They are actively dismantling one of your home's most vital systems. Soft materials like fiberglass offer the perfect fluff for rodents to build nests, raise their young, and create hidden highways throughout your home.
This isn't just a pest problem. It's a fundamental failure of the building envelope that requires a permanent insulation rodent proof solution. Understanding why rats invade your house is the first step, but seeing the real damage they cause is what convinces homeowners to act.
More Than Just Chewed-Up Fluff
Rodent damage goes way beyond what you see on the surface. As they tunnel through insulation, they create empty pockets and compress the material, which absolutely kills its effectiveness. Even a small family of rats can slash your insulation’s R-value, leading to hot spots in your home and making your AC work overtime—a major expense in our South Florida heat.
The truth is, this problem is only getting worse. We’re seeing a surge in rodent activity across the country, with roof rats becoming a huge headache right here in our local communities. They can chew through almost anything, turning brand-new attics into contaminated nesting sites.
The real danger isn't just what they chew up; it's what they leave behind. Rodent droppings and urine saturate the insulation, introducing a host of bacteria and pathogens directly into the air you breathe.
This contamination is a serious health hazard. As the waste dries, airborne particles can get pulled into your HVAC system, triggering allergies and spreading disease. That musty smell you can't seem to get rid of? It's often the signature of a well-established infestation that needs professional remediation, not just an air freshener.
The True Cost of Rodent-Damaged Insulation
What starts as a minor pest issue can quickly spiral into a major home repair project with staggering costs. It's not just about patching a few holes; it's a cascade of problems that affect your wallet and your well-being.
The table below breaks down the hidden costs we see homeowners face all the time.
| Impact Area | Description of Damage | Potential Cost/Consequence |
|---|---|---|
| Energy Waste | Tunnels and nests in insulation create thermal bypasses, causing significant energy loss. | Increased monthly utility bills, overworked HVAC system leading to premature failure. |
| Health Risks | Droppings and urine contaminate insulation, leading to airborne bacteria and pathogens. | Respiratory issues, allergies, and risk of diseases like Hantavirus and Leptospirosis. |
| Structural Damage | Rodents gnaw on wood framing, electrical wires, and even PVC pipes. | Risk of house fires from frayed wires, expensive structural repairs, potential water damage. |
| Remediation Costs | Old, contaminated insulation must be professionally removed and the area sanitized. | Hazardous material removal fees, attic cleaning services, and pest control expenses. |
Letting those sounds in the attic go unchecked is a gamble you don't want to take. The longer pests have free rein, the more extensive and expensive the damage becomes. The only real fix is a proactive one: removing the compromised material and installing a proper insulation rodent proof system to protect your home, health, and finances for good.
Your Proactive Rodent Entry Point Inspection

Before you even think about what kind of insulation to buy, you have to think like a rodent. I’ve seen it countless times: homeowners spend a fortune on the best materials, only to have pests chew right through them because they skipped this one crucial step.
An ounce of prevention here is worth a pound of cure. A rat only needs a gap the size of a quarter to get in. For a mouse, an opening as small as a dime is an open invitation. Your mission is to find and map out every single one of these vulnerabilities before you seal up your walls.
Where to Focus Your Search
You need to put on your detective hat. Start your inspection from the outside of your home and work your way in. Grab a good, powerful flashlight—even in broad daylight—because you’ll be looking in dark corners and shadowy spots. The weakest points are almost always where two different building materials meet.
Here’s where I always tell my clients to look first:
- Your Foundation and Siding. Get low and look for any cracks in the concrete. Pay extra close attention to where the siding meets the foundation. Check every spot where something penetrates the wall: outdoor spigots, dryer vents, and electrical conduits are all common culprits.
- The Roofline and Soffits. Here in South Florida, roof rats are a constant threat. Carefully inspect the corners and overhangs where your roof meets the exterior walls. Look for any damage or gaps in your soffit vents. It’s a favorite entry point.
- Utility Lines. Every pipe, wire, and cable coming into your house is a potential highway for pests. Check the entry points for your main electrical service, HVAC refrigerant lines, and plumbing. The Florida sun is brutal on sealants, causing them to crack and pull away over time.
As you go, keep an eye out for more than just obvious holes. You’re looking for subtle clues—faint, greasy rub marks along a wall, tiny piles of sawdust, or gnaw marks on PVC pipes. These are the tell-tale signs of an established rodent runway.
A critical mistake homeowners make is assuming new materials solve old problems. Even the most advanced insulation can be compromised if entry points aren't sealed first. Think of it as installing a brand-new, high-tech security system but leaving the front door unlocked.
Documenting Your Findings
Don't rely on memory. When you find a crack, gap, or hole, take a clear picture with your phone. Make a detailed list or sketch, noting the location and size of each opening. This becomes your action plan, the blueprint for your entire pest-proofing project.
For a systematic way to think about this, you can borrow principles from a professional commercial building inspection checklist. While it’s designed for larger structures, the thorough, step-by-step approach is exactly what you need for your home.
The Problem with Unfortified Materials
This inspection is so vital because modern insulation isn't rodent-proof on its own—it has to be part of a sealed system. The North American spray foam market is set to blow past $1.2 billion by 2026, and a lot of that growth is right here in the Southeast.
But even the best spray foam can be tunneled through if a rat finds an existing gap to get started. It’s a problem that pest management professionals see all the time, especially when construction is rushed and these crucial sealing steps are overlooked.
Ultimately, your inspection reveals the true first step in rodent-proofing your home. It’s not about the insulation itself, but about building a fortress. Once you know exactly how they’re getting in, you can finally seal them out for good.
Choosing the Right Rodent-Resistant Insulation
Over my 25 years in this business, I've torn out more rodent-infested insulation than I can count. I can tell you firsthand that to a rat or mouse, traditional fiberglass is a luxury condo—it’s warm, easy to tear apart, and perfect for building a nest. If you want to solve a rodent problem for good, you can't just replace the old stuff with more of the same.
You have to think like a pest. The goal is to create a solid, impenetrable barrier they simply can't chew through or nest in. Here in South Florida, that material also has to stand up to our relentless humidity, which is a magnet for other pests. This means shifting away from soft, fluffy materials and embracing dense, rigid solutions.
What Actually Works to Stop Rodents
When it comes to stopping rats and mice, it all comes down to density and what the material is made of. Some types of insulation are just too tough or unappealing for them to bother with, forcing them to move on to an easier target.
Here are the options we see and recommend in the field:
Closed-Cell Spray Foam: This is our go-to for a permanent fix, and for good reason. When closed-cell foam cures, it becomes an incredibly hard and rigid plastic. Rodents find it nearly impossible to chew. More importantly, it creates a single, solid barrier that seals every crack and crevice, leaving absolutely no gaps for them to squeeze through.
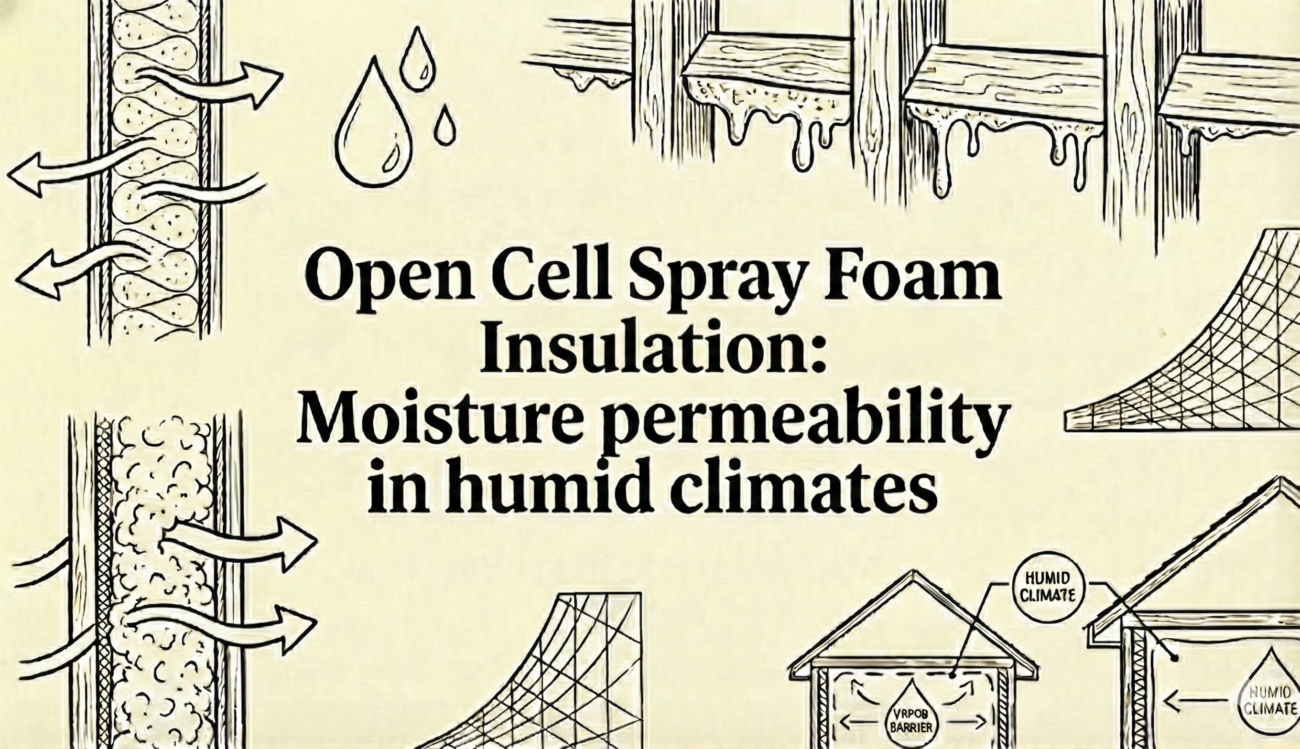
Open-Cell Spray Foam: While it’s certainly better than fiberglass, open-cell foam is much softer and more sponge-like. We've seen determined rodents tear their way into it. It’s a great insulator and air barrier, but we don't rely on it for a truly rodent-proof insulation strategy.
Foam Board (Cellular Glass): Products like Foamglas® are made from 100% glass, making them completely impervious to pests and moisture. A rat simply cannot chew through it. It’s an extremely tough and durable option, though it's often more expensive and typically used for specific applications like under a concrete slab or on foundation walls.
Treated Cellulose: You'll see some cellulose insulation treated with borates, which can help deter pests. But here's the reality: while it might make the material less appealing, it doesn’t create a physical barrier. A motivated rat can still tunnel right through it, even if it doesn't want to live there.
The crucial difference is this: pests can easily burrow through materials like fiberglass and borate-treated cellulose, even if they don't eat them. With closed-cell spray foam, there is nothing to burrow through—it's a solid wall. For a deeper dive into this, you can learn more about whether mice will chew through spray foam in our detailed guide.
Comparing Insulation Types for Rodent Resistance
Choosing the right material requires looking at the whole picture—how it stands up to pests, how it handles our humid climate, and where you plan to use it. This table breaks it down based on what we've seen work best in South Florida homes.
| Insulation Type | Rodent Resistance | Moisture Resistance | Best Use Case |
|---|---|---|---|
| Closed-Cell Spray Foam | Excellent – Hard, dense, and creates a seamless barrier. | Excellent – Acts as a vapor barrier, blocking moisture. | Attics, crawl spaces, and exterior walls where a complete pest and moisture seal is needed. |
| Fiberglass Batts | Poor – Ideal nesting material for rodents. | Poor – Can absorb moisture and promote mold growth. | Not recommended for areas with known pest or moisture issues. |
| Borate-Treated Cellulose | Fair – Deters pests but does not physically block them. | Fair – Can absorb moisture if not properly air-sealed. | Wall cavities in new construction where other pest barriers are also used. |
| Foam Board (Cellular Glass) | Excellent – Impervious to chewing and nesting. | Excellent – Completely waterproof. | Under concrete slabs, foundation walls, and high-performance wall assemblies. |
As you can see, for most residential applications in our area, closed-cell spray foam offers the best all-around protection against both rodents and moisture.
Beyond Insulation: The Integrated Defense Strategy
Even the best insulation is only one part of a complete strategy. A successful rodent-proofing project integrates tough physical barriers before any insulation is ever installed. Think of it as adding steel plates to your fortress walls.
This means physically blocking any potential entry points with materials that rodents can't defeat. Before we spray an ounce of foam, we meticulously seal every gap with:
- Steel Wool or Copper Mesh: We pack these materials tightly into small holes and gaps around pipes, vents, and wiring. Rodents hate the feeling of steel on their teeth and simply won't chew through it. Copper mesh is a fantastic alternative because it never rusts.
- Metal Flashing: For larger gaps, especially along the roofline or where walls meet the foundation, we install sheet metal to create a permanent, impenetrable block.
This layered approach is what ensures total protection. The mesh and flashing provide the brute-force defense, while the closed-cell spray foam creates the final, airtight seal. This combination leaves zero weak points for pests to exploit, delivering a solution that finally lasts.
The Airtight Method for Installing Rodent-Proof Insulation
A successful rodent-proofing project comes down to the details. I’ve lost count of how many homes I’ve visited where the owner invested in top-shelf materials, only to have rats find their way back in a few months later. The weak link is almost always the installation.
Choosing the right insulation is a great start, but it’s the meticulous, step-by-step process that creates a truly permanent fix. This is where experience makes all the difference. Let’s walk through how the pros build a truly impenetrable barrier.
First: A Clean Slate with Full Removal and Decontamination
Before anything else, the old, contaminated insulation has to go. This isn't a weekend job with a shop vac and some trash bags. Insulation that's been home to rodents is a legitimate biohazard, full of droppings and urine that can carry dangerous bacteria.
Our crews use high-powered, HEPA-filtered vacuums to safely contain and remove every last scrap of compromised material. This prevents hazardous airborne particles from circulating through your home. Once the attic is stripped bare, we decontaminate the entire space with a hospital-grade sanitizer. This kills off pathogens and, just as importantly, neutralizes the pheromone trails that act like a homing beacon for new pests.
Next: Sealing Every Single Entry Point
With a clean, sanitized attic, the real hunt begins. This is the most critical step: finding and sealing every single crack, gap, and hole a rodent could squeeze through. You have to remember, a rat only needs an opening the size of a quarter to get in.
We train our teams to think like pests and focus on their favorite entry routes.
- Soffit and Roofline Gaps: We painstakingly seal the perimeter where the roof deck meets the exterior walls.
- Utility Penetrations: Every single pipe, wire, and conduit passing through the attic is sealed with rodent-proof materials.
- Vents and Exhausts: All vents are secured with strong, chew-proof covers that still allow for proper airflow.
For this, we use a combination of materials. We pack smaller gaps with copper mesh or steel wool, which rodents can't chew through. For any larger openings, we cut and fit metal flashing to create a permanent block. This hard, physical barrier is the non-negotiable foundation of a rodent-proof system.
I always tell my team, "Foam is for sealing, not for filling." You can't just spray foam into a two-inch hole and call it a day. A determined rat will chew right through it. You must first create a hard physical barrier that the foam can then seal in place.
Then: Applying the Monolithic Foam Barrier
Once every entry point is mechanically blocked, it’s time for the insulation. When it comes to a permanent solution, closed-cell spray foam is the undisputed champion. Unlike fiberglass or cellulose, it cures into a hard, dense plastic. It’s not a food source, it’s not comfortable nesting material, and they simply can’t get through it.
The process is a one-two punch: block the gaps, then apply the foam to create a final, seamless seal.

The real magic of spray foam is its ability to form a monolithic barrier. It expands into every tiny void, bonding the sheathing, framing, and mechanical seals into one solid, airtight unit. To see what makes it so effective, you can learn more about how spray foam insulation works and its unique properties.
Here’s a pro tip I share with every client: we always apply an extra-thick layer of closed-cell foam along the roofline and soffits. In South Florida, this is the main highway for roof rats. Reinforcing this area with an even denser barrier makes it virtually impenetrable.
Finally: Guaranteeing Proper Attic Ventilation
The last step is one that’s often forgotten, and it's a critical one: ventilation. A hot, stagnant attic is a welcome mat for all kinds of pests, not just rodents. Sealing an attic airtight without managing airflow can trap moisture, which is a recipe for mold, mildew, and wood rot.
A professional installation isn't complete until we’ve confirmed your soffit and ridge vents are clear and functioning after the foam is applied. This ensures your attic can still breathe, keeping it cooler and drier year-round. A less hospitable environment is a powerful deterrent, making your home a much less attractive target for future invaders.
Long-Term Strategies to Keep Your Home Pest-Free
Think of your new rodent-proof insulation as the heavy lifting—the core defense that makes your home a fortress. But keeping it that way for the long haul is an ongoing game of vigilance. It’s all about protecting that investment.
While your closed-cell spray foam barrier is a permanent, zero-maintenance solution, the world outside your walls is always changing. The good news? Long-term protection comes down to simple, smart habits. This isn't about setting endless traps or spraying chemicals; it's about making sure the fortress you just built stays sealed.
Build a Seasonal Inspection Routine
A simple checklist helps you find weak spots before a rat or mouse does. After you've done it a few times, these checks become second nature.
- After Big Storms: Here in South Florida, storms are just a part of life. High winds and driving rain can pry siding loose, bust a screen on a vent, or open up tiny gaps along your roofline. Always take a quick walk around the house after a major weather event.
- During Yard Work: Trimming back those overgrown bushes or finally taking down that old tree? Take an extra minute to look at the newly exposed walls. You might be surprised to find cracks or gaps that were hidden from view.
- After Any Utility or Repair Work: If you just had new cable lines or an AC unit installed, go back and check their work. Technicians often drill holes and forget to seal them properly, creating a direct pipeline for pests right into your walls.
This is the very essence of proactive attic rodent control. You stop the problem on the outside, long before it ever gets a chance to test your insulation.
A huge part of any long-term strategy is managing what’s right outside your door. Rodents are incredible climbers. Overhanging tree branches and thick shrubs growing against your siding are basically ladders to your roof and eaves.
By keeping a two to three-foot clear zone between any plants and your house, you take away their bridges. This simple landscaping habit forces them to cross open, exposed ground, making your home a much less attractive target.
Maintaining Your Defenses
The beauty of a professionally installed spray foam system is that the insulation itself needs practically zero maintenance. That rigid, closed-cell foam is now a permanent part of your home. But its success depends entirely on the integrity of your home’s outer shell.
Get into these simple but highly effective habits:
- Seal New Gaps Instantly: Spot a new crack in the foundation or see daylight around a new pipe? Seal it. Now. A tube of quality sealant and some copper mesh should be permanent fixtures in your garage toolkit.
- Check Your Vents and Screens: Take a look at your attic vents, crawl space screens, and the dryer vent cover. Are they intact? These are common entry points that are easy to forget but even easier to fix.
- Be Smart About Storage: Piling firewood, lumber, or yard debris right up against the house is like putting out a welcome mat. It gives rodents the perfect cover to hide and explore your foundation for a way inside.
By focusing on these easy exterior checks, you let your rodent-proof insulation do its job without interference. You’ve created a tough, impassable core; now your only job is to maintain the perimeter. This approach turns pest management from a reactive headache into a simple, proactive routine.
Frequently Asked Questions About Insulation Rodent Proofing
When you're looking to rodent-proof your attic, I know a lot of questions come up. After more than two decades in this business right here in South Florida, I've pretty much heard them all. Let's get straight to the answers for the most common things homeowners ask me.
These aren't just hypotheticals—they're the real-world questions I get every day from people trying to protect their homes.
Can Rodents Actually Eat Through Spray Foam Insulation?
This is the number one question, and for good reason. While a desperate rat can chew through almost anything, they have a tough time with closed-cell spray foam. It's not like soft fiberglass batting; it cures into a hard, dense plastic. Rodents can't nest in it, and they certainly don't like chewing on it.
The real magic is that the foam creates a solid, seamless barrier. There are no gaps or soft spots for them to start working on. When we install it properly over a surface that’s already been sealed, it physically blocks them out. That density and hardness are what make it one of the most effective rodent-proofing materials out there.
Expert Takeaway: Think of it this way: rodents don't "eat" foam for nutrition; they chew it to get from point A to point B. When they hit a solid wall of dense, closed-cell foam, there’s no “point B” to get to. They usually just give up and look for an easier target.
How Much Does It Cost To Rodent-Proof an Attic?
The cost for a full attic rodent-proofing job can really vary. It comes down to a few key things:
- Your attic's size: A bigger space simply needs more material and time.
- The extent of the damage: If there's heavy contamination, we have to spend more time on safe removal and sanitation.
- How much old insulation there is: Hauling out feet of old, contaminated insulation is a big part of the job and adds to the labor.
I always tell homeowners to see this as a permanent investment, not just another repair bill. Yes, the upfront cost for a professional job with closed-cell spray foam is higher than just tossing in more fiberglass. But it solves the problem for good. You also get a huge bonus in energy savings—often up to 40-50%—and you stop paying for pest control band-aids and future insulation replacements. Any reputable company will give you a detailed quote for your home at no cost.
Should I Hire a Pest Control Company Before You Insulate?
Yes, without a doubt. If you have rats or mice in there now, this is step one. Our process always starts with removing all the old, contaminated insulation and deep-cleaning the entire space.
But it’s absolutely critical that a licensed pest control company gets rid of the current rodent population before we seal up the attic. Putting in beautiful new insulation while pests are still living there just traps them inside your house, creating a much bigger problem. We can work directly with your pest control team to time it perfectly. Once they give the all-clear, we come in and create that permanent seal so they can never get back in.
Is Spray Foam Insulation Safe for My Family?
When it’s installed by a certified professional following strict safety protocols, it's completely safe. During the actual spraying, the area has to be well-ventilated, and we require all residents and pets to be out of the house for a short period.
Once the foam cures—which usually takes about 24 hours—it becomes a solid, inert plastic. It doesn't off-gas or release any harmful chemicals. In fact, by creating an airtight seal, it actually improves your indoor air quality by blocking dust, pollen, and other allergens from getting in. It makes your home healthier.
Ready to make your home permanently pest-free and energy-efficient? The team at Airtight Spray Foam Insulation has the experience and best-in-class materials to protect your South Florida home for good. Request your free, no-obligation quote today!