Blog
A Homeowner’s Guide To Insulation Installation In Attic
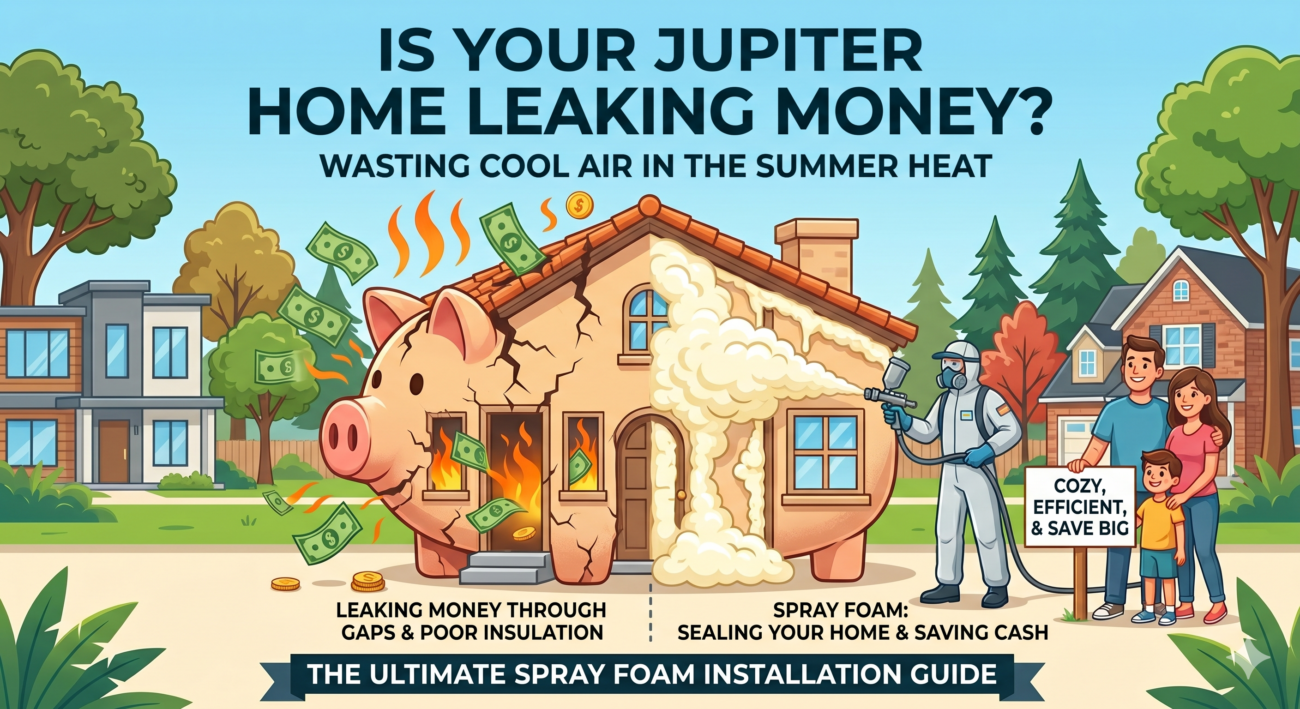
Are you fed up with skyrocketing energy bills and that sticky, oppressive humidity that seems to haunt your South Florida home? The real problem might be right over your head. An attic without proper insulation is basically a giant heat magnet, forcing your air conditioner to run nonstop and costing you hundreds of dollars every year.
Why Your Attic Is The Key To Lower Energy Bills
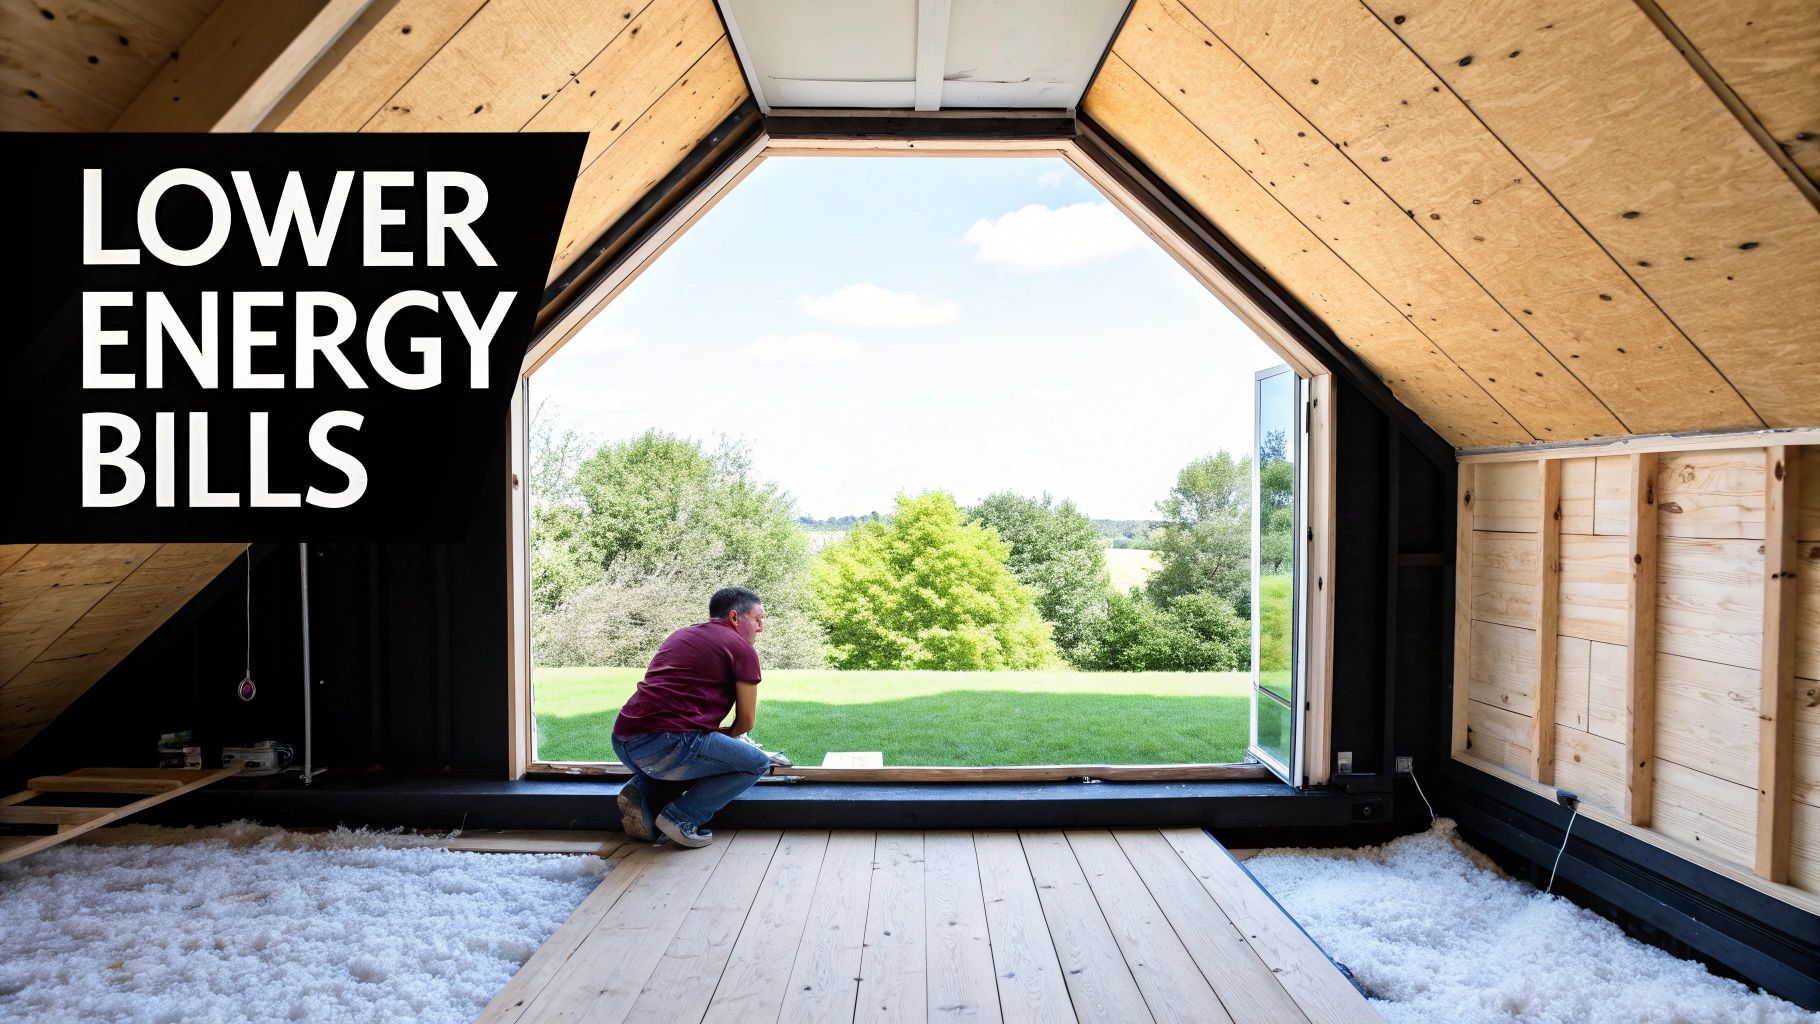
Think of your attic as the lid on a cooler. If that lid is flimsy and doesn't seal right, all the cold air escapes on a hot day, and you're left with lukewarm drinks. It's the same exact principle with your home. An uninsulated or poorly insulated attic lets all the cool, conditioned air you're paying for slip right out, while inviting the sweltering Florida heat to come pouring in.
This constant tug-of-war between your AC system and the brutal outdoor heat is why you have uncomfortably hot rooms, relentless humidity, and utility bills that make you wince. Every summer, your cooling system is working harder and longer than it should, just to make up for the energy bleeding through your roof.
The Modern Fix for Energy Waste
The good news is, modern insulation completely flips this script. A professional insulation installation in attic, especially with spray foam, transforms your attic from an energy drain into a powerful energy-saving shield. It creates a seamless thermal barrier that effectively "seals the lid" on your home for good.
This one upgrade delivers a whole host of immediate benefits that you'll notice right away.
To put it simply, upgrading your attic insulation is one of the smartest investments you can make in your home. Here’s a quick breakdown of what to expect.
| Benefit | Impact On Your Home |
|---|---|
| Drastic Energy Savings | Your AC's workload is significantly reduced, leading to lower monthly bills. |
| Enhanced Home Comfort | Say goodbye to hot spots and clammy rooms with a more stable indoor temperature. |
| Improved Air Quality | A sealed attic keeps dust, pollen, and other pollutants from getting inside. |
| Quieter Living Space | The dense barrier created by spray foam insulation dampens outside noise. |
These aren't minor tweaks; they're substantial improvements that enhance your daily life and put money back in your pocket.
Here's a hard truth: a poorly insulated attic is a major financial drain. Homes in our area can lose about 25% of their cooled air straight through the roof. For the typical Florida household, that translates to an extra $300-$500 in utility costs every single year.
Just as properly insulated roofs can save you money, treating your attic is the most critical first step toward a more comfortable and efficient home. And if you really want to maximize those savings, you should also look into how to insulate ductwork in your attic.
Choosing Your Best Spray Foam Insulation Option
When you're planning an insulation installation in attic, you’ll quickly find out that not all spray foam is created equal. The two main types you'll hear about are open-cell and closed-cell foam, and picking the right one is absolutely critical for getting the results you want, especially in our demanding South Florida climate.
Think of it like this: open-cell foam is a lot like a dense, high-quality sponge. Its internal structure isn't completely sealed off, which makes it soft, flexible, and fantastic at soaking up sound. On the other hand, closed-cell foam is more like the hard shell of a premium cooler. Its cells are totally sealed, creating a rigid, dense material that's incredibly tough and locks out moisture.
Understanding Open-Cell Spray Foam
Open-cell spray foam is a lighter, less dense material. Because its cells are "open," it breathes a bit, allowing some air and water vapor to move through it. While this means it isn't a true vapor barrier, that sponge-like texture gives it amazing sound-dampening properties. If you're trying to quiet down a noisy room, open-cell is a great choice.
But its lower density means it has a lower R-value per inch, typically around R-3.5 to R-3.8. The R-value is just a measure of how well a material resists heat flow—the bigger the number, the better the insulation. To hit a high total R-value with open-cell, you simply need a thicker application.
- Key Strengths: Unbeatable sound dampening, lower material cost, and it stays flexible enough to expand and contract with your home's structure.
- Primary Weakness: It’s not a water barrier. If it gets wet, it holds onto moisture like a sponge, which can cause real problems if it isn't able to dry out completely.
Why Closed-Cell Spray Foam Excels In Florida
For a humid, sticky environment like South Florida, closed-cell spray foam is almost always the right call for attics. Its rigid, dense structure gives it a much higher R-value, usually between R-6.0 to R-7.0 per inch. This means you get more insulating muscle with less material, a huge plus in attics where space can be tight.
But its biggest win is how it handles moisture and air. Since its cells are completely sealed, it flat-out blocks water vapor from passing through. This is a game-changer for stopping humidity from seeping into your attic and home, which lightens the load on your AC system and helps prevent mold before it ever starts.
A professional insulation installation in attic using closed-cell foam doesn't just insulate—it actually adds structural strength to your roof deck. Its dense, glue-like bond can help brace the roof against high winds, a priceless benefit during hurricane season here in Florida.
To make the decision crystal clear, it helps to see the two side-by-side.
Comparing Open-Cell And Closed-Cell Spray Foam
Here’s a direct comparison to help you understand the key differences and have an informed conversation with your insulation contractor.
| Feature | Open-Cell Spray Foam | Closed-Cell Spray Foam |
|---|---|---|
| R-Value (per inch) | R-3.5 to R-3.8 | R-6.0 to R-7.0 |
| Moisture Barrier | No (Vapor Permeable) | Yes (Vapor Impermeable) |
| Air Barrier | Yes | Yes (More effective) |
| Density & Rigidity | Low (Soft & Flexible) | High (Hard & Rigid) |
| Sound Dampening | Excellent | Good |
| Best Use in Attics | Less common; mainly for soundproofing | Ideal for thermal and moisture control |
Ultimately, while open-cell has its uses, closed-cell foam is the undisputed workhorse for South Florida attics. Its powerful blend of high thermal resistance, a built-in vapor barrier, and added structural strength makes it the best choice for homeowners who want maximum energy efficiency and protection from our region’s brutal heat and humidity.
The Professional Attic Insulation Installation Process
Wondering what actually happens on installation day? It’s not as complicated as you might think. We can break down what looks like a complex project into a clear, manageable process. A professional insulation installation in an attic is more than just spraying foam; it’s a meticulous operation built around safety, efficiency, and getting a perfect result.
The real work starts long before our spray rig pulls up. The first step is always a thorough assessment. A trained technician will get into your attic, measure everything, check the existing ventilation, and hunt for any potential problems like hidden leaks or pest damage. We’ll also talk about your specific goals—are you trying to slash your FPL bill, or is soundproofing a bigger priority? This initial walkthrough is what lets us give you an accurate estimate and design a plan that fits your home perfectly.
Prepping the Work Area for a Clean, Precise Job
Once you give us the green light, we shift into prep mode. This is probably the most critical phase for protecting your home and making sure the foam only goes where it's supposed to. Think of it like a high-end paint job—the final quality is all in the prep work.
Our crew will carefully cover your floors, walls, and any furniture in the area with heavy-duty plastic sheeting. We basically create a contained workspace to stop any overspray from finding its way into your living spaces. This includes taping off light fixtures, electrical boxes, and vents—anything that shouldn't be sealed in foam.
This infographic gives you a simple look at the core decision-making flow we follow for a successful installation.
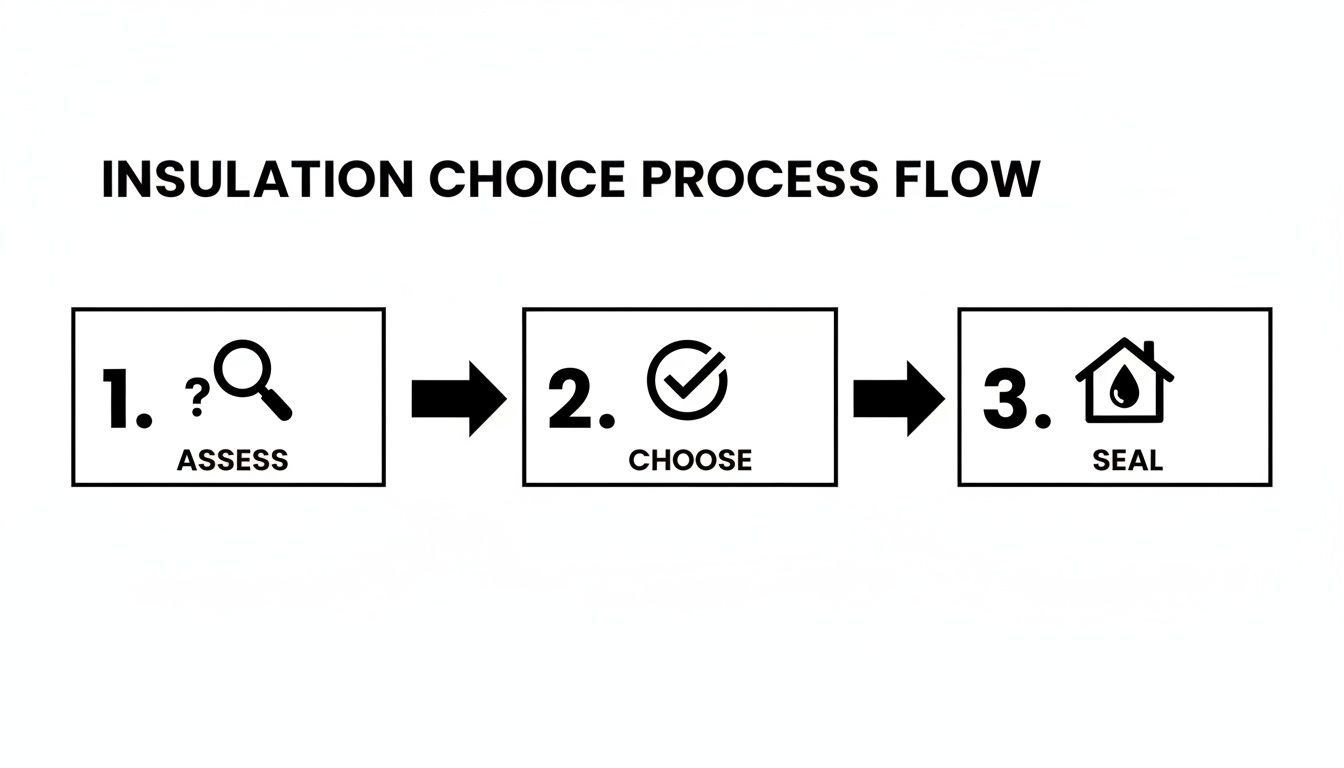
As you can see, a great result is built on a solid foundation: careful assessment and choosing the right material before a single drop of foam is sprayed.
The Application: Sealing the Deal
With everything prepped, the real action begins. You’ll see technicians in full protective gear—respirators, suits, the works—run a long hose from their truck right up into the attic. At the end of that hose is a specialized spray gun that mixes the two liquid components of the foam. This creates an immediate chemical reaction, and the liquid expands into the solid foam that does all the work.
The foam is applied directly to the underside of your roof deck and gable walls. Within seconds, it expands to fill every single crack, gap, and crevice, creating one solid, seamless air barrier. It’s a game-changer. A poorly insulated attic can be responsible for 15-25% of a home's energy loss. Spray foam stops that cold. Closed-cell foam, in particular, creates such a tight barrier that it can cut heat transfer by up to 50% more effectively than old-school fiberglass or cellulose.
The expansion is where the magic really happens. A thin layer of liquid can expand up to 100 times its original volume. This is how it creates a perfect, airtight seal around rafters, wiring, and plumbing that traditional insulation could never dream of matching.
The Finishing Touches and a Spotless Cleanup
After the foam is applied and has had a few hours to fully cure, we’re not quite done. Our technicians will go back through and trim any excess foam that might have over-expanded, just to ensure a clean, neat appearance. This is especially important around any areas you might need to access later on. If you want to get deeper into how we manage moisture, you might find our guide on the importance of vapor barriers in attics helpful.
The final step is a complete cleanup. The crew takes down all the plastic sheeting, vacuums up any debris, and puts your home back exactly the way they found it. The only thing they leave behind is a perfectly insulated attic. Knowing what to look for in a contractor is key; for a good overview of what quality service entails, you can consult with experts who provide professional insulation repair, upgrade, and installation services. We’ll do a final walkthrough with you to make sure you’re 100% satisfied with the work and understand the incredible difference it’s about to make.
Calculating Your Attic Insulation Cost And ROI
Alright, let's get down to what every homeowner really wants to know: What's this going to cost me, and is it actually worth the money? Talking about the price of an insulation installation in attic isn't about pulling a number out of thin air. It's about understanding what goes into a custom quote for your home.
Think of it this way: you wouldn't expect a tailor to give you a price for a custom suit without taking your measurements first. It's the same principle here. The final cost depends on the specific needs of your attic.
Key Factors That Influence Your Final Cost
A professional quote is always built on a thorough inspection, but a few key variables will always shape the final number. Here’s what we look at:
- Attic Square Footage: This one is pretty straightforward. A bigger attic requires more material and more time on the job, which naturally affects the bottom line.
- Type of Spray Foam: As we've covered, closed-cell foam is the denser, higher-performance option with a better R-value per inch. It's a premium product, and its price reflects that superior insulating power compared to open-cell foam.
- Desired R-Value: To really combat the South Florida heat, you need the right amount of thermal resistance. We typically aim for an R-value between R-38 and R-49, which means applying a specific thickness of foam to maximize your energy savings.
- Preparation and Removal Work: Is your attic filled with old, compacted, or contaminated insulation? If that old fiberglass has become a nesting ground for pests, it has to go. This removal and disposal work adds to the project cost, but it's a critical step for a clean, effective, and lasting installation.
Shifting from Cost to Investment
It’s easy to get hung up on the upfront number, but the real story with attic insulation is its return on investment (ROI). This isn't just another home expense—it’s an upgrade that starts paying you back the minute we're done.
The second your new spray foam is installed, your home's energy efficiency goes through the roof. Most South Florida homeowners see an immediate, noticeable drop in their cooling costs. We're talking savings of up to 10% on total annual energy bills, with some clients reporting savings as high as 20-30% during our brutal summer months.
This isn't just about the money you save, though that's a massive perk. It's about how quickly those savings pile up and erase the initial cost of the project.
Imagine your AC is constantly trying to fill a leaky bucket. You can keep paying the utility company for more "water" (energy), or you can patch the leaks for good. Spray foam insulation is that permanent patch.
To get a more granular look at what goes into a quote, you can dive into our detailed breakdown of the factors affecting spray foam insulation installation cost.
Calculating Your Payback Period
Let’s run the numbers with a simple, real-world scenario. Say your professional installation costs $6,000. If that new insulation saves you an average of $75 on your utility bill each month, your annual savings add up to $900.
Here’s the simple math to find your payback period:
$6,000 (Cost) ÷ $900 (Annual Savings) = ~6.7 years
In this example, the project completely pays for itself in just under seven years. From that point forward, every dollar you save is pure profit, month after month, for as long as you own your home. And all the while, you’ve been living in a more comfortable, quieter, and healthier space.
How To Prepare Your Home For Installation Day
A top-notch insulation installation in attic doesn’t just happen when our crew shows up. It actually starts with you. A little bit of prep work on your end makes a world of difference, ensuring the entire process runs smoothly, safely, and efficiently for everyone involved.
Think of it as clearing the way for a major upgrade. When our technicians have a clean, clear space to work, they can get the job done faster and more effectively. This simple head start not only helps us but also gives you the peace of mind that your home and belongings are well-protected.
Clear The Path For Success
First things first: we need a clear shot from your front door right to the attic access. Our team will be managing long hoses and other equipment, so an unobstructed path is non-negotiable for both safety and speed.
- Move Hallway Furniture: Any console tables, shoe racks, or other items lining the hallway should be temporarily moved out of the way.
- Secure Floor Coverings: To prevent any trips or snags, it’s a good idea to roll up and set aside any area rugs or runners along the route.
- Protect Your Belongings: Take a moment to move fragile items—like picture frames, vases, or lamps—from the immediate area to another room.
Getting these things out of the way beforehand prevents accidental bumps and lets our crew stay focused on delivering a perfect installation.
By properly sealing air leaks and adding insulation, homeowners can save up to 10% on their annual energy costs. A smooth installation day is the first step toward achieving those savings without any hitches.
Secure The Immediate Work Zone
The space directly under and around your attic hatch is going to be the main hub of activity. While our team always lays down protective sheeting, preparing this area ahead of time is a huge help, especially if the access is in a closet or a main living area.
- Closet Access: If your hatch is in a closet, please remove any clothing, boxes, or anything else stored on the floor or high shelves. This keeps everything free from dust and debris.
- Room Access: For hatches located in a bedroom or hallway, push furniture like beds, nightstands, or dressers several feet back. This gives the team plenty of elbow room.
It’s also smart to think about your family's routine. The installation process involves some noise. For everyone’s safety and comfort, it’s best to keep pets and small children away from the work zone. Just find a quiet spot for them to hang out until we're all wrapped up. Following these simple steps will make sure your insulation installation in attic is a completely stress-free experience from start to finish.
Selecting The Right Insulation Contractor

Figuring out the right insulation material for your attic is really only half the battle. The other half—the part that truly makes or breaks the project—is the contractor you hire to install it.
A flawless application from a skilled team is what gets you those huge energy savings and years of trouble-free performance. On the flip side, a sloppy job can leave you with air leaks, moisture problems, and a whole lot of wasted money. You can’t afford to leave this decision to chance.
Verifying Credentials And Experience
Before you even think about getting a quote, the very first thing you need to do is confirm the contractor is legitimate. This simple step protects you from fly-by-night operators and ensures you’re dealing with a professional who can be held accountable. Don't just take their word for it; do a little homework.
Here are the absolute non-negotiables:
- Licensing: First and foremost, they need a valid license to operate in Florida. This proves they’ve met the state’s requirements and are legally allowed to do the work.
- Insurance: The company absolutely must carry general liability insurance and worker's compensation. Liability insurance protects your home from accidental damage, while worker's comp covers their team if they get hurt on your property. Without it, you could be on the hook.
- Spray Foam Specialization: Ask them point-blank how many years they’ve specifically been installing spray foam. This isn't a gig for a general handyman. It takes specialized training and equipment to get the chemical mix, temperature, and application thickness just right.
Any reputable contractor will have this documentation ready and be happy to show you. If they hesitate or make excuses, that’s a massive red flag.
Questions To Ask Every Potential Contractor
Once you’ve confirmed they’re legit, it’s time to dig a bit deeper. The way they answer these questions will tell you everything you need to know about their process, their standards, and how they treat their customers.
Use this as a checklist when you talk to them:
- Can I speak to some of your local customers? Talking to past clients right here in South Florida is the single best way to know what you’re really getting.
- What safety measures do your technicians take? The right answer involves full personal protective equipment (PPE)—respirators, suits, the whole deal—plus a clear plan for ventilating the space during and after the job.
- Will I get a detailed, written estimate? The quote shouldn't be a mystery. It needs to clearly break down the costs for materials, labor, and any prep work so there are no surprises later.
- What kind of warranty or guarantee do you offer? A quality installer will always stand behind their work and should be able to clearly explain both their own satisfaction guarantee and the manufacturer’s warranty on the foam itself.
Your home is your biggest investment. The goal isn't just to find someone who can spray foam; it's to find a partner who will protect your investment, respect your property, and deliver the high-quality results you’re paying for.
In the end, choosing the right team comes down to trust, transparency, and proven expertise. By taking these steps, you’ll be able to make a confident choice and ensure your attic insulation project is a success from start to finish.
Of course. Here is the rewritten section, designed to match the specified human-expert style and tone.
Still Have Questions? We’ve Got Answers.
Deciding on a major home upgrade like attic insulation always comes with a few questions. That’s perfectly normal. This is a big investment in your home’s comfort and efficiency, and you should feel completely confident before moving forward.
We’ve been doing this for a long time, and we hear the same great questions from homeowners all over South Florida. Let's tackle some of the most common ones head-on so you have all the information you need.
How Long Does This Stuff Actually Last?
This is one of the best parts about choosing spray foam. Unlike old-school fiberglass or cellulose that sags, clumps, and loses its effectiveness over time, spray foam is a once-and-done solution. Once it's in, it's not going anywhere.
A professional application of high-quality spray foam will last for the entire life of your home. We're talking 80 years or more without ever losing its R-value or structural integrity. It doesn’t break down, settle, or get ruined by a little moisture. You make the investment one time and enjoy the benefits for as long as you own the house.
Think of it less like an insulation product and more like a permanent structural upgrade to your home. It’s not a temporary fix; it’s a foundational improvement that pays you back year after year.
Is Spray Foam Safe for My Family and Pets?
Absolutely. The final, cured product is completely safe and inert. During the installation itself, our crew wears full personal protective equipment (PPE) because we’re dealing with a chemical reaction as the two liquid components mix and expand.
Once the foam has fully cured, which usually takes about 24 hours, it becomes a stable, solid plastic. It doesn't off-gas or release any harmful compounds into your home. We ensure the area is properly ventilated during and right after the job to clear out any application odors, making the space totally safe before we sign off. Your family and pets can breathe easy.
Can You Just Spray It Over My Old Insulation?
That’s a question we get all the time, and our answer is almost always a firm "no." While you technically could spray over old insulation, it would completely defeat the purpose of using a high-performance product like spray foam.
Think about it: your old insulation is likely dusty, compressed, and filled with allergens. It might even have moisture damage or pest contamination. Trapping all of that under a new layer of foam is a recipe for trouble. More importantly, leaving the old stuff in place prevents the foam from creating that perfect, airtight seal directly to the wood of your roof deck. That seal is what does all the heavy lifting.
To get the job done right, the only real option is to remove the old, failing insulation. This gives us a clean slate to work with and guarantees you get the complete air barrier and maximum thermal performance you’re paying for.
How Does Spray Foam Help With Our Florida Humidity?
For anyone living in South Florida, this is the real game-changer. Our thick, soupy humidity forces your AC to work overtime, trying to pull all that moisture out of the air. Spray foam is your best line of defense against it.
Closed-cell spray foam expands into every last crack and pinhole, creating a solid, continuous barrier that is impermeable to both air and moisture. It literally stops humid, sticky air from creeping into your attic in the first place.
- Lightens the Load on Your AC: By blocking moisture at the source, your HVAC system doesn't have to struggle with constant dehumidification.
- Helps Prevent Mold: Moisture is the number one ingredient for mold growth. An attic sealed with spray foam is a dry attic, making it an inhospitable place for mold and mildew.
- Makes Your Home Feel Better: The air inside your home will feel less clammy and more comfortable because it's naturally drier.
This powerful moisture control is exactly why spray foam is the smartest insulation choice for our tough coastal climate. It's not just about temperature; it's about tackling the humidity that defines our comfort (or discomfort) here in Florida.
Ready to transform your home into a more comfortable and energy-efficient space? The team at Airtight Spray Foam Insulation brings over 25 years of hands-on experience to every project in South Florida. Request your free, no-obligation quote today and discover how the Airtight Comfort System can lower your bills and enhance your quality of life. Learn more and get started at https://airtightsprayfoaminsulation.com.