Discover how our spray foam insulation solutions in Jupiter, FL help improve comfort, efficiency, and moisture control in South Florida homes.

Tackling your rim joists is one of the biggest bang-for-your-buck projects you can do to stop energy loss, shut down moisture problems, and seriously improve your home’s comfort. It’s a simple idea: air seal and insulate that small wooden band that sits right on top of your foundation. You’d be amazed how much heat transfer happens in that tiny area. Get it right, and you’ll feel the difference and see it on your utility bills.
Think of your home’s rim joist as the Achilles’ heel of its entire thermal envelope. It’s just a thin band of wood where the house frame meets the concrete foundation, but it’s a massive weak point for air leaks and heat loss. Because it’s pressed right up against the outside world, it acts like a superhighway for heat—letting it escape in the winter and pour in during our brutal South Florida summers.
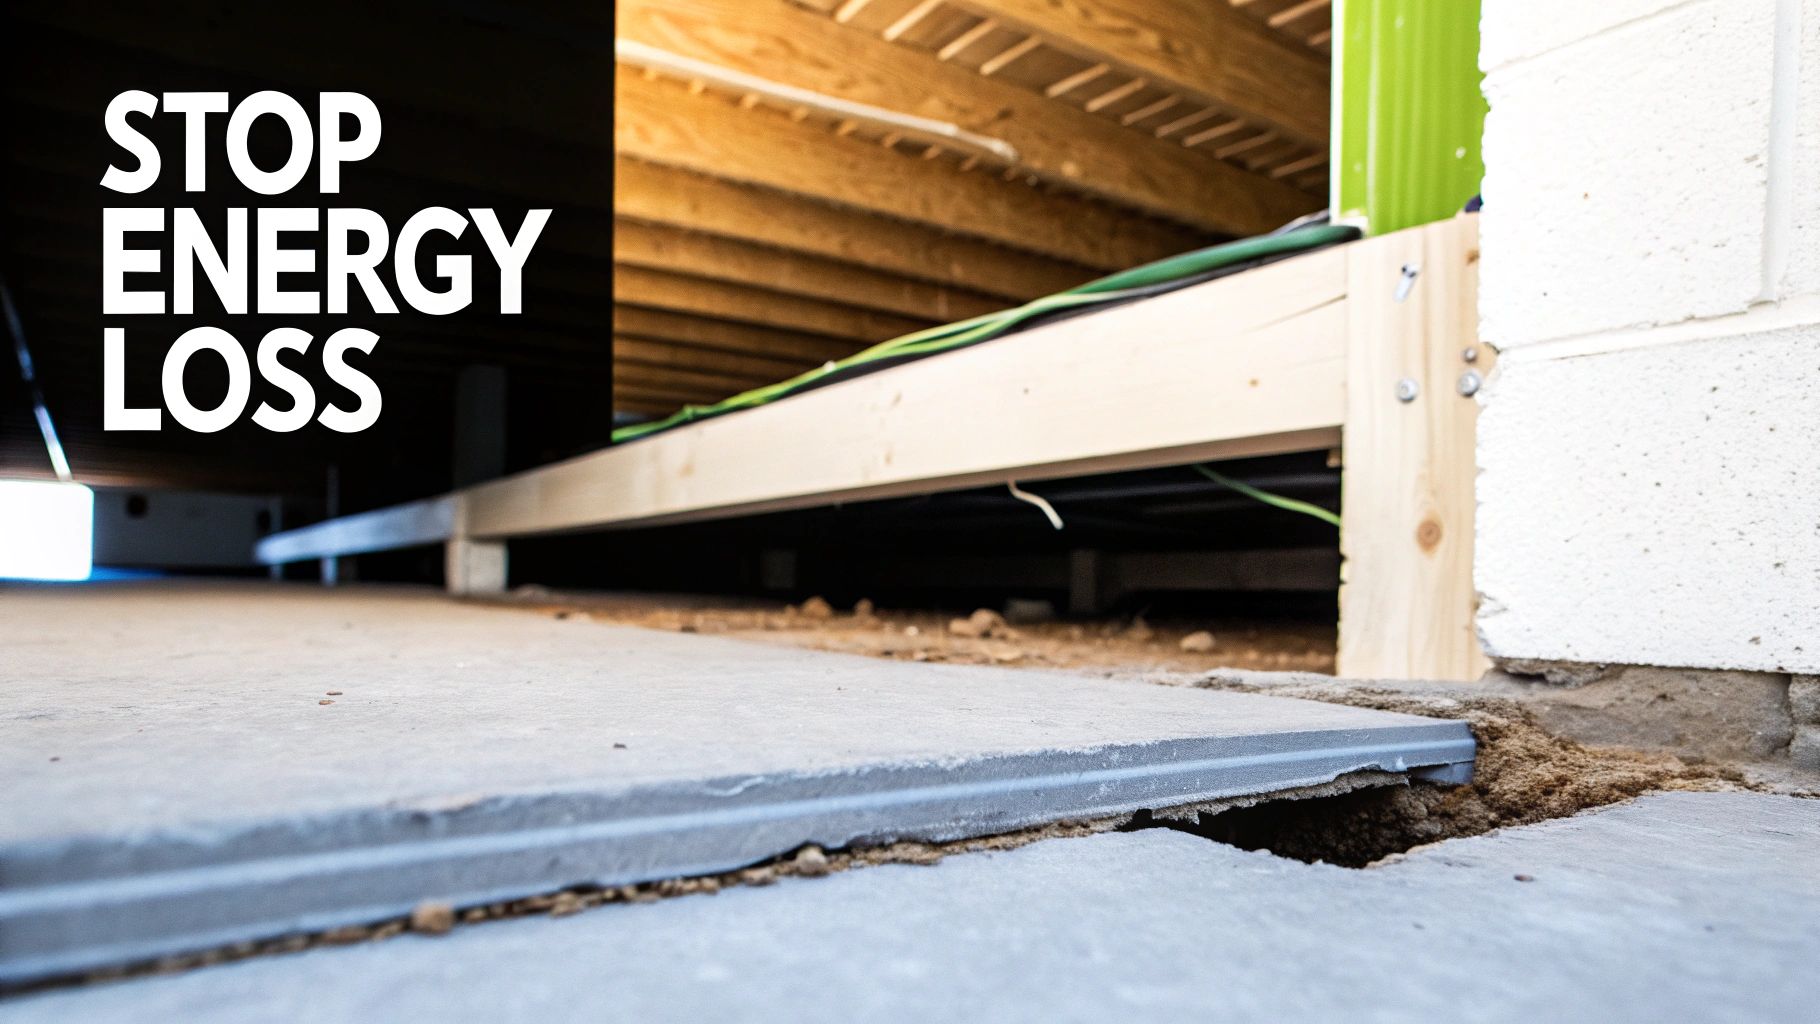
This constant temperature battle forces your HVAC system to work overtime just to keep you comfortable, which means higher energy bills month after month. It might not look like much, but that rim joist area is responsible for a huge chunk of a home’s energy waste.
It’s not just about wasted energy. An uninsulated rim joist is practically an open invitation for problems that can damage your home’s health and structural integrity.
Don’t just take our word for it. Building science research from the U.S. Department of Energy shows how critical this spot is. Rim joists can account for up to 15-20% of a home’s total heat loss through the floor. When you insulate them correctly, you can slash that specific loss by over 70%. That’s a high-impact upgrade.
By addressing this often-overlooked area, you’re not just making a minor tweak. You’re making a foundational improvement that pays you back in comfort, cost savings, and the long-term health of your home.
At the end of the day, sealing and insulating your rim joists is one of the smartest things you can do for both immediate and lasting benefits. It’s a project that directly impacts your wallet and your daily comfort. For more ideas on getting your home to perform better, check out our articles on enhancing energy efficiency and comfort.
Treating your rim joists is also just one piece of the puzzle. Discover other actionable home energy efficiency tips to see how you can make your home perform even better.
When it’s time to insulate your rim joists, you’ve got a few solid options. But this isn’t about just grabbing whatever’s cheapest at the hardware store. It’s about picking the right material for the job, especially here in South Florida where humidity is a year-round battle. The main contenders are closed-cell spray foam, open-cell spray foam, and rigid foam boards.
Each one has its own strengths and weaknesses. The best choice really depends on what you value most—thermal performance (R-value), air-sealing power, moisture resistance, and whether you’re planning to make this a weekend warrior project. Let’s dig into what makes the most sense for your home.
When it comes to rim joists, closed-cell spray foam is the undisputed champion, and for good reason. When we apply it, the foam expands and hardens, filling every single crack and gap to create a solid, monolithic barrier. That air-sealing capability is its biggest advantage, hands down.
Even more importantly, its dense structure is completely impermeable to water. It acts as an air barrier, insulator, and vapor barrier all in one shot. This triple-threat performance is a game-changer in damp crawl spaces or basements where moisture is public enemy number one. Just one application delivers a hefty R-value of around R-6 to R-7 per inch, giving you fantastic thermal protection.
Think of closed-cell spray foam as shrink-wrapping your foundation. It doesn’t just block heat; it locks out the humid, sticky air that causes condensation, mold, and rot. For any home in our part of the world, that’s not a luxury—it’s a necessity.
Open-cell spray foam is also a phenomenal air sealer. It has a much softer, almost spongy texture and expands like crazy when applied. This makes it perfect for filling those awkward, hard-to-reach cavities around plumbing pipes and electrical wiring that run through the rim joist. It provides a respectable R-value of about R-3.5 to R-4 per inch.
The big catch, however, is that its open-cell structure allows water vapor to pass right through it. This makes it a risky choice for rim joists in damp areas unless you install a separate, perfectly detailed vapor barrier over it. To get a better sense of where each type shines, you can explore the different kinds of spray foam insulation and their ideal applications.
Rigid foam boards, like the pink or blue XPS panels you see at home improvement stores, are a very popular choice for the DIY crowd. They’re affordable and can be cut with a utility knife to fit inside each joist bay.
The secret to making this method work is flawless installation. You have to cut each board with precision so it fits snugly, and then—this is the critical part—you must seal every single edge with canned spray foam or a high-quality caulk. If you skip this sealing step, you’re just wasting your time. Air and moisture will flow right around the boards, completely defeating the purpose.
While it’s a good budget-friendly approach, this “cut-and-cobble” technique is only as strong as its weakest seal. Even a tiny gap can create a pathway for humid air, compromising the entire job.
Feeling a bit overwhelmed by the options? Don’t worry. This table breaks down the key differences between the most common materials to help you see which one fits your project goals and skill level.
| Material Type | Average R-Value per Inch | Air Sealing | Vapor Barrier | DIY Friendliness |
|---|---|---|---|---|
| Closed-Cell Spray Foam | R-6 to R-7 | Excellent | Yes (Built-in) | Low (Pro Recommended) |
| Open-Cell Spray Foam | R-3.5 to R-4 | Excellent | No (Permeable) | Low (Pro Recommended) |
| Rigid Foam Board (XPS/Polyiso) | R-4 to R-6.5 | Good (If Sealed) | Yes (Foil-faced) | High |
Ultimately, the right choice balances your budget, performance needs, and willingness to get the details perfect. For a truly airtight and moisture-proof seal, nothing beats professionally installed closed-cell spray foam.
You’ve picked your material, and now it’s time to get to work. Insulating your rim joists properly isn’t just about stuffing a cavity with foam; it’s about creating a completely unbroken barrier that stops air and moisture in their tracks. It’s a game of details.
We’ll walk through the whole process, from prepping the area to getting that perfect final seal. Whether you’re working with rigid foam board or a spray foam kit, getting these steps right is the difference between a job well done and a job you’ll have to fix later.
First things first: you need a clean, dry canvas. Start by clearing out any boxes or stored items away from the foundation walls. Give yourself plenty of room to move around safely and comfortably—you’ll thank yourself later.
Next, get those joist bays spotless. Grab a shop vacuum with a brush attachment and go to town on all the dust, cobwebs, and whatever else has collected in there. A clean surface is non-negotiable for getting a good bond, especially if you’re using spray foam or sealants.
This is also the perfect time to play detective.
The flowchart below gives you a bird’s-eye view of the entire project, from making the initial call to getting the installation just right.

As you can see, it all begins with a smart decision, which leads to choosing the right material and ends with a careful, methodical installation.
How you apply the insulation obviously depends on what you’re using. If you’ve gone the rigid foam board route, your best friend is a tape measure and a sharp utility knife.
Measure each joist bay one by one. I can’t stress this enough—don’t assume they’re all identical. Cut the foam board so there’s a consistent 1/4- to 1/2-inch gap around all four sides. This little gap is intentional. Once you press the board into place, you’ll fill that entire perimeter gap with canned spray foam. This is the step that creates the airtight seal, so don’t skip it.
For those tackling this with a DIY spray foam kit, your top priorities are safety and technique.
Remember, the goal here is to create a monolithic seal. Every single gap, crack, and seam has to be filled. Missing even one small spot can compromise the whole system, giving that humid South Florida air an easy way in.
Think about this: the EPA estimates that up to 25-40% of a home’s air leakage happens right here at the rim joists. By properly insulating with 2-3 inches of closed-cell spray foam, you not only get a fantastic R-value of R-13 to R-20, but you also slash conductive heat loss by an incredible 85%, according to testing from Oak Ridge National Laboratory. You can dig deeper into thermal insulation performance and its market impact if you’re curious.
Even a project that seems as simple as insulating a rim joist can go sideways fast. I’ve seen it happen more times than I can count. Learning from the most common DIY blunders is the best way to make sure your hard work pays off in energy savings, not expensive headaches.
Let’s walk through some of the mistakes that can turn a weekend project into a real problem.
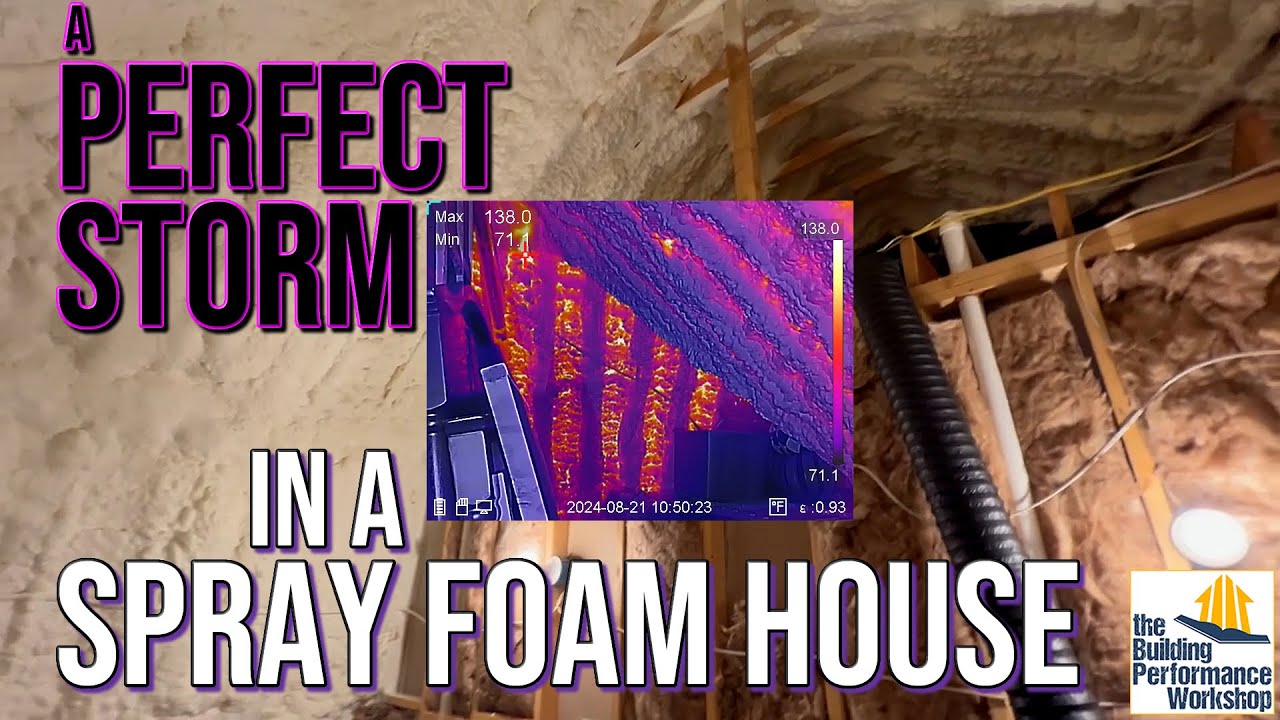
One of the biggest errors is grabbing the wrong material for the job. We see this all the time: a homeowner diligently stuffs traditional fiberglass batts into the rim joist cavities. While it’s cheap and easy to find, fiberglass is completely air-permeable. Worse, it acts like a sponge for moisture.
In a humid South Florida crawlspace, this is a recipe for disaster. Those batts get saturated, their R-value drops to almost nothing, and you’ve just created a five-star hotel for mold.
Another critical misstep is jumping straight to insulation without thinking about air sealing. A lot of people assume that packing in insulation is enough, but a huge amount of heat transfer happens through air leakage—the drafts you can’t always feel.
If you install rigid foam boards but don’t meticulously seal every single edge with canned foam, you’ve just left tiny highways for air and moisture to sneak right past your new insulation.
The rule of thumb is simple: seal first, then insulate. An unsealed gap just 1/8th of an inch wide can let in as much cold air as leaving a small window open all winter. Your insulation is only as good as your air seal.
This is probably the most dangerous mistake of all: covering up an existing problem. If you see damp wood, water stains, or any signs of rot on the rim joist, slapping foam over it is like putting a bandage on a broken arm. You’re just trapping the moisture against the wood.
This will accelerate rot and can lead to serious structural damage. Don’t do it.
Always, always investigate the source of the water and make sure it’s completely fixed before you even think about insulating. This usually means looking outside—fixing poor grading, cleaning leaky gutters, or patching cracks in the foundation. Taking the time to solve the root cause is what makes your insulation project a true home improvement, not a future liability.
Down here in South Florida, we play by a different set of rules when it comes to insulation. The goal isn’t just about keeping the house warm in winter—it’s about building an impenetrable fortress against relentless heat and, even more critically, the suffocating humidity. When you’re insulating rim joists, your number one job is to stop air and moisture from getting in. Period.

Think about it: that hot, sticky outdoor air is always trying to sneak into your cooler, conditioned crawlspace or basement. The second it hits the bare wood of an uninsulated rim joist, condensation forms. That moisture is an open invitation for mold, mildew, and the kind of wood rot that leads to incredibly expensive structural repairs.
This is where your choice of material becomes absolutely crucial. You need something that doesn’t just insulate but also creates a complete air and moisture barrier. That’s why closed-cell spray foam is the hands-down winner for insulating rim joists in our climate. It expands into every last crack and gap, then hardens into a rigid, non-porous plastic that locks humidity out for good.
Think of it this way: you are creating a seamless, waterproof seal between your home’s foundation and the damp, swampy air outside. This prevents condensation from ever having a chance to form on the wood.
A study from the National Institute of Standards and Technology found that well-insulated rim joists result in crawlspaces that are 15-20°F warmer, cutting moisture risks by 40% and extending the lifespan of the joists by 20-25 years. In a place like South Florida, that level of moisture control isn’t a luxury—it’s essential. This is a perfect example of why managing indoor humidity with humidifiers and dehumidifiers is so important in our region.
To see how different insulation types stack up, check out our detailed guide on spray foam vs. blown-in insulation. It breaks down why one is clearly better suited for this specific job.
When you’re thinking about insulating your rim joists, it’s natural to have questions. You’re probably wondering about the cost, the right materials, and whether this is a job you can tackle yourself. We get these questions all the time, so let’s break down the real-world answers to help you move forward with confidence.
The cost for rim joist insulation really depends on who’s doing the work and what materials they’re using.
If you’re going the DIY route with rigid foam board and some cans of spray foam to seal the edges, you’re probably looking at $1.50 to $3.00 per linear foot. Stepping up to a DIY spray foam kit will cost a bit more, usually in the range of $3.00 to $5.00 per linear foot.
Bringing in a professional to install closed-cell spray foam is a different level of investment, typically running between $6.00 and $10.00 per linear foot. Yes, the upfront cost is higher, but that price includes everything—materials, expert labor, and the peace of mind that comes with a flawless, monolithic seal that stops both air and moisture. It’s a level of performance that’s almost impossible to replicate on your own.
This is easily one of the most common questions we hear, and the answer is a hard no. Fiberglass insulation is designed to slow heat transfer by trapping air, but it does absolutely nothing to stop air from moving through it. Air and moisture will sail right through, making it completely ineffective for sealing the draft-prone rim joist area.
Even worse, here in South Florida’s humidity, fiberglass acts like a sponge. It will soak up moisture right out of the air, which crushes its insulating R-value and creates the perfect damp, dark space for mold and wood rot to take hold. It’s a cheap “fix” that almost always leads to much more expensive problems down the line.
Using fiberglass batts in a rim joist is like trying to fix a leaky pipe with a paper towel. It might seem like a solution at first, but it will quickly become a saturated mess and make the original problem much worse.
Whether you need a separate vapor barrier comes down to the insulation material you choose.
While a dedicated DIYer can get decent results with rigid foam, there are definitely times when calling a professional is the smarter move.
You should hire an expert if you:
If you’re ready to protect your home from energy loss and moisture damage for good, trust the experts at Airtight Spray Foam Insulation. We deliver a flawless, permanent solution that keeps your home comfortable, healthy, and efficient. Request your free, no-obligation quote today!