If you're reading this in South Florida, there's a good chance you're dealing with the same problem I see every week. The AC runs all day, one room still feels muggy, the attic is brutal, and the power bill makes no sense for a house that never seems fully comfortable.
That usually sends people looking up how to spray foam insulation. Some are planning a remodel. Some are trying to fix a hot garage, sweating attic, or metal building that never stays stable. Some are staring at a DIY kit online and wondering if this is one of those jobs that looks easy until the foam starts moving.
Spray foam can be one of the best insulation upgrades you can make in this climate. It can also go wrong fast if the prep, temperature, humidity, spray pattern, and material choice aren't right. In South Florida, that matters more than most generic guides admit. Heat is one issue. Humidity is the bigger one. Add hurricane-zone building demands, and this stops being a simple weekend project.
South Florida homes don't just fight heat. They fight air leakage, moisture intrusion, and nonstop cooling demand. If your house feels clammy even while the thermostat says the right number, that usually points to leakage in the building envelope, not just a weak AC system.
Spray foam works because it insulates and seals at the same time. According to spray foam fast facts from Why Spray Foam, spray foam insulation seals buildings 50% better than traditional insulations and addresses the 40% of home energy lost to infiltration through walls, windows, and doors. That same source notes it can lead to up to 30% in annual energy savings.
That matters here because Florida comfort isn't just about lowering indoor temperature. It's about controlling the wet outside air that keeps trying to get in.
Practical rule: If you insulate without air sealing, you're only solving half the problem.
Many homeowners begin by focusing on equipment rather than the home's shell. That's backwards. Before blaming the AC, it helps to understand where energy use is going. Radiant Energy explains home energy use in a way that's useful if you're trying to connect utility bills, heat gain, and insulation performance.
Spray foam is often the point where a house starts behaving like a controlled system instead of a leaky box. In attics, walls, garages, and metal buildings, the difference isn't subtle when the job is done right. If you want a straightforward overview of what that change looks like in practice, these spray foam insulation benefits are worth reviewing before you compare materials.
Spraying starts long before foam leaves the gun. On a real job, prep decides whether the application goes clean or turns into waste, rework, and contamination.
The first thing to understand is that this isn't paint. You're working with reactive chemicals, pressurized equipment, overspray risk, and a product that bonds where it lands. Once it sticks to the wrong surface, removal gets expensive fast.
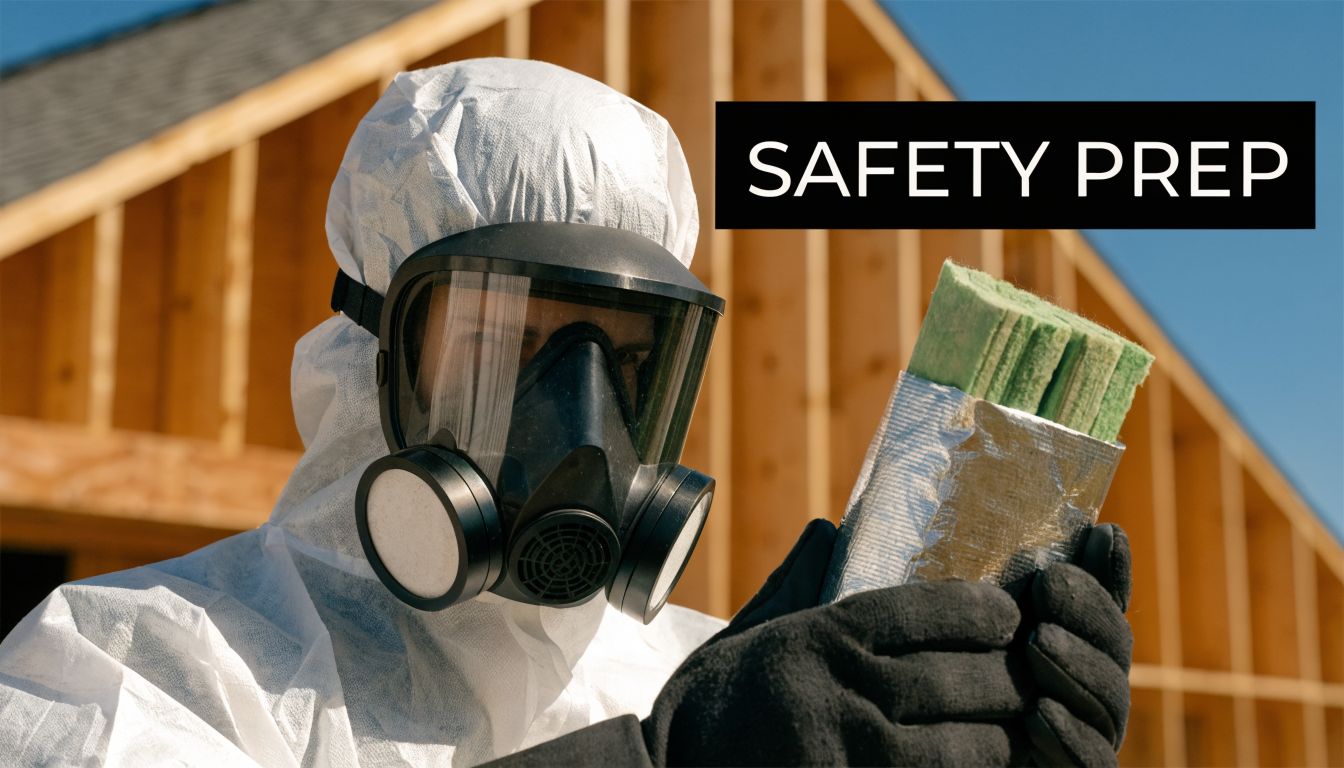
Professionals don't cut corners on PPE. Standard jobsite glasses and a dust mask aren't enough for spray foam application.
Use gear that protects your skin, eyes, and lungs:
If you're unsure what exposure risks are involved, this breakdown of insulation safety concerns is a good starting point.
A lot of failures blamed on "bad foam" are really bad conditions. Foam needs the right substrate and a stable work area.
According to Ecostar's spray foam application guide, substrate temperature must be between 50-100°F for proper expansion, and a test spray on scrap material is essential to verify even dual-stream output. That test spray catches bad mix issues before they end up inside a wall cavity.
Here is the prep checklist that matters on site:
Foam tells you early when something's wrong. The mix looks off, the rise is off, or the surface texture changes. Good installers stop and fix the condition. Bad installers keep spraying.
Most homeowners think the skill is in pulling the trigger. Essential skill starts with setup. You need the right hose routing, enough lighting to see cavity fill, and enough patience to mask areas that seem "probably fine." Those are the areas that get hit.
A proper prep phase also means thinking ahead. If wiring, plumbing, blocking, or future access points haven't been planned, the insulation crew gets blamed later for burying something another trade wasn't ready for. On good jobs, those decisions are made before the rig arrives.
South Florida jobs separate from generic insulation advice in this specific context. Both open-cell and closed-cell foam have legitimate uses, but they are not equal choices in a hot, humid, hurricane-prone region.
If you want the short version, most South Florida attics, exterior walls, rim areas, and moisture-sensitive assemblies favor closed-cell spray foam.
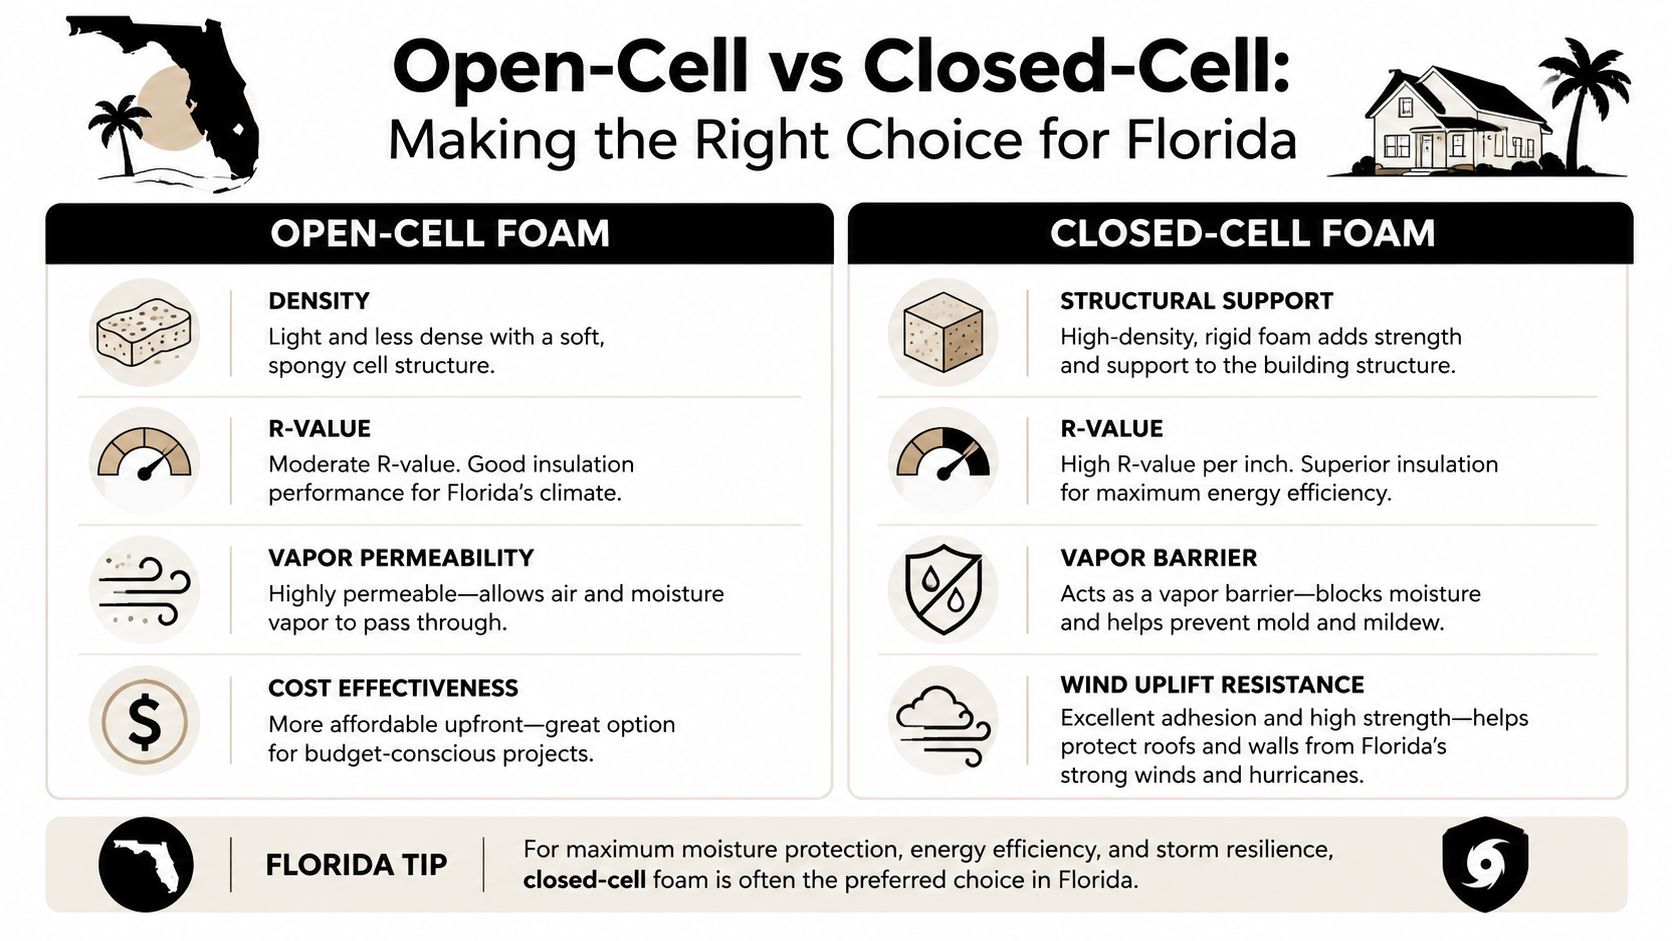
According to SprayMan's R-value guide, closed-cell spray foam delivers an R-value of 5.6 to 8.0 per inch, while open-cell provides R-3.6 per inch. The same source notes that closed-cell has moisture permeability under 1 perm, acts as a vapor barrier, and can add up to 200% more racking strength to walls.
That gives you a very different performance profile.
| Foam type | What it does well | Where it falls short in South Florida |
|---|---|---|
| Open-cell | Expands well, fills space, helps with sound control | Lower R-value per inch and more vapor permeable |
| Closed-cell | Higher R-value per inch, stronger moisture resistance, added structural benefit | Costs more and requires tighter application control |
In South Florida, moisture management isn't optional. It's the job. If you use a foam that allows too much vapor movement in the wrong assembly, you're inviting trouble into the wall or roof structure.
Closed-cell gives you three advantages that matter here:
If you're comparing thickness and thermal performance for a specific area, an insulation R-value calculator can help frame the decision.
In Florida, I don't choose foam by what's cheapest per kit. I choose it by what will still be performing after years of humidity, roof heat, and seasonal storms.
Open-cell isn't useless. It can make sense in assemblies where sound control matters and the rest of the design properly handles moisture. But that's the key. The full assembly has to make sense.
Too many people hear "spray foam is spray foam" and assume either product will deliver the same result. It won't. In this climate, material selection is part of the installation skill, not a separate decision.
The mechanics of how to spray foam insulation are simple to describe and hard to execute well. The difference between a clean professional install and a messy underperforming one usually comes down to distance control, travel speed, lift thickness, and whether the installer pays attention to what the foam is doing in real time.
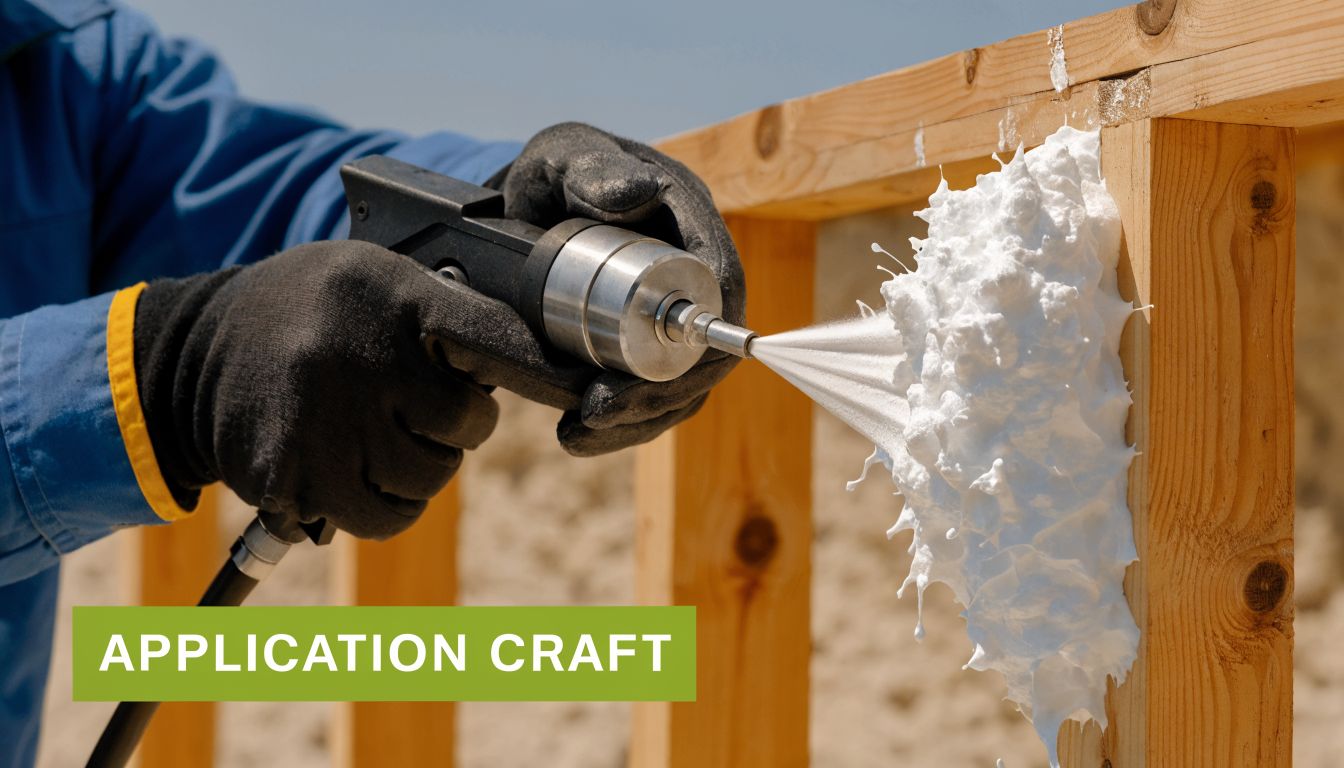
A gun in your hand doesn't make you an installer. You need to watch the pattern, the rise, the adhesion, and the edge definition on every pass.
According to Powerblanket's installation guidance, professional installers maintain a travel speed of 100-250 ft/min and apply foam in 1-2 inch passes for uniform buildup. That same source notes the foam becomes tack-free in 5-10 minutes but needs a full 24 hours for full hardness, and that inconsistent distance and speed can cause a 25% loss in R-value.
That last point is one of the biggest reasons bad jobs happen. People focus on getting coverage. Professionals focus on getting uniform coverage.
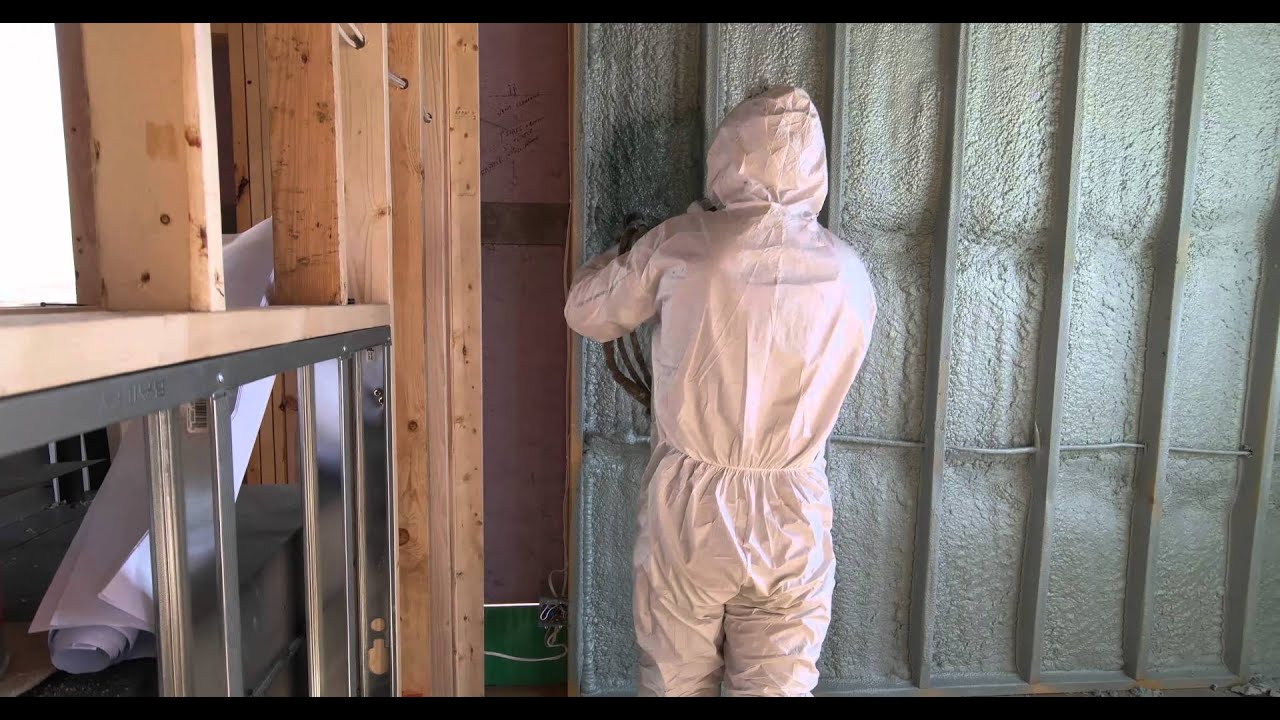
On wall cavities, you want a controlled, even sweep. The spray pattern should build in a consistent layer, not pile up in the middle and starve the edges. If you linger in one spot, you overbuild that area. If you move too fast, you leave thin zones and voids.
A good pass feels deliberate. The installer keeps the gun moving, keeps the angle consistent, and overlaps just enough to avoid holidays without flooding the cavity.
Watch for these field cues:
Ceilings and rooflines punish sloppy technique. Gravity works against you, and the installer has less margin for error. The spray pattern has to be tighter, cleaner, and more controlled than on a vertical wall.
The best overhead work comes from reducing the amount of foam applied in a single hit and letting each lift do its job before building the next. That takes patience, but it produces better adhesion and cleaner trimming later.
The foam should look intentional. If it looks chaotic while you're spraying, it won't improve after it cures.
For a visual sense of what disciplined application looks like, this short walkthrough helps:
One of the most common amateur mistakes is trying to fill the cavity in one shot. That feels faster. It isn't.
Multiple controlled lifts are better because they help with:
When trimming starts, the installer should be removing minor excess, not carving away huge overexpansion. If you're cutting back giant blobs, the spraying wasn't controlled.
After cure, excess foam gets trimmed flush where finishes need a clean plane. Use sharp tools and avoid tearing chunks out of the cavity face. A rough trim can create low spots that matter once drywall or interior finishes go up.
Inspection matters just as much as trimming. Look for missed corners, thin spots, shadowed areas behind wiring, and irregular transitions around framing members. Good installers don't assume coverage. They verify it.
A lot of online advice about spray foam was written for places that don't deal with South Florida conditions. That's the problem.
What works in a mild, dry climate can fail here because our buildings deal with heavy humidity, strong storms, and code requirements that put more pressure on the assembly. A decent-looking foam job can still be a bad Florida job.
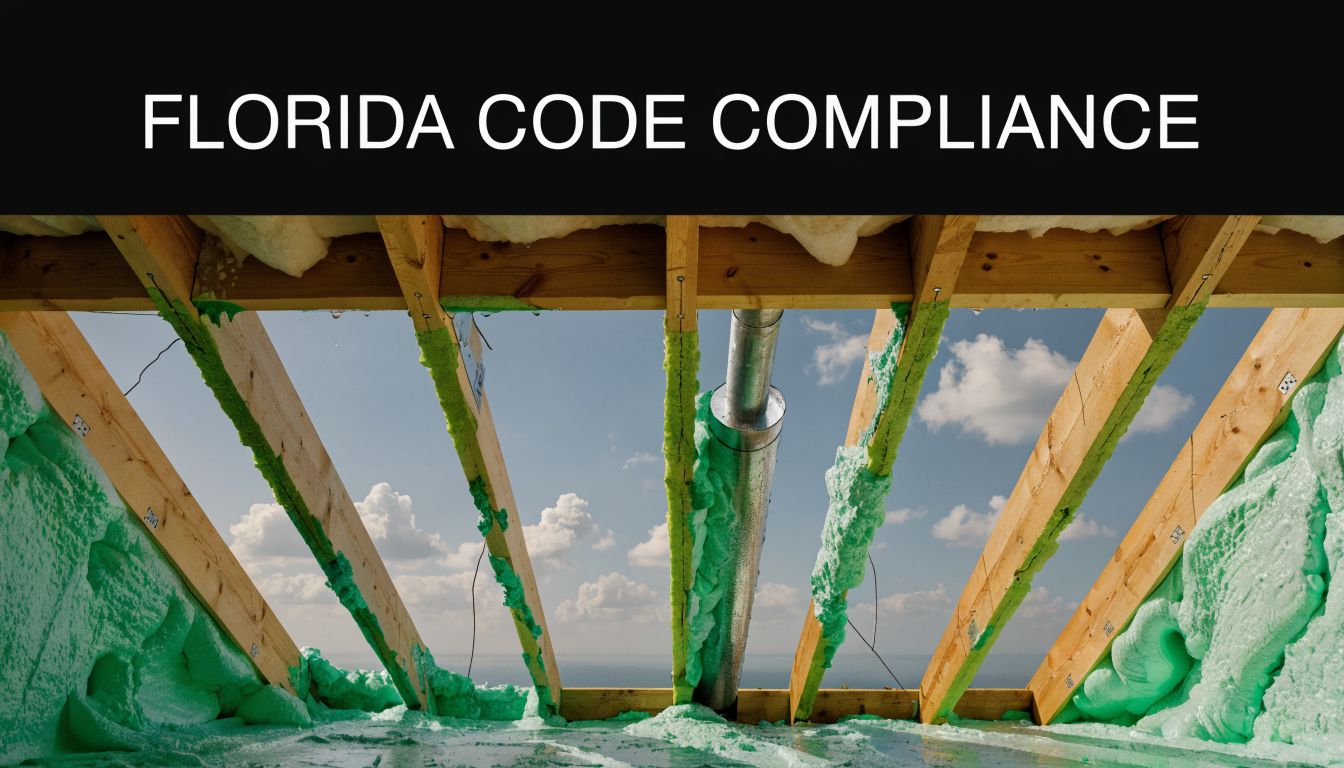
According to Lowe's guidance referenced for South Florida climate concerns, the Florida Building Code (2023) has specific requirements for foam in high-velocity hurricane zones. That same reference notes that improper installs in this region, often tied to poor humidity management, are responsible for a 20-30% spike in AC bills and failures in 30% of regional retrofits.
That tracks with what experienced installers already know. In this climate, the job isn't only to fill space. The job is to build an assembly that handles heat, vapor, wind pressure, and long-term moisture exposure.
The mistakes are usually predictable:
A house in Jupiter or Stuart can look dry inside while the roof system and wall assembly are working hard against outdoor moisture nearly every day. That's why local installation judgment matters more than kit instructions.
South Florida doesn't forgive lazy prep. Humidity and heat find every shortcut.
Homeowners often hear "code" and think permits or inspections. On foam jobs, code also drives performance. In a hurricane-prone region, choices about insulation affect more than comfort. They interact with durability and building resilience.
A proper installer has to think about substrate condition, enclosure design, exposure, and what happens after the foam is in place. That includes how the building dries, how the attic is being used, and whether the foam system matches the structure's real demands.
If a contractor can't explain why the chosen foam belongs in that exact location on that exact building in South Florida, that's a warning sign.
DIY spray foam sells a simple idea. Buy a kit, point the gun, fill the cavity, save money. On paper, that's appealing. On real buildings, it usually leaves out the part where mistakes stay buried until comfort drops, bills climb, or the finish work exposes what went wrong.
According to this spray foam DIY cost comparison video reference, DIY kits typically cost $300-$800, often come with a 25% material waste rate, and produce lower R-values than professional installation. The same reference states that professional installation by a certified expert can cut energy costs by 30-50% annually, with an ROI in 2-4 years, compared with 5-7 years for a less effective DIY job.
That is the actual trade-off. DIY looks cheaper at checkout. Professional work is usually cheaper at the building level.
The weak points aren't just spraying technique. They stack up across the whole project:
People understand this logic in other trades. The same way homeowners compare exterminator service against self-treatment, a professional pest control vs diy comparison helps show why specialized work often costs less once failure risk is part of the equation.
A professional crew brings more than labor. They bring equipment calibration, environmental judgment, product selection, code awareness, safe handling, and the ability to recognize a bad setup before it becomes a bad install.
That matters even more in South Florida. This climate punishes assumptions. A clean spray foam job here takes discipline, not optimism.
If you want the job done once, and done for this region, work with a company that understands Florida humidity, rooflines, walls, garages, attics, and metal buildings from the inside out.
If you're ready to improve comfort, reduce air leakage, and get a spray foam system built for South Florida conditions, Airtight Spray Foam Insulation is the team to call. Christian Cates brings over 25 years of hands-on experience, and the company serves homeowners, builders, property managers, and commercial clients across Jupiter, Palm Beach Gardens, West Palm Beach, Wellington, and Stuart. Request a free quote and get a professional recommendation for the right foam, the right application, and the right result for your building.