Blog
Can mold grow on insulation: Risks, prevention, and protection tips
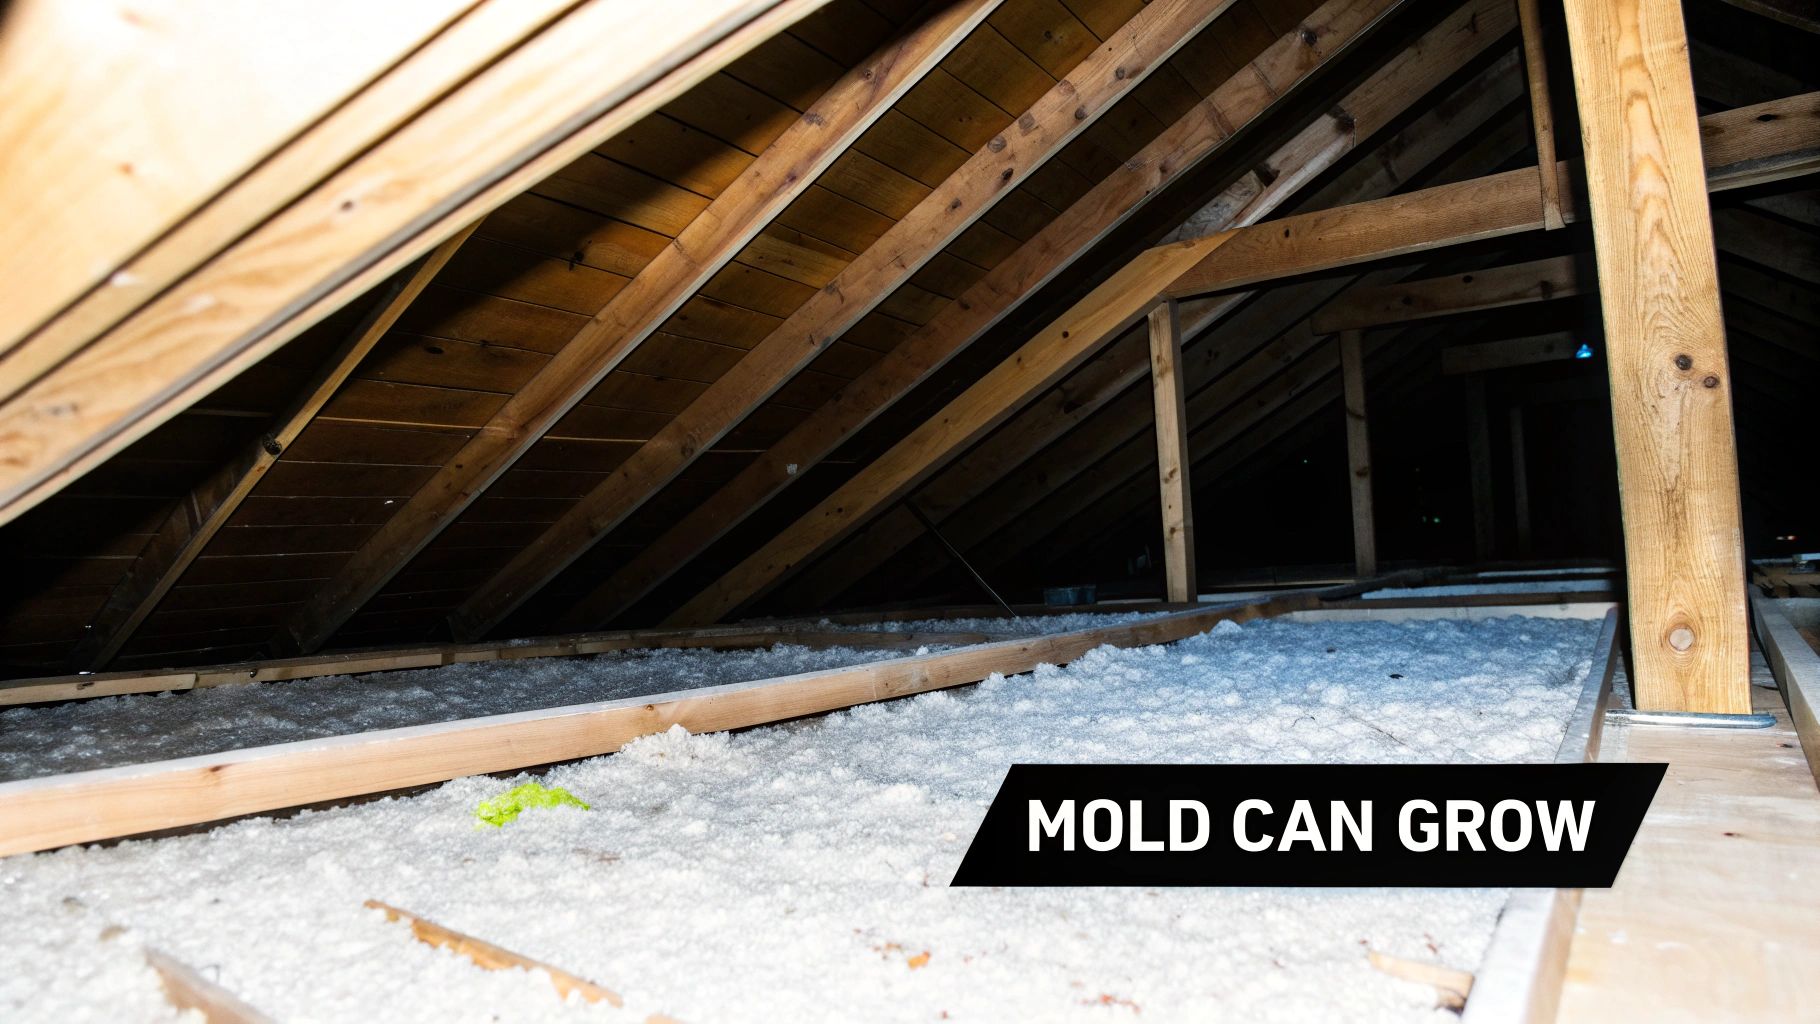
It's a common misconception, but yes, mold can absolutely grow on insulation. The surprising part isn’t that it grows, but why. Most insulation material itself isn't a food source for mold. Instead, it acts like a giant, stationary sponge, trapping the two key ingredients mold needs to explode: moisture and organic material like dust and dirt.
Why Insulation Becomes A Breeding Ground For Mold
Think of the insulation in your attic or walls like a filter. Over years, it naturally collects dust, pollen, and all sorts of microscopic debris that float through your home. Now, add water. Whether it’s from a tiny roof leak, condensation, or just South Florida’s relentless humidity, that combination creates the perfect storm for mold.
The insulation isn’t the meal; it's the dinner plate. It holds the moisture and serves up a buffet of trapped dust for mold to feast on. This is a critical distinction because it means even materials marketed as "mold-resistant" can get contaminated if they become wet and dirty. How well an insulation type handles moisture directly impacts how likely it is to become a problem.
Common Insulation Types and Their Mold Risk
Knowing what's in your walls and attic is the first step. Some materials are just far more susceptible to moisture problems than others.
- Fiberglass Batts: Those familiar pink or yellow rolls are incredibly porous. They easily trap both moisture and dust, making them a prime spot for mold growth once they get wet.
- Cellulose (Loose-Fill): Made from recycled paper, cellulose is designed to be absorbent. While it's typically treated with borates to resist mold, a serious leak or prolonged dampness can easily overwhelm those protections.
- Spray Foam (Open & Closed-Cell): This is where we see a major difference. Spray foam insulation creates a much tighter air and moisture seal. Closed-cell foam, in particular, is non-porous and won't absorb water, giving it a huge advantage in preventing mold from ever getting a foothold.
Let's break down how these materials stack up against each other.
Insulation Type Mold Growth Likelihood Summary
Here's a quick look at the mold risk associated with the most common insulation types found in homes today.
| Insulation Type | Mold Growth Likelihood | Key Characteristics |
|---|---|---|
| Fiberglass Batts | High | Porous material that easily traps dust and absorbs moisture, creating an ideal environment for mold when wet. |
| Cellulose (Loose-Fill) | High | Made of absorbent paper fibers. Borate treatments offer some resistance, but they can fail under heavy moisture. |
| Open-Cell Spray Foam | Moderate | Acts as an air barrier but can still absorb water if exposed to a direct leak, though it dries more effectively than fiberglass. |
| Closed-Cell Spray Foam | Very Low | Non-porous and water-resistant. It acts as a moisture barrier, making it extremely difficult for mold to grow on it. |
As you can see, the material choice plays a massive role. While no home is completely immune to a major leak, materials like closed-cell spray foam offer a powerful, proactive defense against the ambient moisture and humidity that cause so many problems here in Florida.
How Mold Finds a Home in Your Insulation
To really get how insulation becomes a hotspot for mold, you have to think like mold for a minute. It's a simple organism, not too picky, but it absolutely has a non-negotiable checklist for setting up shop. For mold to really take off, it needs three things: a food source, enough moisture, and air that isn't moving around much. When those three elements come together, your attic or wall cavities can quickly turn into the perfect breeding ground.
Think of it like a terrarium—that sealed glass container where plants thrive because all the moisture is trapped inside. A poorly ventilated attic in the thick humidity of South Florida works on pretty much the same principle. The insulation itself, whether it's fiberglass or cellulose, isn't usually the main course. The real food for mold is the dust, dirt, and organic debris that settles on and inside the insulation over the years.
The Role of Moisture and Airflow
Moisture is the one thing that kicks the whole process into high gear. Dormant mold spores are literally everywhere, all the time, but they only become a problem when they get wet. In a house, that moisture can come from a few usual suspects:
- Small Roof Leaks: That tiny leak you don't even know about might not leave a stain on your ceiling, but it can be slowly soaking the insulation right above it.
- HVAC Condensation: Your air conditioner is designed to pull moisture out of the air, creating condensation. If a drain line gets clogged or the unit starts sweating heavily in a sweltering attic, you've got a steady source of water.
- High Ambient Humidity: Without good ventilation, all that humid South Florida air gets trapped in places like attics and wall cavities. Eventually, it condenses on any cooler surface it finds. We see this all the time, and you can learn more about how this works in our guide on what causes condensation on ceilings.
Once you've got moisture, stagnant air is the final piece of the puzzle. A lack of airflow means damp materials can't dry out. This keeps humidity levels high and gives mold colonies the green light to get established. According to experts, mold can start growing in as little as 24 to 48 hours after something gets wet. To fully appreciate how fast this happens, it’s worth understanding the hidden dangers of mold after water damage, because any water event is a ticking clock.
Key Takeaway: Insulation almost never creates a mold problem by itself. It becomes a problem when it traps the three ingredients mold loves—food (dust), moisture (from leaks or humidity), and stagnant air. This creates a perfect, hidden environment where mold can thrive completely out of sight.
Choosing The Right Insulation For Mold Resistance
When it comes to fighting mold, not all insulation is created equal. The physical makeup of an insulation material—and how it handles air and moisture—is what separates a vulnerable home from a resilient one. Making the right choice is a huge deal, especially here in South Florida's relentless humidity.
Think of old-school insulation like fiberglass or cellulose as a loose-knit sweater. Sure, it keeps you warm, but air and moisture blow right through it. This permeability is a major problem. Once that humid air gets inside your walls, these materials trap it along with dust and other organic bits, creating a five-star buffet for mold.
The Problem With Permeable Materials
Fiberglass batts are just woven glass fibers with millions of tiny air pockets. While those pockets are great for trapping heat, they're just as good at trapping moisture and dust. Cellulose, made from recycled paper, is even worse because it's naturally absorbent. It's often treated with borates to slow down mold, but a serious leak will quickly overwhelm that defense, turning it into a damp, pulpy mess where mold can thrive.
This flowchart breaks down the simple recipe for mold growth.
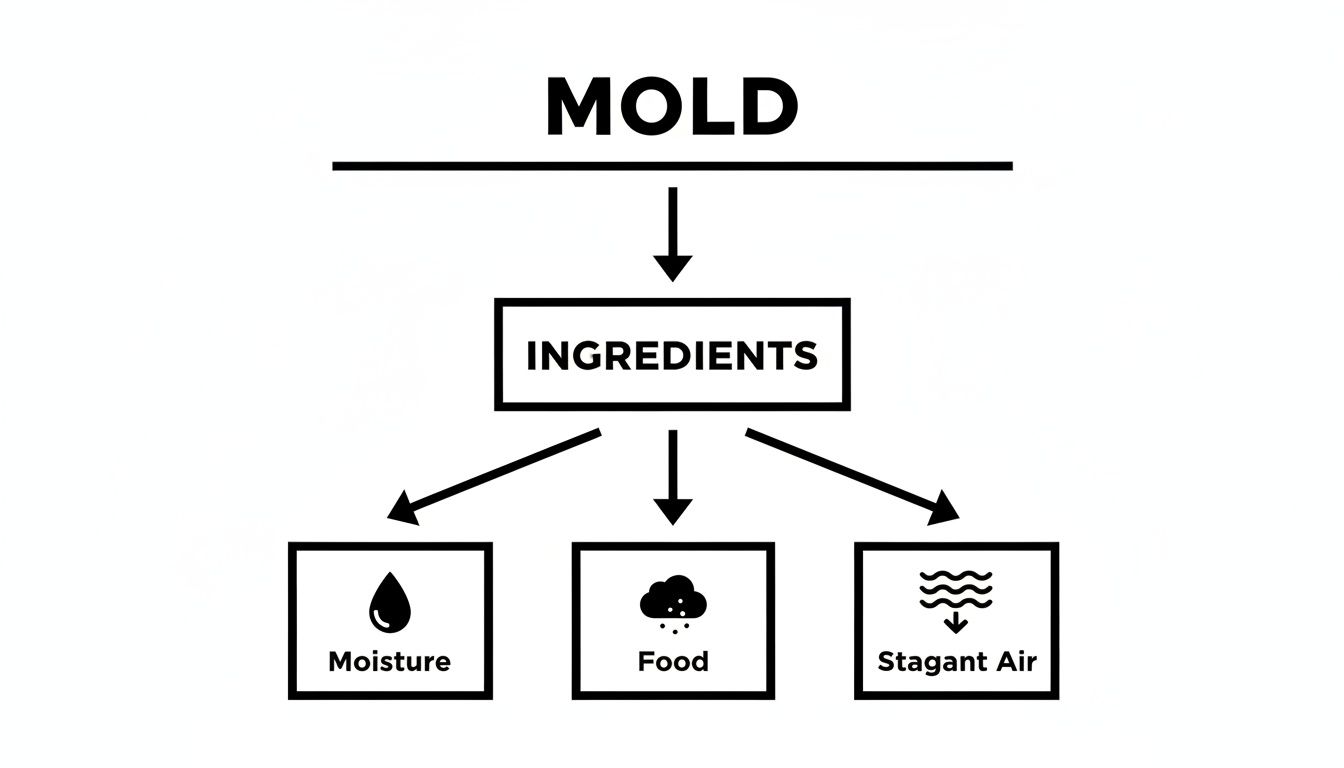
As you can see, mold needs three things to survive: moisture, a food source (like dust stuck in insulation), and stagnant air. Take away any one of those, and you stop mold in its tracks. That’s why your choice of material is so critical.
The Spray Foam Advantage: An Airtight Barrier
This is where spray foam insulation completely changes the game. It doesn't just slow down heat transfer; it creates an aggressive air and moisture barrier. It expands on contact, filling every single crack and gap to seal your home's envelope from the outside world. This stops humid, spore-filled air from ever getting in.
By eliminating air movement within the insulated cavity, spray foam insulation drastically reduces the potential for condensation—the primary source of moisture that fuels mold growth inside walls and attics.
Don't just take my word for it. Research from the National Institute of Standards and Technology shows that spray foam can cut a building's overall air leakage by an average of 75%. That's a massive improvement in moisture control and a direct hit to mold's life support system.
To give you a clearer picture, here’s a quick breakdown of how different insulation types stack up against each other when it comes to the factors that fuel mold.
Insulation Performance Comparison
| Type | Air Leakage Reduction | Moisture Absorption | Mold Resistance Rating |
|---|---|---|---|
| Fiberglass | Minimal to Low | High (absorbs & holds moisture) | Poor to Fair |
| Cellulose | Low | Very High (highly absorbent) | Fair (with chemical treatment) |
| Open-Cell Foam | Excellent | Moderate (vapor permeable) | Good |
| Closed-Cell Foam | Excellent | Very Low (vapor barrier) | Excellent |
This table makes it pretty clear: while traditional materials struggle with both air and moisture, spray foams—especially closed-cell—offer a far superior defense.
Open-Cell vs. Closed-Cell: A Critical Distinction
Even within the world of spray foam, there are important differences. Both types are fantastic air barriers, but they handle direct moisture in completely different ways. Knowing which is which is crucial.
- Open-Cell Spray Foam: This foam has a softer, spongier texture. It does a great job blocking airflow, but it's vapor-permeable. That means if you have a leak, it can absorb water. The good news is it can also dry out, but it doesn't create a true moisture-proof seal.
- Closed-Cell Spray Foam: This is the ultimate defender against moisture. Its structure is dense, rigid, and completely non-porous. It functions as a true vapor barrier, flat-out rejecting bulk water. It doesn't just insulate; it adds structural strength and creates a seal that water simply cannot get through, making it the hands-down winner for our humid climate.
For any homeowner in South Florida, this isn't a minor detail—it's everything. You can dive deeper into the technicals in our complete guide on open-cell vs closed-cell insulation. Choosing closed-cell spray foam is one of the most powerful, proactive steps you can take to make sure mold never gets a foothold in your home.
Common Installation Mistakes That Invite Mold
Even the best insulation money can buy can become a massive liability if it’s not installed right. You can pay for a top-of-the-line, moisture-resistant barrier, but its real-world performance is only as good as the application. I’ve seen time and time again how seemingly small mistakes on install day can blossom into huge, costly problems down the road.
Think of it like building a waterproof boat but leaving tiny, invisible gaps between the planks. That's exactly what happens with a botched insulation job. These mistakes create hidden pockets and pathways for moisture to sneak in and get trapped, turning your walls or attic into a perfect, undisturbed terrarium for mold growth.
Gaps and Voids
The most common installation blunder I see is leaving small gaps or voids. These almost always pop up around tricky areas like pipes, wiring, and corners. With traditional insulation, like fiberglass batts, that gap is an open invitation for humid air. With spray foam, it can create a tiny air space between the foam and the wall sheathing where condensation can form.
These gaps are ground zero for mold. It’s where the trouble almost always begins.
Applying to Damp Surfaces
Another massive error is applying insulation—especially spray foam—over a damp or wet surface. When this happens, you’re essentially shrink-wrapping moisture directly against the wood or drywall, locking it in place.
While the foam itself won't grow mold, it creates a five-star resort for it. The organic building materials behind the foam stay constantly wet, and mold has a field day.
While spray foam insulation itself does not feed mold, improper installation can still lead to serious problems. Research indicates that mold can begin growing behind spray foam when installation errors occur, such as leaving gaps between the insulation and wall surfaces that allow moisture infiltration. Discover more insights about insulation and mold on Hempitecture.com.
This is precisely why professional installation isn't just a recommendation; it's a necessity. A certified technician who understands building science knows how to prep the surface, check for moisture, and apply the material to create a truly seamless, monolithic barrier. That attention to detail is what closes off those hidden highways that moisture loves to travel.
A Proactive Plan to Stop Mold Before It Starts
Knowing the risks is half the battle, but taking control is what truly protects your home. A proactive plan is your best defense—it’s not about waiting for a problem to pop up, but about creating an environment where mold simply can’t get a foothold.
The heart of any good prevention strategy is moisture control. Here in South Florida, that’s a non-negotiable first step.
Mastering Moisture and Humidity
Your primary mission is to keep your home's indoor humidity levels consistently below 50%. This is the magic number that keeps most dormant mold spores from waking up and spreading.
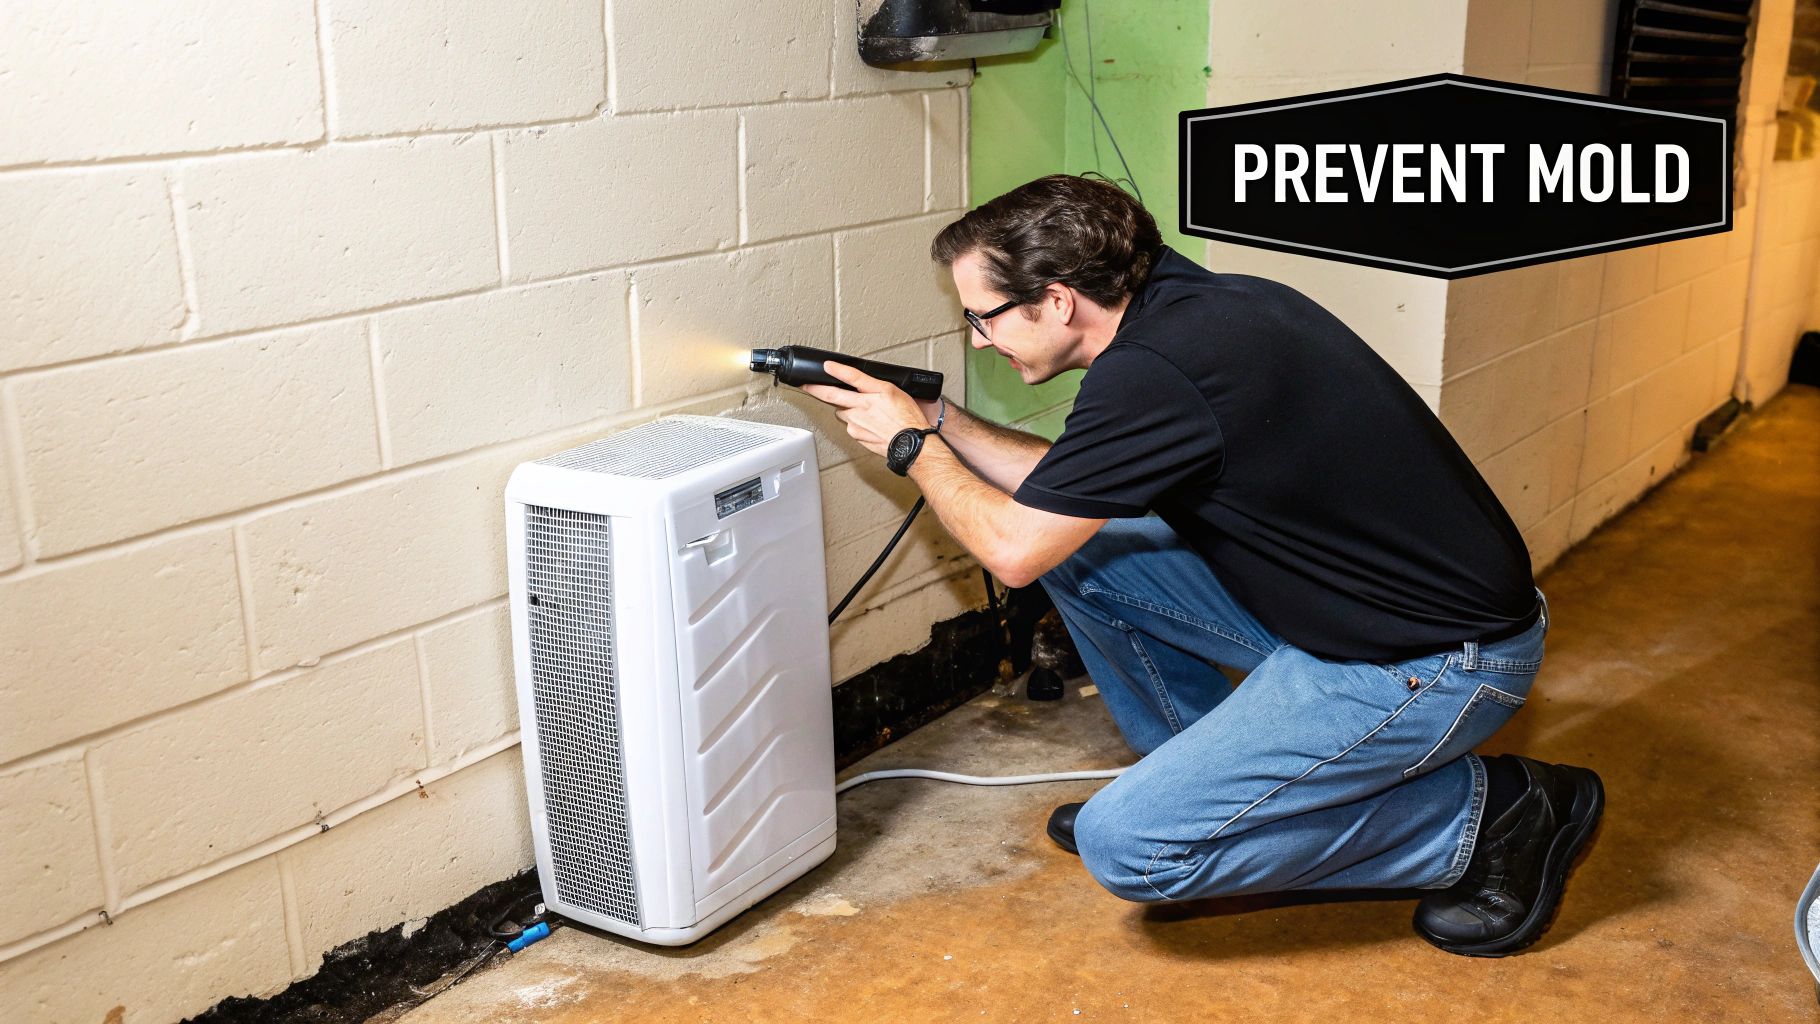
A quality dehumidifier is your best friend, especially in those naturally damp areas like crawl spaces, basements, and attics. Make sure you’re also running the exhaust fans in your kitchen and bathrooms during and after you cook or shower to push all that steamy air outside where it belongs.
Beyond the air itself, you have to be a detective and hunt down direct water sources. A few simple, routine checks will keep you way ahead of trouble:
- Check Your Plumbing: Every so often, take a peek under your sinks and around the toilets. Look for those slow drips or beads of condensation that signal a problem.
- Inspect Windows and Doors: Look at the seals and caulking. Are there any cracks or gaps where a driving rain could sneak in?
- Keep an Eye on the Roof: After a heavy downpour, it’s worth taking a quick look in the attic for any new water stains on the wood or damp spots on the insulation.
These quick checks can mean the difference between fixing a tiny drip and dealing with a massive mold catastrophe. It's this growing awareness that has homeowners demanding better solutions. The U.S. spray foam insulation market was valued at USD 750.02 million in 2024 and is expected to climb to USD 1.01 billion by 2030, largely because people understand that high-performance insulation is a frontline defense against moisture and mold. You can read more about this market trend and its drivers in the full report.
Dealing With Small Mold Spots Yourself
If you catch a small patch of mold on your insulation—and I mean small, less than a few square feet—you might be able to tackle it yourself. But you have to do it safely.
Safety First: Don't even think about touching mold without an N-95 respirator, safety goggles, and gloves. The second you disturb it, you’re sending a cloud of spores into the air you breathe.
For a minor spot, you can carefully cut out the affected insulation. Make sure to remove a buffer of about a foot on all sides to catch any growth that hasn't become visible yet. Bag the material up tightly before you carry it out of the area.
Most importantly, you must fix the water issue that caused the mold in the first place. If you just remove the insulation without stopping the leak or fixing the condensation problem, you can bet that mold will be back. For a deeper dive into controlling moisture in these key areas, check out our guide on the role of vapor barriers in attics.
When to Wave the White Flag and Call a Pro
There's a hard line between a DIY job and a situation that needs an expert. Crossing that line can put your health and your home's structure at risk.
Pick up the phone and call a professional remediation company immediately if you run into any of these red flags:
- It's a Big Problem: The mold covers more than 10 square feet.
- You Smell It, But Can't See It: A strong, musty odor with no visible source is a classic sign of mold hiding inside your walls or behind cabinets.
- Your HVAC System Is Involved: If you think mold has gotten into your air ducts, that’s an emergency. The HVAC system will spread spores to every room in your house.
- It's From Major Water Damage: Mold caused by a flood, burst pipe, or serious roof leak is not a DIY project.
Professionals have the training and specialized equipment to properly contain the area, safely remove all the contaminated materials, and use commercial-grade dryers to ensure the space is bone-dry before they leave. They have the tools to make sure it doesn't come back.
Knowing When to Call an Insulation Professional
Look, while a proactive approach can certainly handle small issues, some situations are just too big or too risky for a DIY fix. You have to know your limits. Trying to tackle a major mold problem on your own can be a serious risk to your health, and you’ll likely fail to fix the root cause anyway.
Think of it this way: you might patch a small hole in a tire, but you wouldn’t try to rebuild the entire engine. Widespread mold, especially when it’s gotten into your insulation, demands specialized containment, professional-grade equipment, and real expertise. It’s the only way to ensure the mold is completely removed without accidentally spreading spores throughout the rest of your home.
Red Flags That Require an Expert
Certain signs should be an immediate red flag that it’s time to put down the tools and pick up the phone. Don't even hesitate if you run into any of these:
- The Mold Patch is Big: If you can see mold covering an area larger than 10 square feet (think a 3-foot by 3-foot patch), it’s officially a large-scale problem. This requires professional containment to handle safely.
- That Lingering Musty Smell: A strong, earthy odor you just can't pinpoint is the classic calling card of hidden mold. It’s likely growing deep inside your walls, attic, or crawlspace where you can't see it. The pros have tools like moisture meters and thermal cameras to hunt it down.
- You See Structural Water Damage: Stained ceilings, warped drywall, or soft, crumbling wood near your insulation means the problem is far more than skin deep. This is a clear sign of a serious, long-term moisture leak that has almost certainly saturated the insulation and framing behind the wall.
The Value of a Professional Inspection
A certified mold remediation specialist or a true insulation pro brings a scientific process to the job—not just a bottle of bleach. They're trained to find not just the mold you see, but the hidden moisture source that’s feeding it. For a really thorough investigation and a solid remediation plan, it’s often best to get an occupational hygienist mould assessment.
A professional's primary goal isn't just cleaning what's visible. It's diagnosing and permanently fixing the hidden moisture problem that allowed mold to grow in the first place. That’s the only way to make sure it never comes back.
Hiring an expert guarantees every step is handled correctly. They’ll safely remove contaminated materials, apply the right antimicrobial treatments, and install new, high-performance insulation—like the kind we specialize in at Airtight Spray Foam Insulation. This ensures the problem is solved for good, protecting your property’s value and, more importantly, your family’s health.
Insulation and Mold: Your Questions Answered
When you're dealing with insulation, moisture, and the potential for mold, a lot of questions pop up. As experts who've seen it all here in South Florida, we've put together answers to the most common concerns we hear from homeowners.
Can I Just Clean Or Save Moldy Insulation?
For traditional materials like fiberglass or cellulose, the answer is a hard no. Think of it like a sponge that’s soaked up spilled wine—you can wipe the surface, but the stain has gone deep into the material. Mold works the same way, sending its root-like structures far into the insulation fibers.
Trying to clean it is a losing battle. You'll likely just disturb the colony and send a cloud of spores flying through your home. The only truly safe and effective fix is to have a professional remove and replace the contaminated insulation entirely, after fixing the moisture problem that caused it.
Is Black Mold More Dangerous Than Other Kinds?
Not always. The term "black mold" gets thrown around a lot, usually referring to Stachybotrys chartarum, which has a nasty reputation. But here’s the thing: many types of mold can look black, and you can't judge how hazardous it is just by its color.
The bottom line is that any visible mold growing in your home is a problem that needs to be addressed. All molds can produce allergens and irritants that affect your health, so the priority should always be safe and complete removal, no matter what color it is.
How Fast Can Mold Really Grow On Wet Insulation?
Faster than you'd think. Once insulation gets damp, dormant mold spores can wake up and start growing in as little as 24 to 48 hours.
While you might not see a full-blown colony right away, it typically becomes visible to the naked eye within 3 to 12 days. This is why acting fast is so critical. A small leak from an HVAC line or a bit of water intrusion from a storm can become a serious mold problem in under two weeks.
Ready to create an environment where mold can't get a foothold? The experts at Airtight Spray Foam Insulation provide superior moisture control and energy efficiency for your South Florida home. Request your free, no-obligation quote today!