If you want to stop ice dams for good, there’s one simple truth you have to accept: you must stop heat from escaping your attic. That’s it. When warm air gets out, it melts the snow on the upper parts of your roof. That water then trickles down to the colder edges and refreezes into a destructive ridge of ice.
This is the real root cause of nearly every ice dam I’ve ever seen.
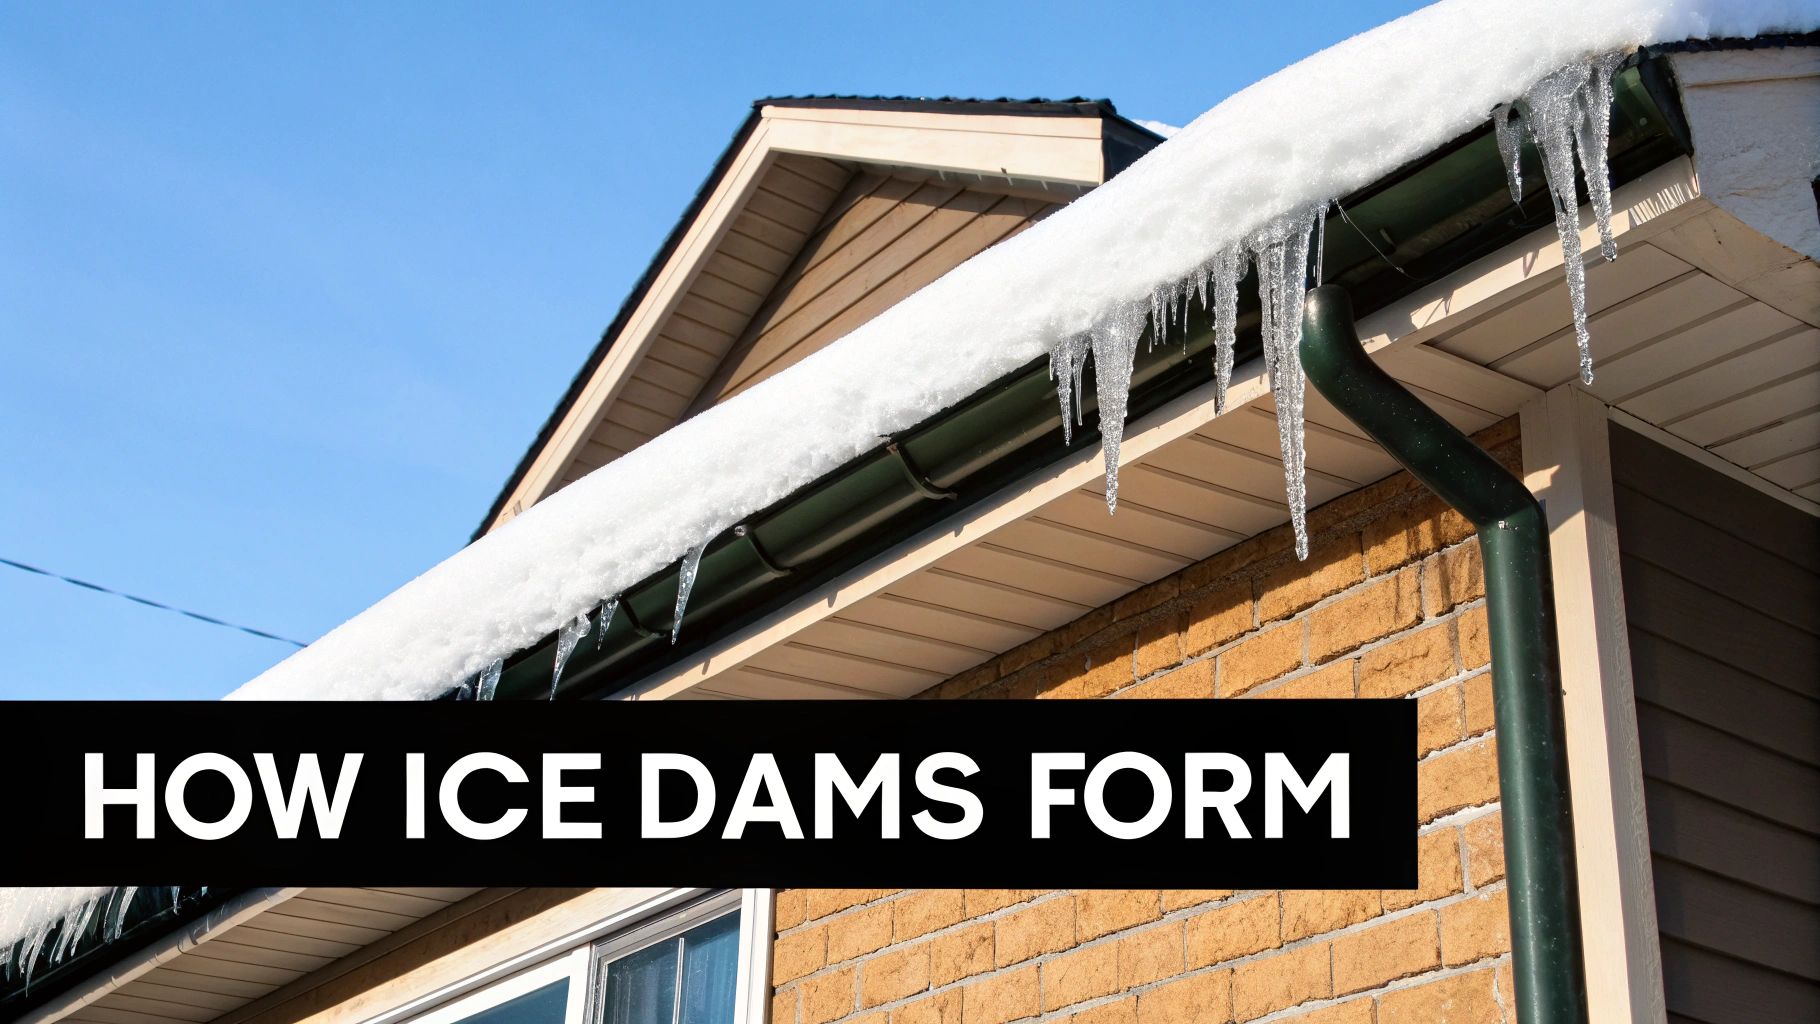
Many homeowners just figure ice dams are a normal part of a rough winter, but they’re not. They're a flashing red light signaling a performance problem with your house.
Think of your attic like a high-end cooler. If you leave the lid cracked, the ice inside melts, even if it’s sitting in a cold room. Your roof and attic system works the exact same way. When warm air from your living space leaks into the attic, it heats the underside of your roof deck. This creates a dangerous temperature imbalance—the peak of your roof gets warmer than 32°F, while the eaves and gutters stay frozen solid.
Once that happens, a damaging chain reaction kicks off:
This cycle just keeps repeating. More melted water flows down, hits the ridge, and freezes on top. Over days or weeks, this builds into a thick, heavy ice dam that traps a growing pool of water right behind it.
The real villain in this story is attic heat loss. Warm air is relentless; it actively seeks out any and all escape routes. Even tiny, seemingly insignificant gaps can pump enough heat into an attic to warm up a roof deck.
I typically find the heat is getting out through a few common culprits:
Of course, another piece of the puzzle is proper roof ventilation. A well-ventilated attic system is designed to immediately exhaust any warm air that does manage to sneak in, which helps keep the entire roof deck consistently cold.
To help you pinpoint where things are going wrong, I've put together a quick summary of the main factors that create ice dams.
| Contributing Factor | How It Causes Ice Dams | Primary Solution |
|---|---|---|
| Air Leaks | Warm air from living spaces escapes into the attic, heating the roof deck from underneath and melting snow. | Attic air sealing to close gaps around fixtures, hatches, and vents. |
| Poor Insulation | Insufficient or poorly installed insulation allows heat to conduct through the ceiling into the attic space. | Upgrading attic insulation to meet or exceed local R-value codes. |
| Inadequate Ventilation | Stagnant air allows any heat that does enter the attic to build up, warming the roof and melting snow. | Ensuring soffit and ridge vents are clear and properly sized for the attic. |
Looking at these three things—air sealing, insulation, and ventilation—is the first step to diagnosing why you have an ice dam problem in the first place.
Look, ignoring the early signs of an ice dam is a huge mistake. That trapped water has nowhere to go but up and in, forcing its way under your shingles and soaking your home's structure.
This isn't just some minor winter headache; it's a serious financial risk. We're talking about saturated insulation, rotted roof decking, stained ceilings, and even mold growth creeping into your walls.
Ice dams are a major threat in cold climates and cause an incredible amount of damage every single winter. They contribute to roughly 20% of all winter-related homeowner insurance claims in the northern U.S., with the average repair bill easily topping $5,000 per incident.
If you really want to understand where your home is vulnerable, the best tool for the job is a professional energy audit. We've got a great guide on what is a blower door test that explains how this diagnostic tool can pinpoint every single air leak in your home.
When you see a thick, menacing ridge of ice growing along your roofline, your first instinct is to get it gone. Now. This is where most homeowners reach for quick, reactive fixes. These tactics can certainly provide some relief in a pinch, but you have to understand what they are: temporary measures.
One of the go-to tools is a roof rake. With its long handle, you can stand safely on the ground and pull snow off the first few feet of your roof's edge. It makes sense—if you remove the snow, you cut off the fuel supply for the ice dam. No more snowmelt, no more ice. The only problem is that it’s a demanding, never-ending chore. The moment it snows again, you’re right back out there.
Another common emergency tactic involves calcium chloride or similar ice-melting products. The classic DIY trick is to fill old pantyhose or nylon stockings with the pellets, creating "ice melt socks." You lay these socks vertically across the ice dam, and the chemicals get to work, slowly melting channels through the ice. This allows the water trapped behind the dam to drain, which can absolutely save you from an immediate leak. But it doesn't actually remove the dam, and it comes with its own set of problems.
These short-term solutions might feel productive, but they do absolutely nothing to address the root cause of the problem: heat escaping from your house into the attic. You're just treating the symptom.
At the end of the day, these are purely defensive moves. They force you to react after an ice dam has already started, and they offer zero guarantees that it won't be back with the next storm.
The only way to stop fighting the same frustrating battle every winter is to shift your mindset from emergency reaction to a permanent, preventative strategy. It’s all about creating a "cold roof."
A cold roof is exactly what it sounds like: a roof that stays uniformly cold, matching the outdoor air temperature from the eave all the way to the peak. When your entire roof is below freezing, the snow just sits there. It doesn't melt, and the cycle that creates ice dams never even begins.
Now, achieving a true cold roof isn't a quick weekend project. It’s a deliberate investment in your home's integrity and performance, built on the three pillars of ice dam prevention:
This three-pronged approach is the only real cure. It attacks the problem at its source instead of just cleaning up the messy, damaging results. To support this long-term strategy, it’s also smart to follow effective roof maintenance tips that keep your entire roofing system healthy. In the sections ahead, we’ll walk through the specific, actionable steps to build this permanent defense for your home.
If you're tired of wrestling with roof rakes and chemical deicers every winter, you already know they're just temporary band-aids. They do nothing to fix the root cause. The only real, long-term solution is to build a permanent defense system—what we in the business call a "cold roof."
The goal is simple: keep your entire roof surface the same temperature as the air outside.
When your roof is uniformly cold, snow doesn't melt from the bottom up. It just sits there until it melts naturally or slides off, completely bypassing the destructive freeze-thaw cycle that creates ice dams in the first place. This permanent fix stands on three critical legs that work together to stop unwanted heat from ever reaching your roof deck.
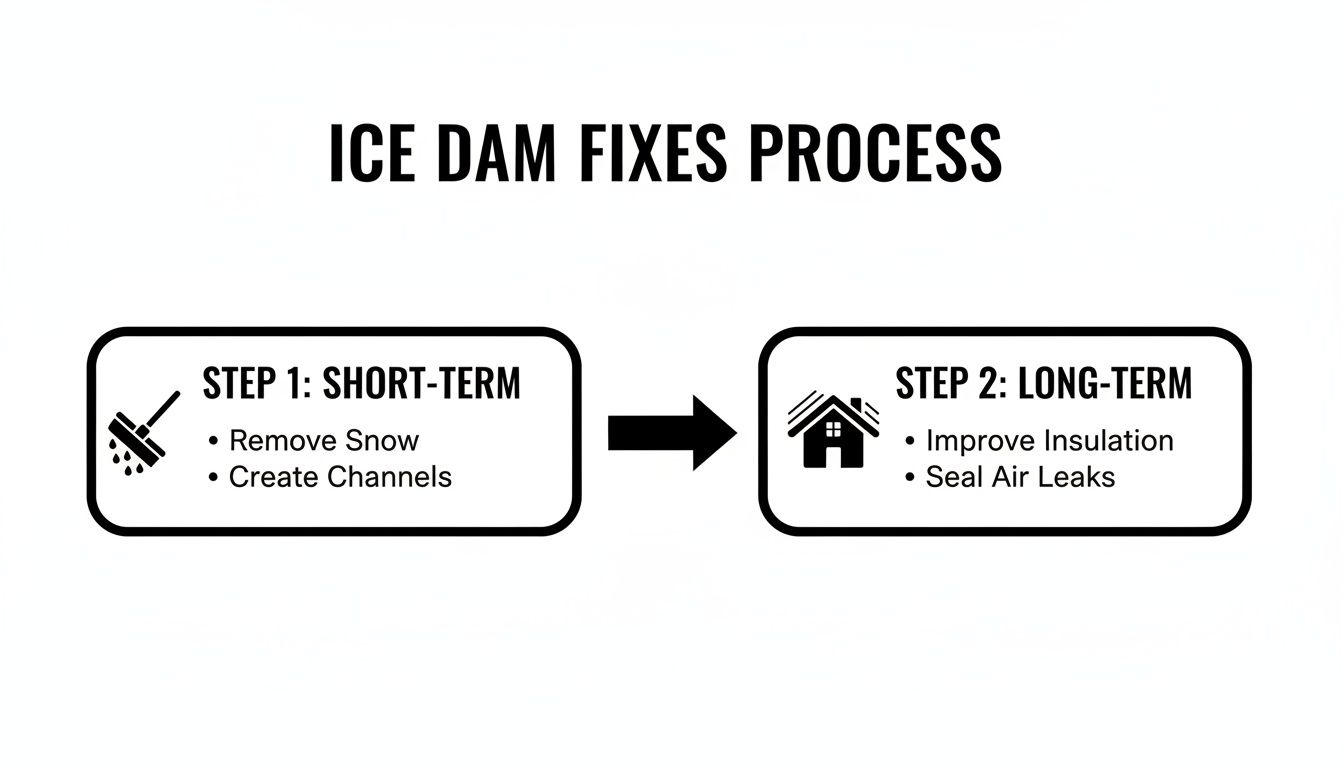
As you can see, reacting to the problem is one thing, but a real solution involves improving your home's thermal boundary for good.
Before you even think about adding a single scrap of insulation, you have to plug the leaks. I can't stress this enough: this is the most important step. Warm, moist air from your living space is constantly trying to rise into your attic—a phenomenon known as the "stack effect." It will find any and every escape route it can.
Think of your attic floor like a leaky bucket. You can pour insulation (the water) in all day, but you'll never solve the problem until you plug the holes. Studies show that air leakage can account for up to 40% of a home's heating and cooling losses, making it the number one source of heat that kicks off the ice dam cycle.
So, it's time to play detective. Grab some caulk, a can of expanding foam sealant, and maybe some rigid foam board, and hunt down every crack and gap between your heated home and the unconditioned attic.
Focus your search on these common culprits:
Sealing these spots is non-negotiable. It stops the primary flow of warm air dead in its tracks.
With the air leaks sealed, now it's time to lay down the thermal blanket. Insulation’s job is to slow down heat transfer through conduction. A thick, even layer of insulation on your attic floor is what keeps the warmth from your furnace from ever reaching the attic space.
The key here is uniformity. It does you no good to have 18 inches of insulation in most of the attic if you have bare spots or compressed areas. Heat is lazy; it will always find the path of least resistance. These weak spots, or thermal bridges, create the warm patches on your roof that start the whole melting process.
When you're up in the attic, look for:
For homeowners wanting the most robust solution, a professionally installed spray polyurethane roof system can be a game-changer, as it creates a perfect, seamless barrier that both air seals and insulates in one shot.
The last piece of the cold roof puzzle is ventilation. Think of it as your system's fail-safe. It’s designed to flush out the small amount of heat that might still sneak into the attic, even after you've sealed and insulated properly. A good ventilation system creates a constant, gentle flow of cold, dry outside air through the attic.
This continuous air movement does two crucial things:
The most effective setup is a balanced soffit-and-ridge vent system. It works through natural convection:
This simple convection loop creates a steady wash of cold air right under your roof sheathing, keeping it at the same temperature as the great outdoors. Just make sure your soffit vents aren't blocked by insulation—installing baffles is critical to keep those air channels clear.
By tackling these three areas—air sealing, insulation, and ventilation—you stop putting out fires and start preventing them. You're fundamentally changing how your home behaves in winter, creating a permanent system that stops ice dams before they can even think about forming.
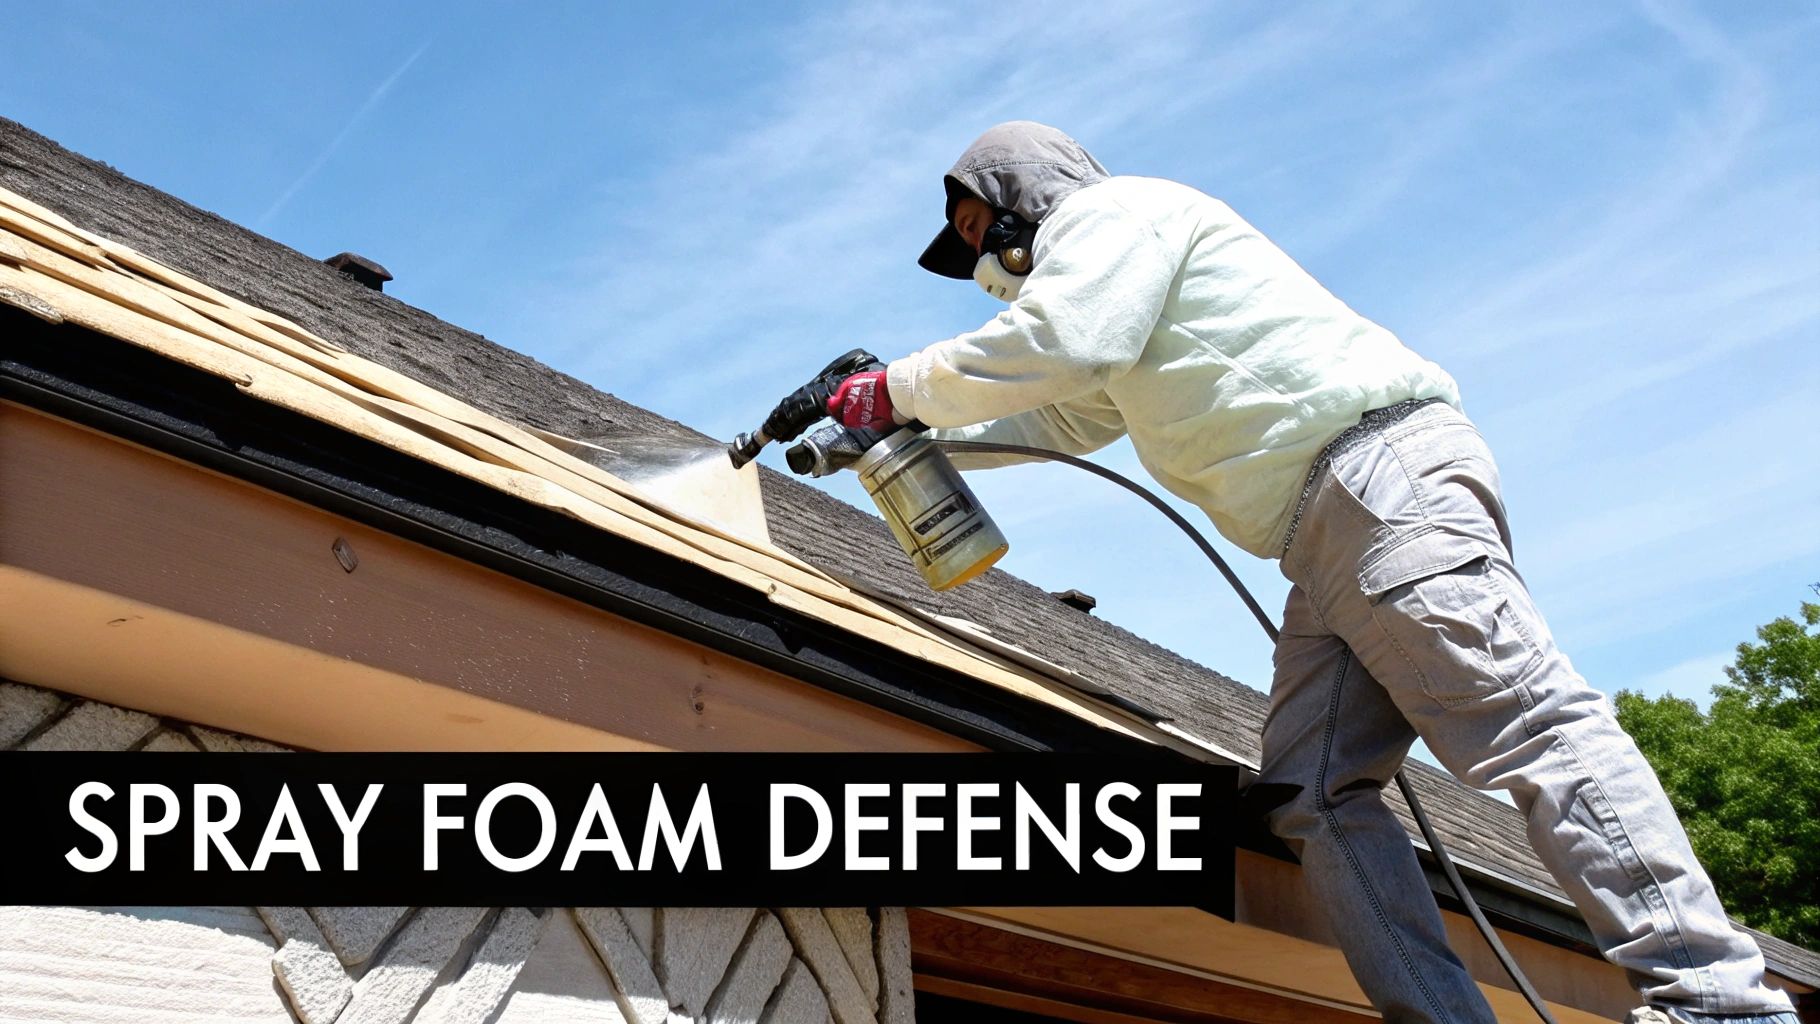
While the three pillars of a cold roof—air sealing, insulation, and ventilation—are the right strategy, spray foam insulation is the one product that tackles the two most critical components in a single shot. It isn't just another type of insulation; it's a completely different way of thinking about your attic's thermal boundary.
Traditional insulation like fiberglass or cellulose is decent at resisting heat transfer, but as we've covered, the real villain behind ice dams is air leakage. That's something those materials do very little to stop. Spray foam, on the other hand, is a master at both.
This is exactly why it's become the go-to solution for homeowners who are fed up with ice dams and want them gone for good. It doesn't just slow heat down—it completely stops the warm, moist air from ever touching your roof deck.
The magic of spray foam really comes down to how it's applied. It goes on as a liquid and expands instantly, filling every last crack, gap, and odd-shaped cavity. The result is a seamless, monolithic air barrier that traditional insulation just can't match.
This absolute air seal is what makes it so lethal against ice dams. Because air leakage is the primary cause of 70% of roof heat loss, stopping it is non-negotiable. Open-cell spray foam expands dramatically to create a complete air barrier on the underside of your roof deck, physically blocking warm indoor air from ever reaching and warming the sheathing.
By applying spray foam directly to the underside of the roof deck, you’re essentially moving your home's thermal boundary from the attic floor to the roofline itself. This creates what we call an "unvented" or "conditioned" attic, where the temperature stays close to your living space. The roof sheathing becomes completely immune to heat loss from below.
To give you a better idea of what we're talking about, here’s a quick comparison of how spray foam stacks up against the old-school stuff.
| Feature | Spray Foam Insulation | Fiberglass/Cellulose |
|---|---|---|
| Air Sealing | Creates a monolithic, airtight barrier. Fills every crack and gap. | Minimal air sealing. Air passes through it easily. |
| Application | Adheres directly to the roof deck, creating a "conditioned attic." | Rests on the attic floor, leaving the roof deck exposed to attic air. |
| Moisture | Resists moisture; closed-cell acts as a vapor barrier. | Can absorb and hold moisture, reducing effectiveness and risking mold. |
| Performance | R-value is permanent and does not degrade from air movement. | Effective R-value is drastically reduced by air leakage (convection). |
| Ice Dam Prevention | Stops the root cause: warm, moist air reaching the cold roof deck. | Only slows heat transfer; does not stop the air leaks that cause dams. |
As you can see, there's really no contest when it comes to creating a permanent solution.
When you look into spray foam, you’ll find two main types. Each has its own strengths, making one or the other a better fit depending on the situation.
Open-Cell Spray Foam: This is a lighter, softer foam that expands like crazy when applied. Its flexible structure is fantastic for sound dampening and creates a phenomenal air seal. It's usually my top choice for the underside of roof decks because it gets into every nook and cranny.
Closed-Cell Spray Foam: This foam is much denser and more rigid. It packs a bigger punch with a higher R-value per inch (around R-6 to R-7) and also acts as a vapor barrier, which is a huge plus for stopping moisture. Its rigidity can even add some structural strength to the roof assembly.
For most attic projects aimed at stopping ice dams, open-cell foam is the perfect tool for the job. Its massive expansion guarantees the perfect air seal you need. However, if you're tight on space or need a serious vapor barrier, the thermal power and moisture-blocking ability of closed-cell make it the clear winner.
To get a better handle on the basics, you can check out our guide on how spray foam insulation works and see the application process up close.
While putting a stop to ice dams is the main goal, the benefits of upgrading to spray foam reach far beyond just winter. When you create a perfectly sealed and insulated attic, you'll feel the positive effects all through your home.
Most homeowners see a major drop in their heating and cooling bills—often by 20-40%. That’s because the air barrier doesn't just keep warm air in during the winter; it also keeps hot, humid air out all summer.
You'll also notice a big difference in comfort. Temperatures become more stable, drafts disappear, and your home just feels more consistent year-round. It's an investment that pays you back with lower energy costs, a healthier house, and the peace of mind that comes from knowing you've finally solved your ice dam problem for good.

When you're staring down another winter and dreading the inevitable ice dams, it’s easy to look at a spray foam estimate and see it as just another big expense. But that’s the wrong way to think about it. It’s not a cost—it’s a long-term investment in your home's integrity, safety, and efficiency.
To really get the picture, you have to look past the initial price tag and focus on the much larger costs it helps you completely avoid.
The upfront investment for a professional spray foam job really depends on your attic's unique situation. The final quote is influenced by a few key things, like the total square footage we’re treating and how complex the job is. An attic with a low roof pitch, tight corners, or tons of obstacles is naturally going to demand more time and labor than a wide-open, easily accessible space.
The type of foam matters, too. Closed-cell foam is typically more per board foot than open-cell because it’s denser and packs a bigger punch with a higher R-value. A pro will give you a precise number, but the real story isn't the quote—it's how fast that investment starts putting money back in your pocket.
Figuring out the return on investment (ROI) for spray foam is pretty simple: you weigh what you paid against the long-term savings and the disasters you sidestepped. This isn't just about feeling warmer in the winter; it’s about tangible financial wins that add up year after year.
Your ROI comes from three main places:
When you run the numbers, the cost of preventing the problem is almost always a fraction of what it costs to fix the damage from just one major ice dam. This investment doesn't just solve the problem for good—it pays for itself in energy savings in just a few years.
Think about this: high-density spray foam is incredibly efficient. You only need about 3 inches of it to get the same R-value as almost ten inches of old-school fiberglass. That superior performance is why one analysis found that roofs treated with this method avoided an average of over $10,000 in water damage each storm season. You can dig deeper into those findings on ice dam prevention.
So instead of asking if you can afford to install spray foam, the real question is, can you afford not to? Between the yearly energy savings and the peace of mind knowing your home is finally protected, the investment delivers a powerful return that lasts.
Even with a clear game plan for stopping ice dams, it's normal to have a few questions. Some of the quick fixes you see online can be tempting, and sometimes the problem crops up in the most unexpected places.
Let's walk through some of the most common questions I hear from homeowners who are finally ready to solve their ice dam problems for good. Getting straight answers is the first step toward making a smart, confident investment in your home.
This is probably the number one question I get asked. My answer is always the same: heat cables are a bandage, not a cure. They are a purely reactive measure, designed to treat a symptom—the ice—not the disease that’s causing it.
Sure, they can melt a few channels through an existing dam, which might give trapped water a temporary escape route. But they do absolutely nothing to stop the heat loss from your attic that's melting the snow in the first place. All you're really doing is managing the problem at the very edge of your roof while the real issue rages on inside your attic.
Beyond being a temporary fix, heat cables bring their own headaches:
A permanent fix, like getting your attic properly air-sealed and insulated, attacks the root cause. This doesn't just stop ice dams everywhere on your roof; it also lowers your energy bills. It’s a far smarter investment.
While ventilation is a key piece of the puzzle, it can't solve the problem on its own. I always tell people to think of ventilation as the last line of defense, not the first. Its real job is to clear out the small, leftover amount of heat that might sneak into the attic after you've done everything else right.
If your attic is riddled with air leaks and has subpar insulation, the sheer amount of heat rushing up will completely overwhelm your vents. It's like trying to bail out a sinking boat with a teacup. The roof deck is still going to get warm enough to melt snow, and you’ll get ice dams no matter how many vents you have.
True ice dam prevention is a systematic approach. You have to stop the massive heat loss first with aggressive air sealing and robust insulation. Only then can your ventilation system do its job and handle the rest.
This one is a classic, and it catches so many new homeowners off guard. You'd think a brand-new home would be built to modern standards, but that’s often not the case when it comes to the finer details of ice dam prevention.
The reality is, many new homes are built to meet the bare minimum of local building codes, which often aren't enough for our tough winters. Builders are on tight schedules and even tighter budgets, so it's easy for small but critical air sealing details to get missed.
Here are a few common reasons a new home becomes an ice dam magnet:
An inspection from a true insulation professional can spot these hidden weaknesses in no time. We can pinpoint exactly where the heat is getting out and map out a clear plan to fix these construction oversights for good. Your new home will finally perform the way it was meant to.
Ready to stop fighting ice dams and start saving on energy bills? The expert team at Airtight Spray Foam Insulation provides the permanent solution your home needs. Request a free quote today and discover how our Airtight Comfort System can protect your property for years to come.