Blog
Insulate a vaulted ceiling: Quick Guide to Energy Savings
That beautiful vaulted ceiling you love? It might be the very reason your AC never seems to catch a break and your energy bills are creeping sky-high. To properly insulate a vaulted ceiling in South Florida, you need more than just fluffy stuff in the rafters. You need a complete air and moisture barrier—something that stops our humid, heavy air from getting trapped and driving up cooling costs. That’s where spray foam comes in.
Why Vaulted Ceilings Are a South Florida Energy Problem
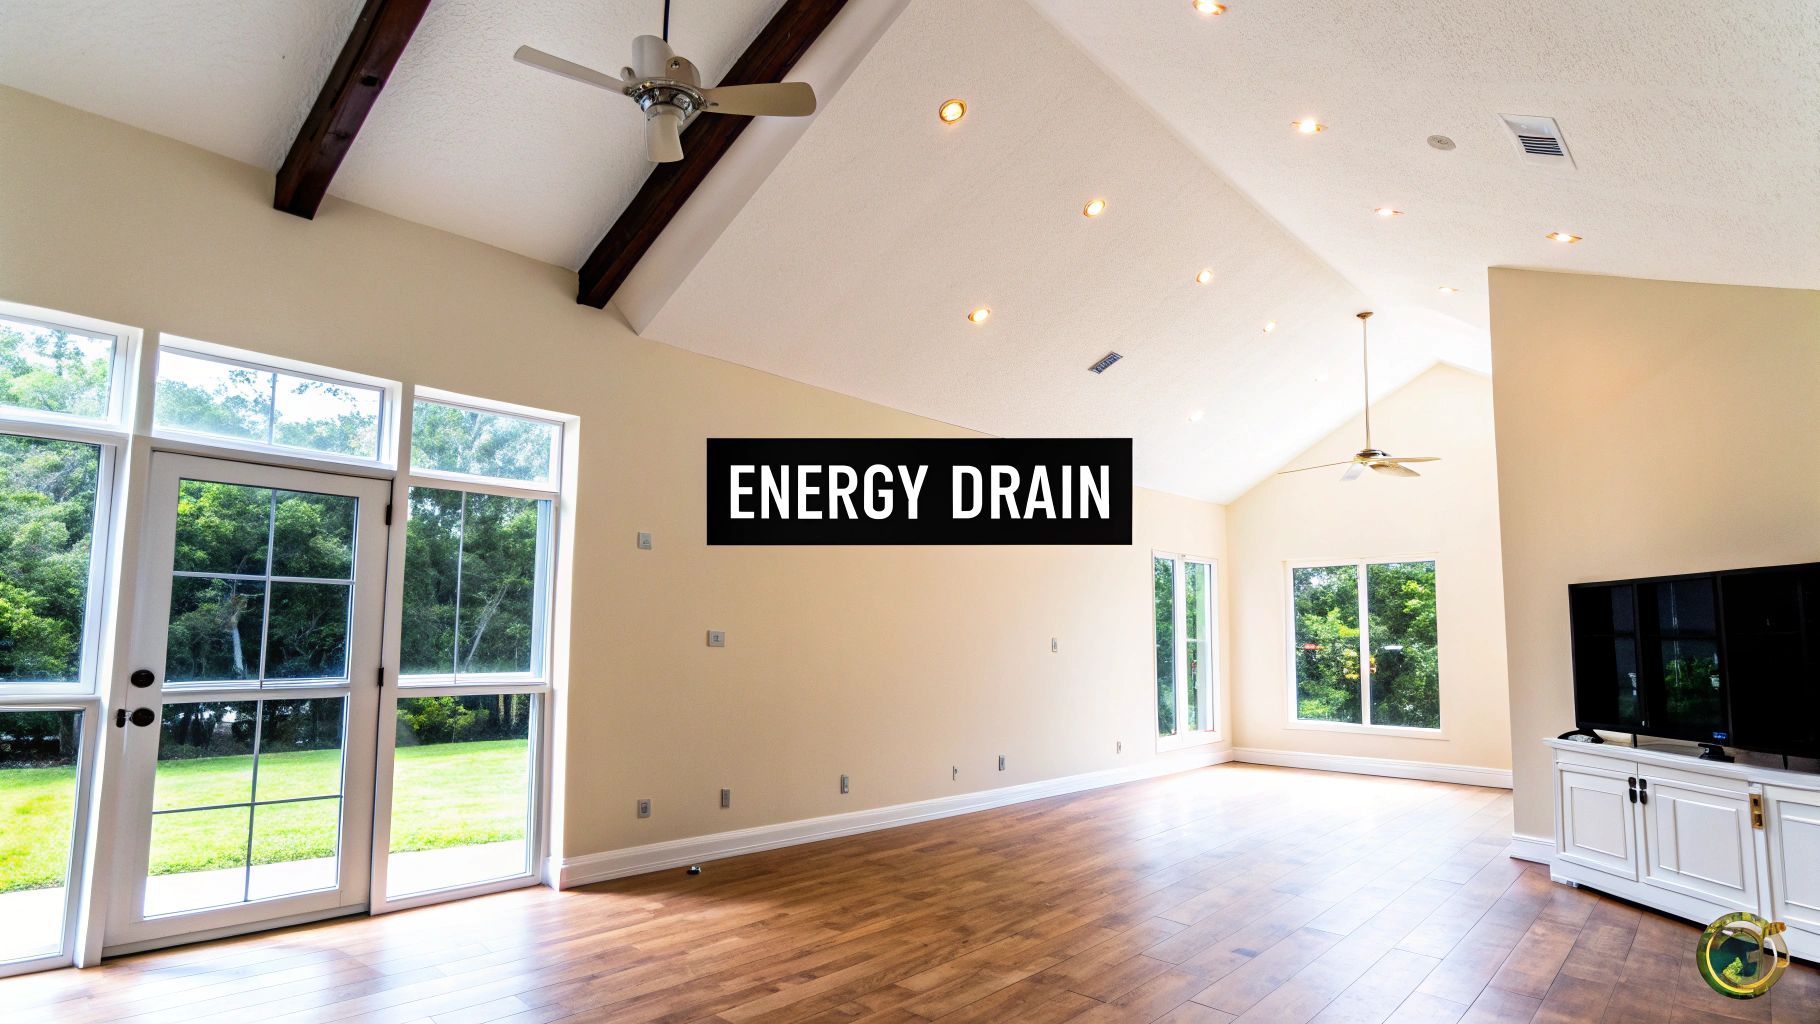
Architecturally, vaulted ceilings are stunning. They create a sense of drama and openness that transforms a room. But here in South Florida, with our relentless heat and humidity, they often become a massive energy liability.
That large, open volume of air is tough to cool, and the huge surface area of the ceiling acts like a magnet for solar heat gain. The sun beats down on your roof, and that heat radiates straight down into your living space.
It’s a frustrating cycle. Your AC system works overtime just to keep the room comfortable, especially during our brutal summer months. The result is always the same: uncomfortably warm upper levels, rooms with inconsistent temperatures, and utility bills that just keep climbing.
The Failure of Traditional Insulation
Many older homes with vaulted ceilings were built using traditional fiberglass batts. While it was the standard for a long time, this approach is notoriously ineffective for these complex, hard-to-reach structures.
Fiberglass is prone to gaps, sagging, and air leakage, which completely undermines its insulating ability. In a humid climate like ours, those gaps become superhighways for warm, moisture-laden air to infiltrate the ceiling cavity.
When that humid air hits the cooler, air-conditioned drywall surface, you get condensation. This hidden moisture leads to a whole host of serious problems you can’t see until it’s too late:
- Mold and Mildew Growth: Trapped moisture creates the perfect breeding ground for mold, tanking your indoor air quality.
- Structural Damage: Over time, condensation can cause wood rot in your roof rafters and sheathing.
- Reduced R-Value: Once fiberglass gets damp, its insulating properties plummet.
Think of it this way: using gappy fiberglass batts in a vaulted ceiling is like trying to keep a boat afloat with holes in it. No matter how much you bail, the water keeps coming in. An air-tight seal is the only real solution.
A Modern Solution for a Modern Problem
This is exactly where spray foam insulation proves its worth. Unlike batts that are just stuffed into cavities, spray foam expands to fill every single crack, crevice, and odd angle. It creates a solid, monolithic air and moisture barrier.
This complete seal stops air leakage in its tracks and prevents humid air from ever reaching a dew point inside your ceiling assembly.
The impact is immediate and significant. Properly applied spray foam insulation can slash energy loss through vaulted ceilings by up to 50%. It’s no surprise that the global roof insulation market is expanding, driven by homeowners in humid regions who face 20-30% higher cooling costs annually from bad insulation.
Of course, a great insulation job is just one piece of the puzzle. Homeowners are also looking at strategies like optimizing airflow and comfort with ceiling fans in vaulted spaces, which is a smart way to complement a well-insulated home and boost overall efficiency.
Choosing the Right Spray Foam for Your Ceiling
When you start looking into spray foam for a vaulted ceiling, you’ll quickly find it’s not a one-size-fits-all solution. You have two main options: open-cell and closed-cell foam. Making the right choice here is probably the most important decision for your South Florida home. Get it wrong, and you could be dealing with moisture headaches. Get it right, and you create a perfectly comfortable, efficient living space.
Open-Cell vs. Closed-Cell: What’s the Difference?
Think of open-cell foam like a dense, firm sponge. It’s soft and flexible because its tiny cells aren’t completely sealed off from each other. This structure makes it a fantastic sound absorber, perfect for turning a noisy room into a quiet retreat.
But that sponge-like quality is also its biggest weakness here in Florida. It’s permeable to water vapor. In our relentlessly humid climate—whether you’re in Wellington or Palm Beach Gardens—that’s a huge risk. If moisture finds its way into your roof assembly, open-cell foam can trap it, setting the stage for mold and rot.
Now, let’s talk about closed-cell spray foam. This stuff is completely different. It’s rigid and incredibly dense because its cells are totally sealed and packed tight. This structure forms an unbeatable barrier against both air and moisture.
It’s almost like spraying a solid, waterproof board directly into your ceiling cavities. It doesn’t just insulate; it actively repels water and vapor, which is non-negotiable for a roof system in South Florida. This is exactly why it’s the go-to material for insulating a vaulted ceiling right up against the roof deck. The proof is in the performance—studies have shown closed-cell foam can cut heat gain by 40-60% in cathedral ceilings compared to other insulation.
Considering that roofs are responsible for 25-30% of a home’s heat gain, spray foam’s ability to create a near-perfect air and moisture seal is a game-changer. This high level of performance is also what helps it meet modern building codes, like the IECC standards, which demand robust insulation for sloped roofs.
A Head-to-Head Comparison
To make this crystal clear, let’s put these two foams side-by-side. Seeing the key differences will show you why one is almost always the right call for insulating a vaulted ceiling in our climate.
Open-Cell vs. Closed-Cell Foam for Vaulted Ceilings
| Characteristic | Open-Cell Spray Foam | Closed-Cell Spray Foam | Best Use in South Florida |
|---|---|---|---|
| R-Value per Inch | R-3.5 to R-3.8 | R-6.0 to R-7.0 | Closed-cell offers much more insulating power in less space. |
| Moisture Resistance | Permeable (can absorb water) | Impermeable (acts as a vapor barrier) | Closed-cell is essential for rooflines to block humidity and prevent condensation. |
| Structural Rigidity | Flexible and soft | Rigid and strong | Closed-cell adds structural strength to the roof deck itself. |
| Air Seal | Excellent | Superior | Both are great, but closed-cell’s rigidity creates a more robust, long-lasting seal. |
| Sound Dampening | Superior | Good | Open-cell is better for sound, but not at the expense of moisture risk in a roof. |
| Cost | Lower upfront cost | Higher upfront cost | Closed-cell is a higher initial investment but provides critical long-term protection. |
While open-cell has its place—like interior walls where sound control is the priority—it’s just too risky for a Florida roofline. The superior R-value and moisture-blocking power of closed-cell foam make it the hands-down winner for protecting your home and maximizing energy efficiency.
In South Florida, moisture is the enemy. Choosing closed-cell foam for your vaulted ceiling is like buying an insurance policy against condensation, mold, and wood rot. The slightly higher initial cost is an investment in long-term peace of mind and performance.
The distinction between materials is critical, and it’s smart to compare all your options. To see how spray foam stacks up against other common types, check out our guide comparing spray foam vs. blown-in insulation, which explains why a true air-sealing material is so much more effective.
Ultimately, for the unique challenges of a vaulted ceiling in our climate, closed-cell foam delivers a tough, reliable solution that will keep you comfortable and protect your home for years to come.
The Professional Spray Foam Installation Process
Let’s be clear: properly insulating a vaulted ceiling is less about the foam itself and more about the meticulous technique of the installer. A high-quality spray foam job isn’t just a task; it’s a carefully orchestrated process that turns your ceiling into a seamless, high-performance barrier. Knowing what separates a pro-level installation from a potential failure helps you understand what to look for and what to expect on job day.
The entire process kicks off long before a single drop of foam is ever sprayed. A thorough inspection is the first, and arguably most critical, phase. An experienced crew isn’t just glancing at the ceiling—they’re hunting for trouble. That means searching for any evidence of existing roof leaks, telltale water stains on the drywall or rafters, or signs of wood rot that could compromise the whole structure.
Catching these issues upfront is non-negotiable. Spraying foam over a hidden leak is a recipe for disaster, plain and simple. It traps moisture against the wood and can accelerate rot, turning a small problem into a catastrophic one. This initial walkthrough ensures the “canvas” is clean, dry, and sound before the real work begins.
Preparing the Space for a Clean Application
Once the ceiling structure gets the all-clear, the focus shifts to protecting your home. A professional team knows that while spray foam is a fantastic insulator, it’s also an aggressive adhesive that sticks to everything. Meticulous prep work is the hallmark of a crew that actually respects your property.
This involves a few key steps:
- Covering Everything: Heavy-duty plastic sheeting is used to mask off floors, walls, windows, furniture, and any fixtures like ceiling fans or lighting. No exceptions.
- Creating a Contained Work Zone: The area is sealed off to prevent overspray and dust from migrating into other parts of your home.
- Ensuring Proper Ventilation: The crew must set up powerful ventilation systems to manage fumes during application, keeping both the installers and anyone in the house safe.
A professional’s prep work should look like a scene from a sci-fi movie—everything you don’t want foam on is completely covered and protected. If the crew just throws down a few drop cloths, it’s a major red flag.
The Application and Finishing Touches
With the area prepped and secure, the technical work can finally start. This is where an installer’s skill truly shines. For a vaulted ceiling, the goal is to create a monolithic, airtight layer of foam sprayed directly against the underside of the roof deck, filling every nook, cranny, and joint.
Using specialized equipment, the technician sprays the two-part liquid foam, which expands in seconds to its final thickness. They work methodically, applying the foam in controlled “lifts” (or layers) to build up to the required depth for the target R-value. This isn’t a simple “point and spray” job; it demands a deep understanding of how the foam behaves to achieve a consistent seal with no voids.
This diagram helps show the key differences in materials installers work with, especially comparing the spongy, moisture-permeable nature of open-cell foam to the rigid, water-blocking shield of closed-cell foam.
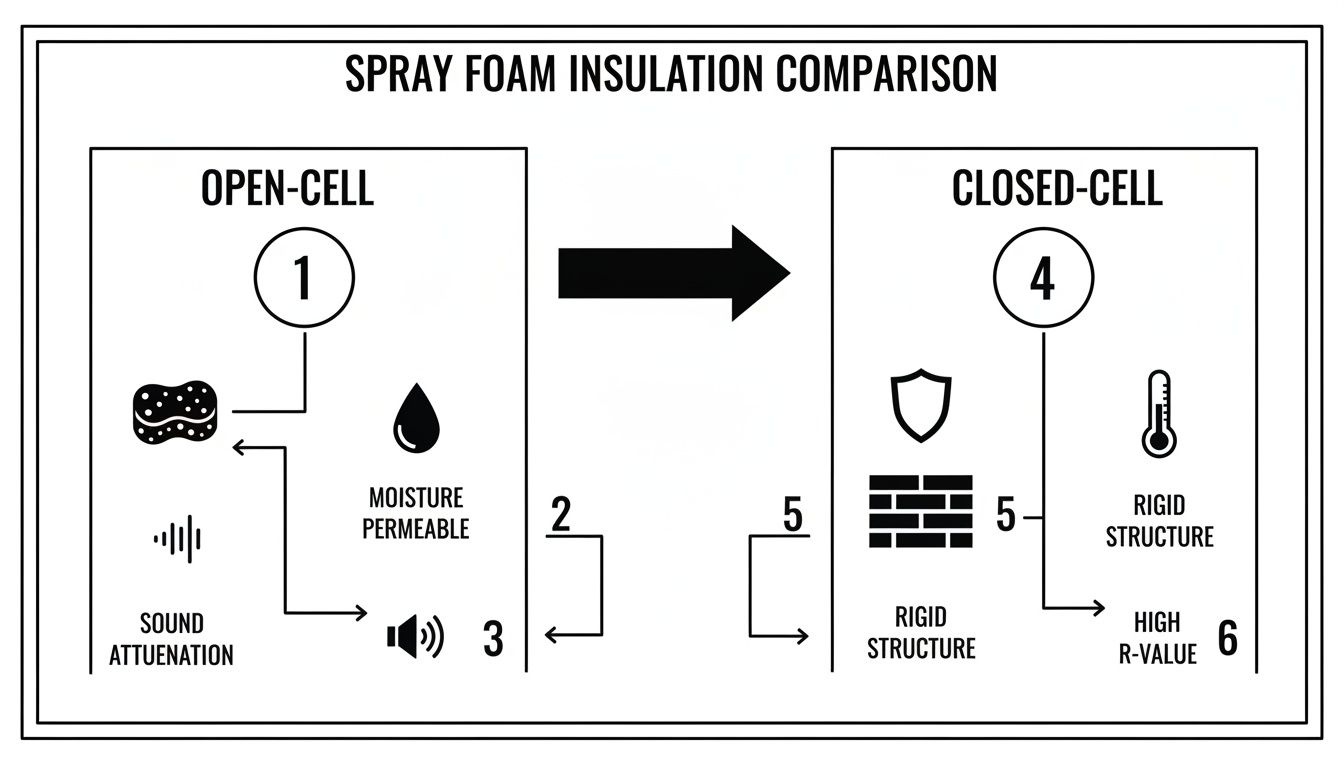
As you can see, the high R-value and rigidity of closed-cell foam make it the superior choice for sealing a roofline against South Florida’s relentless humidity.
After the foam has cured—which happens very quickly—the job moves into the finishing stages. Any overspray or excess foam that expanded beyond the level of the rafters is carefully trimmed back. This creates a smooth, flat surface that is ready for drywall or whatever ceiling finish you have planned.
The last phase is a thorough cleanup. The crew removes all the protective plastic and coverings, vacuums any dust or debris, and leaves your space as clean as they found it. A final walkthrough with you, the homeowner, ensures the job meets your expectations and gives you a chance to ask any last-minute questions.
Understanding the core principles here is key. For more in-depth guidance on proper roof insulation techniques, it’s worth doing a bit more reading. From that first inspection to the final sweep of the floor, a professional process is designed to deliver a perfect, long-lasting result with minimal disruption.
Dealing with Moisture and Airflow After You Seal the Ceiling
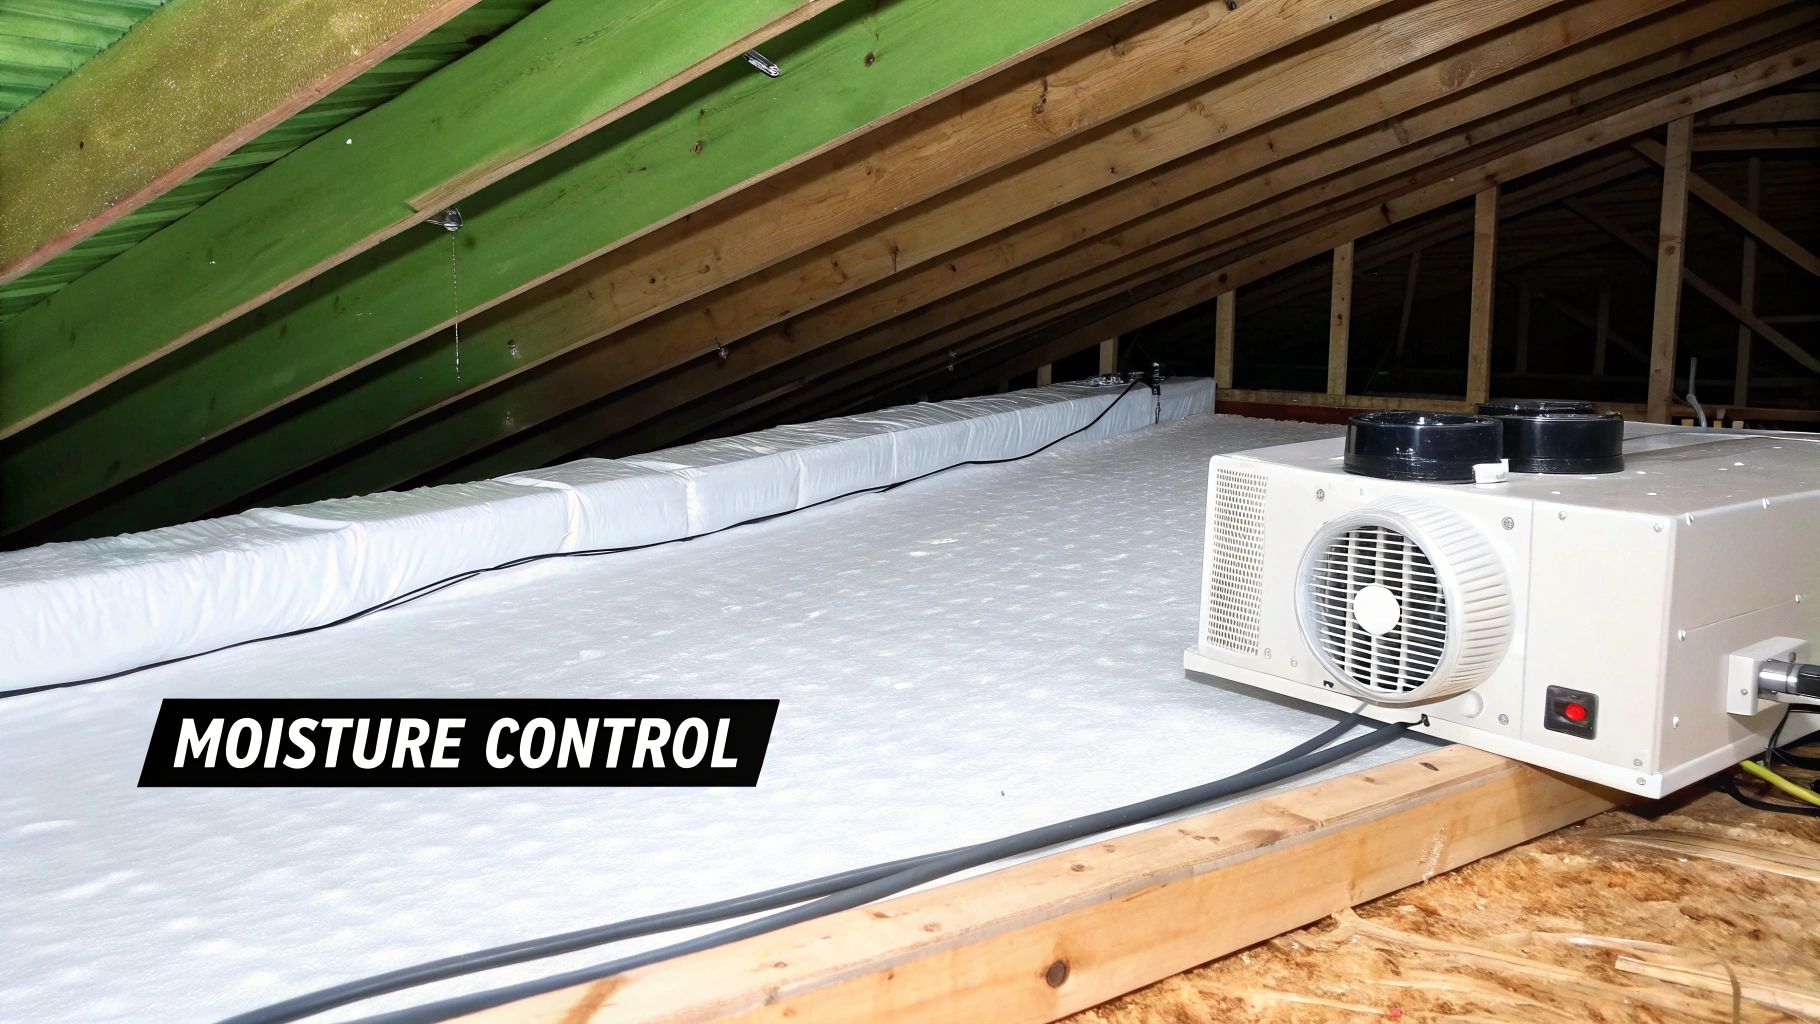
When we properly insulate a vaulted ceiling with closed-cell spray foam, we create a serious air and thermal barrier. This is great for stopping heat gain, but it completely changes how your home breathes. Here in South Florida, where humidity is always the enemy, sealing your home this tight means you need a new game plan for managing moisture and keeping your indoor air healthy.
Making the house airtight is the goal, but if you don’t manage ventilation, you can trap indoor pollutants and moisture. Everyday life—cooking, showering, even breathing—pumps moisture into the air. In an old, drafty house, that humid air found plenty of ways to escape. In a newly sealed home, it’s stuck.
The Modern Fix: A “Hot Roof” Assembly
The solution is to create what we in the building science world call an unvented attic or a “hot roof.” This is exactly what happens when spray foam is applied directly to the underside of your roof deck. Your attic, once a scorching buffer zone, is now brought inside the conditioned envelope of your home.
For a humid climate like ours, this method is a game-changer. By getting rid of the temperature difference between the attic air and the back of your ceiling drywall, you eliminate the very condition that allows condensation to form.
- No More Condensation: The roof deck stays warm, so humid indoor air never gets a chance to hit its dew point.
- Conditioned Space: The attic becomes a semi-conditioned space, staying much closer to the temperature inside your house. This is a huge plus for protecting any HVAC equipment you have up there.
- Airtight Seal: The solid foam barrier stops hot, humid outdoor air from ever getting into your roof assembly in the first place.
This approach is the polar opposite of old-school vented attic designs. The old theory was to use soffit and ridge vents to flush hot air out. But in South Florida, that strategy often just pulls more humid, swampy air right into the attic, creating a perfect breeding ground for mold.
Key Ventilation Points to Get Right
Even with a perfectly sealed ceiling, you still have to manage the moisture being created inside your home. In fact, an airtight structure makes your spot ventilation even more critical. Without a proper way out, you’re just recirculating humid, stale air.
Your focus needs to be on mechanical systems designed to pull moisture out at the source.
- Bathroom Exhaust Fans: These are non-negotiable. Make sure every fan is sized correctly for the bathroom and—this is the important part—is ducted to vent straight outside. Never into the attic or soffit. Run the fan for 15-20 minutes after every shower to get the job done.
- Kitchen Range Hood: A real, high-quality range hood that vents outdoors is just as crucial for pulling out steam and cooking fumes. Those recirculating fans with a charcoal filter? They do absolutely nothing for humidity.
Think of your home as a sealed container. Without a way to let steam out, it will build up inside. Properly vented exhaust fans act as pressure relief valves, safely removing moisture before it can cause problems elsewhere.
When to Think About an Energy Recovery Ventilator (ERV)
In a really tight home, just running exhaust fans might not be enough to guarantee fresh air without costing you on your energy bill. This is where an Energy Recovery Ventilator (ERV) comes into the picture. An ERV is a balanced system that does two jobs at once.
It pushes stale, humid indoor air out while bringing in an equal amount of fresh air from outside. But here’s the magic: before that fresh air comes in, it passes through a core that transfers heat and moisture from the air that’s going out.
In the summer, this means the ERV pre-cools and dehumidifies the incoming fresh air, taking a huge load off your AC system. It’s the ultimate way to get excellent indoor air quality in an airtight, energy-efficient home, ensuring your new vaulted ceiling performs perfectly without sacrificing a healthy living environment.
Budgeting Your Project and Hiring the Right Pro
Turning your vaulted ceiling into a high-performance, energy-saving feature is a serious investment in your home’s comfort and long-term value. But before the first ounce of foam is sprayed, it’s crucial to understand the costs and, just as important, how to find a qualified pro who will get the job done right.
Navigating quotes and contractors can feel like a minefield, but knowing what to look for makes all the difference. Understanding the key cost factors and the right questions to ask will empower you to make a smart, confident decision for your South Florida home.
Breaking Down Spray Foam Costs in South Florida
When you get a quote for insulating a vaulted ceiling, it’s not just a single number. The price is typically calculated per board foot—a one-foot by one-foot square that’s one inch thick. The final tally depends on the foam you choose and a few other project-specific details.
Here’s a realistic look at what you can expect in our local market:
- Open-Cell Spray Foam: Generally costs between $0.50 to $1.50 per board foot. While it’s the more affordable option, it’s rarely the right call for a roofline in our humid climate because it can absorb moisture.
- Closed-Cell Spray Foam: Typically ranges from $1.50 to $3.00 per board foot. That higher price tag reflects its superior R-value, its ability to add structural rigidity, and its crucial function as a vapor barrier. It’s the undisputed industry standard for South Florida roofs.
Several things can push your project toward the higher end of those ranges. A ceiling with complex angles, a bunch of skylights, or just plain difficult access will require more labor and time. The amount of prep work needed, like tearing out old, nasty insulation, will also be factored into the final quote.
Navigating Permits and Building Codes
A big question we always get from homeowners is whether they need a permit for this kind of work. Here in Florida, the answer usually depends on the scope of the project. If you’re just adding insulation to an existing, accessible cavity without tearing anything out, a permit might not be required.
However, if the job involves removing drywall or messing with the structure in any way, you will almost certainly need to pull a permit. The Florida Building Code is strict about making sure all insulation work meets modern energy efficiency standards, and those rules have only gotten more demanding.
In fact, energy codes in southern climate zones now mandate R-49 for ceilings. This is where closed-cell spray foam really shines. With a powerful R-6.5 per inch, it easily meets these tough codes while dramatically cutting your energy bills.
A Checklist for Hiring the Right Contractor
Choosing your installer is the single most important decision you’ll make in this entire process. The best foam in the world will fail if it’s not applied correctly. Use this checklist to vet potential contractors and make sure you’re hiring a true professional, not just a guy with a spray rig.
A great contractor doesn’t just sell you foam; they sell you a complete building science solution. They should be able to explain why they recommend a certain approach and how it will work with your home’s other systems.
Key Questions to Ask Every Potential Installer:
- Are You Licensed and Insured in Florida? This is non-negotiable. Ask to see proof of their general liability and worker’s compensation insurance. Any legitimate company will have it ready.
- What’s Your Specific Experience with Vaulted Ceilings? Insulating a vaulted ceiling is far more complex than a standard flat attic. Ask for references or to see photos of similar projects they’ve completed in homes like yours.
- What Training and Certifications Do Your Installers Have? Look for certifications from organizations like the Spray Polyurethane Foam Alliance (SPFA). This shows they’re committed to industry best practices for both safety and application.
- Can You Walk Me Through Your Process for Prep, Safety, and Cleanup? A professional crew will have a detailed plan for masking off your home, ensuring proper ventilation during the spray, and leaving the space spotless when they’re done.
- What Brand and Type of Foam Do You Use, and Why? They should be able to clearly explain their material choice. For instance, they need to articulate why closed-cell foam is the only real choice for a roof assembly, and how the insulation value for concrete block walls involves totally different considerations than a roof deck.
By asking these pointed questions, you can confidently select an expert like Airtight Spray Foam Insulation—a team with the experience and professionalism to protect your investment and totally transform your home’s comfort.
Common Questions About Vaulted Ceiling Insulation
Even with the best game plan, a project like insulating your vaulted ceiling is going to bring up questions. It’s a big investment in your home, and here in South Florida, you absolutely have to get the details right. Let’s tackle some of the things homeowners ask us all the time.
Can I Just Add More Insulation Over the Old Stuff?
I hear this one a lot, and the answer is almost always a hard no. Trying to layer new spray foam over old, saggy fiberglass batts is just asking for problems down the road. That old insulation is probably packed with dust, could be hiding moisture, and definitely has air gaps you can’t see.
Spray foam needs a clean, dry surface to do its job properly—it has to bond directly to your roof deck and rafters. When you spray over old material, you don’t get that critical bond. Worse, you can trap moisture and all sorts of gunk between the layers, which defeats the entire purpose of the project. The old stuff has to come out, period.
The real goal here isn’t just piling on more R-value. It’s about creating a single, unbroken air barrier. That can only happen when spray foam is applied to a properly prepped surface, allowing it to fuse directly with your home’s structure.
Will Spray Foam Make My House Too Quiet or Too Loud?
This is a common misconception about how sound works. The truth is, spray foam is fantastic for sound dampening. By filling every last crack and crevice where sound waves sneak in, it dramatically cuts down on noise from the outside—think traffic, your neighbor’s lawnmower, or even heavy rain.
- Open-cell foam is especially good at this. Its soft, airy structure is perfect for absorbing sound waves.
- Closed-cell foam is also a great sound blocker, thanks to its dense, rigid structure.
At the end of the day, a vaulted ceiling insulated with spray foam will make your space significantly quieter and more serene. If you’re really interested in the acoustic benefits, it’s worth understanding how insulation doubles as a powerful sound barrier, which can totally transform how a room feels.
Does Insulating My Vaulted Ceiling Mean I Have to Replace My Drywall?
Not always. It really comes down to whether we can get into the ceiling cavity. If you’re in the middle of a big remodel and the drywall is already down, the process is simple—we spray right into the open bays.
But for a finished room, a skilled crew can get the job done with minimal mess. We typically cut small, strategic access panels in the drywall between each rafter. Once the old insulation is out and the new foam is in, we replace those panels, tape, and mud them. You’ll have some minor patching and painting to do, but it beats tearing down the entire ceiling.
Is This a DIY Project?
I know it’s tempting to try and save a few bucks, but installing spray foam is a job you want to leave to certified professionals. This isn’t just about squirting foam from a can. It involves mixing reactive chemicals at very specific temperatures and pressures, and it requires specialized equipment and serious safety gear, including full-face respirators.
A DIY attempt gone wrong can lead to all sorts of nightmares: foam that doesn’t cure right, a weak bond to the substrate, or even lingering chemical smells that make the space unlivable. A pro makes sure the job is done safely, correctly, and up to code, giving you a result that performs perfectly for decades. The risks of trying it yourself just aren’t worth the potential savings.
Homeowners in Jupiter, FL can learn more about our spray foam insulation services designed to improve comfort, control moisture, and increase energy efficiency in South Florida homes.